
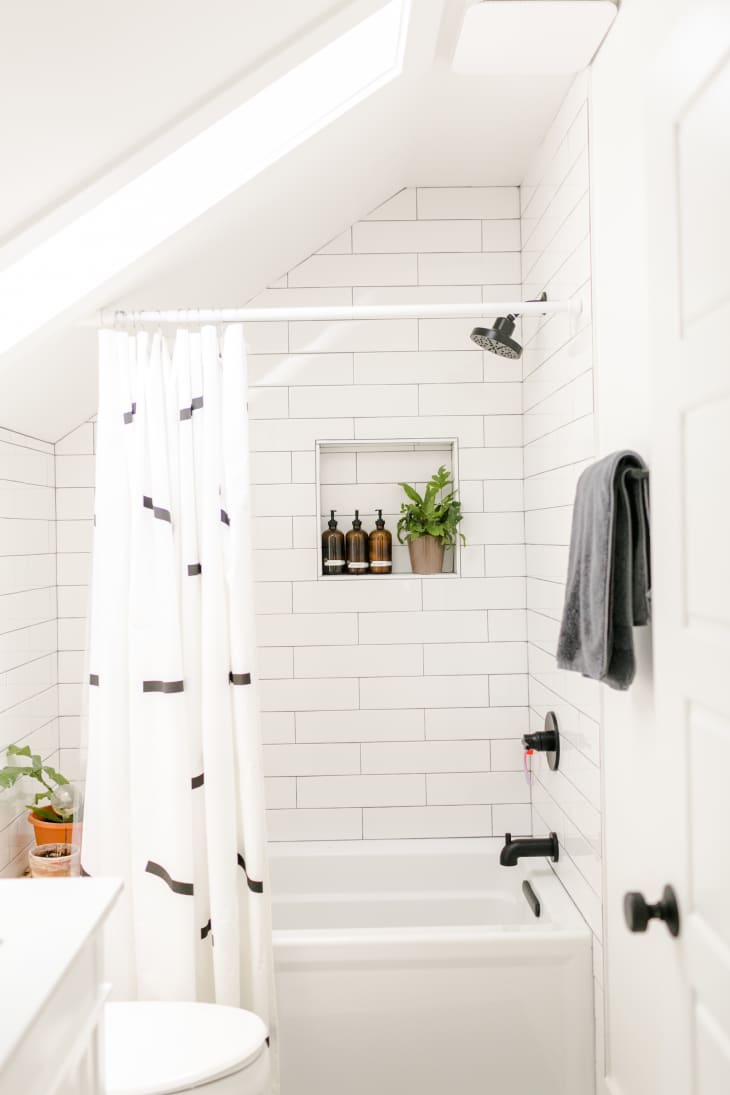
How To Recaulk a Bathtub
If you’re looking for a way to make your bathroom feel cleaner and brighter, try recaulking your bathtub. It takes a couple of hours to remove the old caulk and apply the new caulk, but it’s definitely worth it! Here’s how I recaulked my own bathtub in a few easy steps.
Ready to give your bathtub a makeover? Great! Here’s what you need to get started.
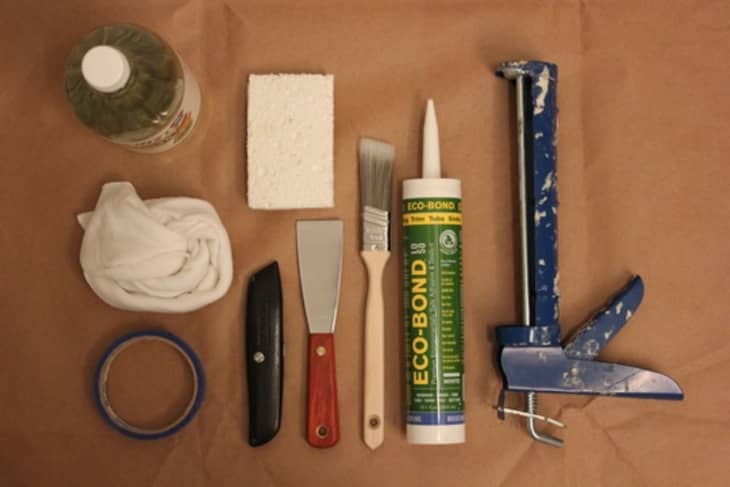
Materials for Re-caulking Your Bathtub
- White Vinegar or Mineral Spirits (I used White Vinegar)
- Non–abrasive Sponge, Lint Free Rags, or Paper Towels
- Painter’s Tape
- Caulk that is intended for bathroom use (I used a low VOC caulk)
Tools
- 5–in–1 Painter’s Tool or Putty Knife (I used a 1.5″ Stiff Putty Knife)
- Utility Knife
- Caulking Gun
- Paint Brush (optional)
Instructions
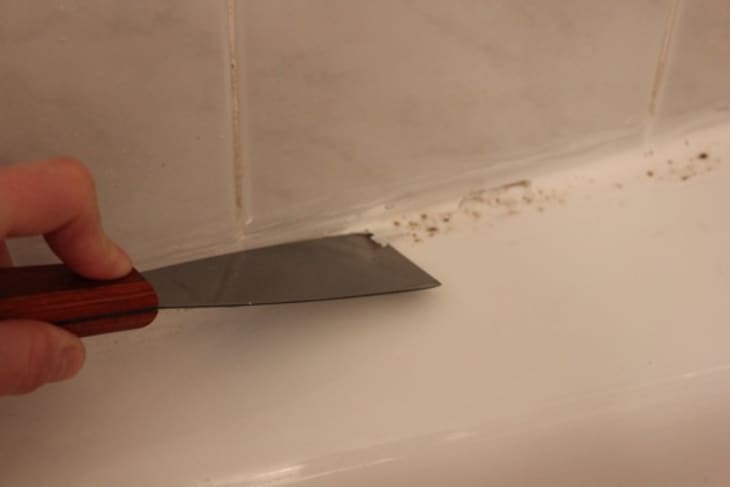
1. Remove the existing caulk with a sharp tool.
I used a putty knife, but a 5–in–1 painter’s tool or a utility knife would work, too.
Note: test a small area to make sure you don’t scrape the bathtub.
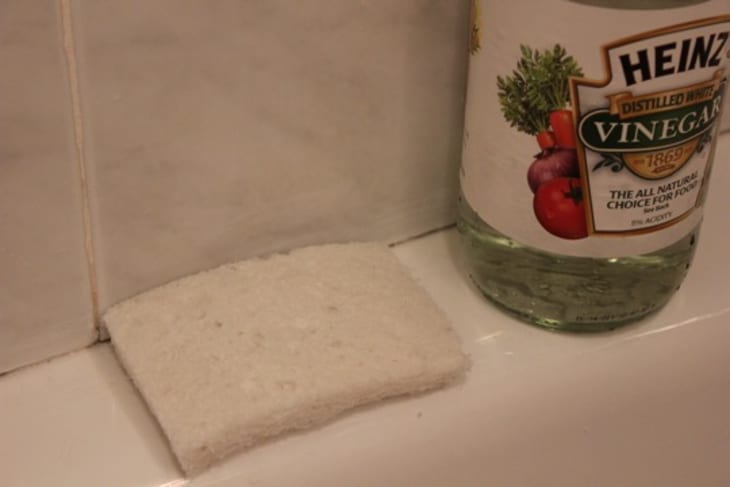
2. Clean the surface to remove all traces of caulk and mold.
Many people recommend using a combination of mineral spirits, liquid caulk remover, and/or bleach to remove the caulk residual and any remaining mold; I found that using my putty knife to remove the residue and a soft sponge with white vinegar to clean and prepare the surface was sufficient.
3. Thoroughly dry the area to prevent future mold outbreaks.
I used a lint-free rag to wipe down the area, then let it dry overnight. You can also use a hairdryer to speed up the process.
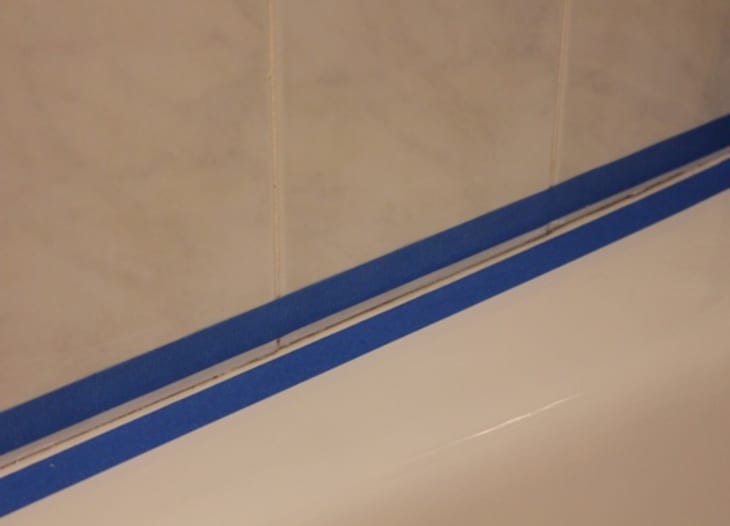
4. Tape off the area that you are planning to caulk.
I placed the tape about 1/8″ on either side of the seam to help achieve a straight and smooth line. It also makes cleanup faster and easier. Note: do not skimp on this step; it is worth the time and effort.
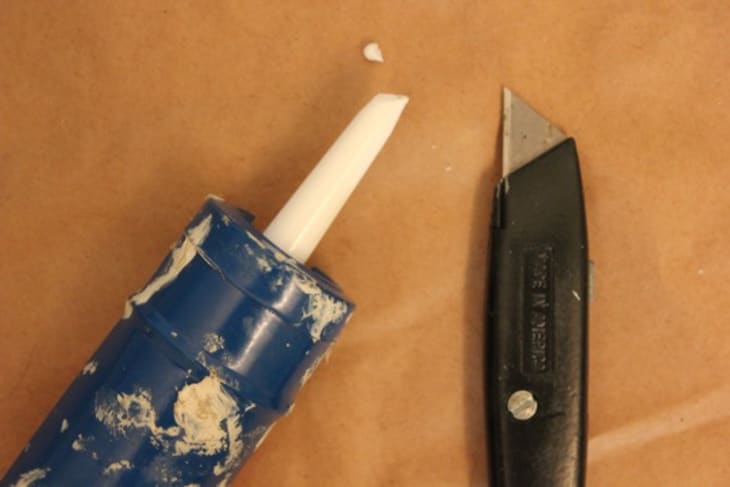
5. Trim the tip of your caulk at a 45-degree angle.
The opening at the tip should be about the same size as the joint (area between the blue tape).
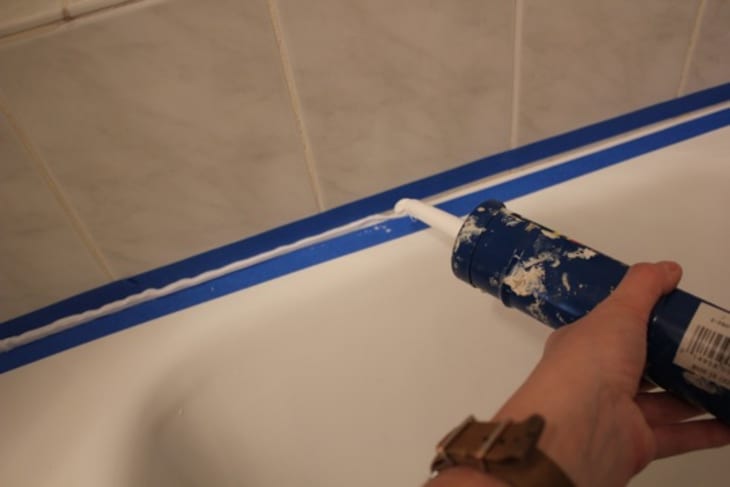
6. Load the caulk into the caulk gun, and apply steady pressure as you move along the tub seam.
When I started, I made the rookie mistake of going too slow, and the caulking material started to pool. You want a pace that gets you an even, steady stream. Too slow and the caulk piles up; too fast and the caulk stream is too thin or it breaks.
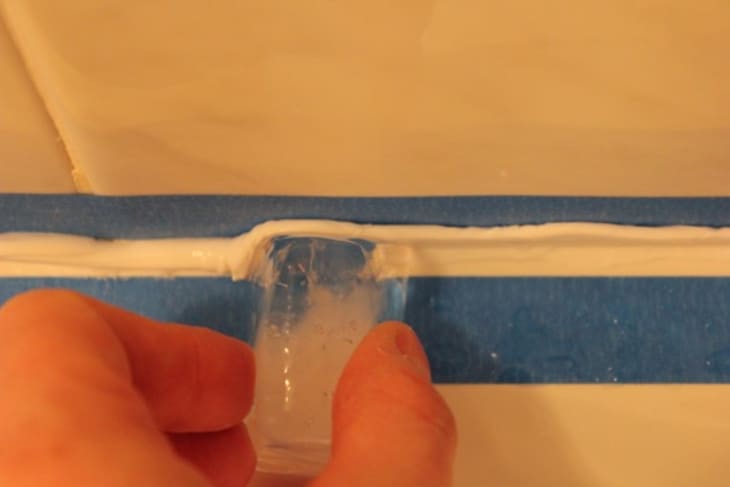
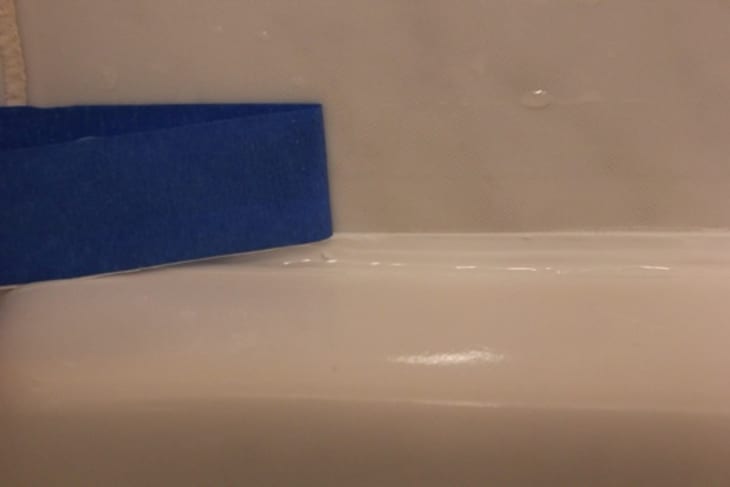
7. Smooth the finished line of caulk with a dampened rag or paper towel, a wet finger, or an ice cube.
Your goal is to have a concave and even surface when complete. I used an ice cube, and it worked wonders. Run it along the joint to smooth the surface and squeeze out the excess caulk. The caulk will not stick to the ice, and the ice will melt to the shape of the joint to become the perfect shaped tool.
8. Carefully remove the tape and fix any blemishes that are left behind.
Wait 24 hours for the caulk to cure before using the bathtub.
Optional Step: If you want to paint the caulk, make sure to use a paintable caulk and allow it to dry for at least 24 hours before it is painted.
Updated from a post originally published January 22, 2013.