
How To Crochet a Foundation Chain
The ability to crochet is a skill set that comes in handy more than often than you might imagine. It’s an inexpensive hobby that helps pass the time, is great for handmade gifts, and the repetition can be quite relaxing. The foundation chain is one of the most important techniques to learn, as it serves as the base on which your projects are built. The chain will hold your stitches and all succeeding rows.
What You Need
Materials
- Yarn
Tools
- Crochet hook
Instructions
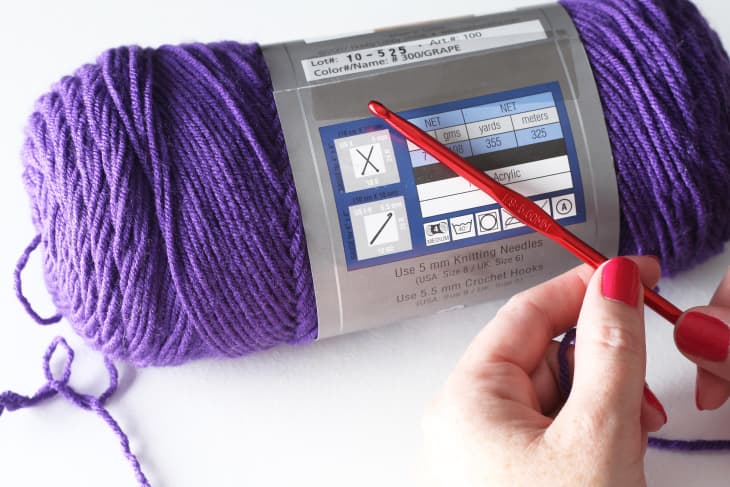
1. Select a crochet hook that corresponds with the gauge of yarn you have chosen for your project.
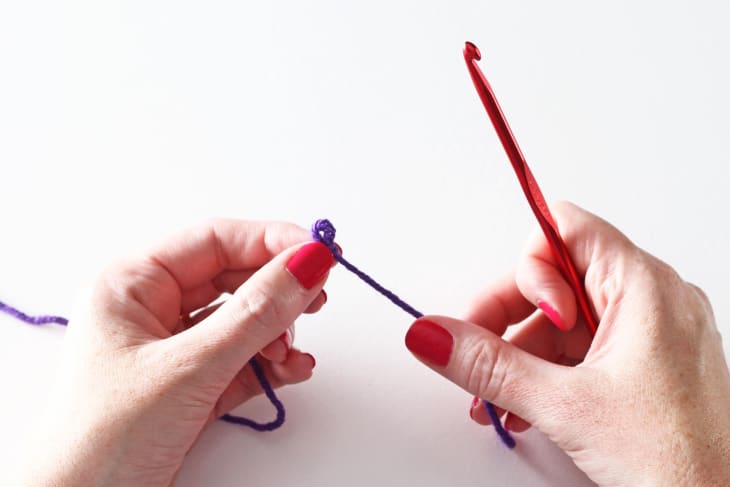
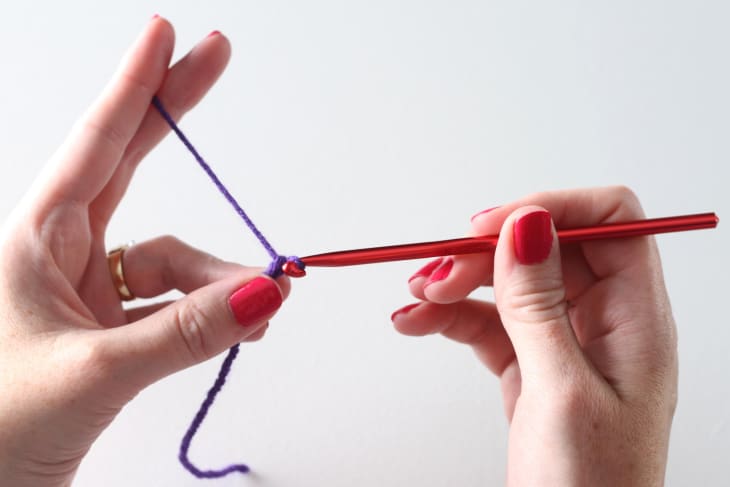
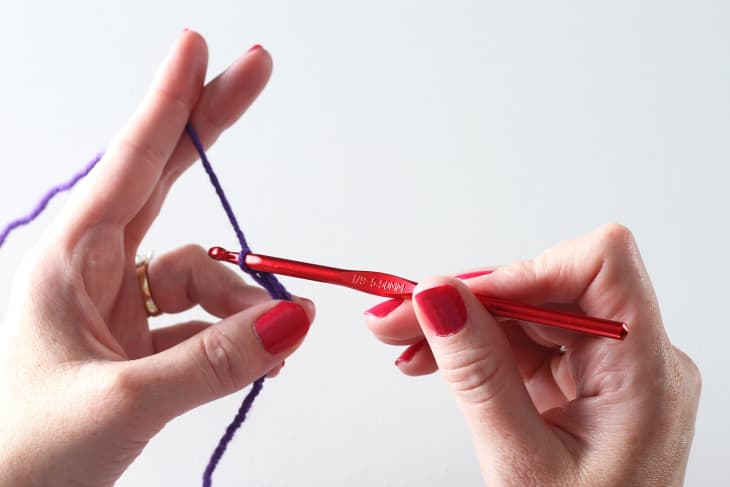
2. Make a slip knot.
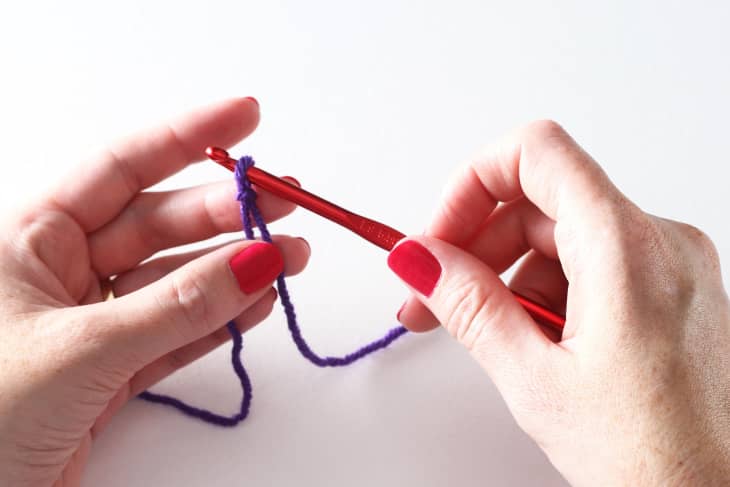
3. Slide the knot down around the hook.
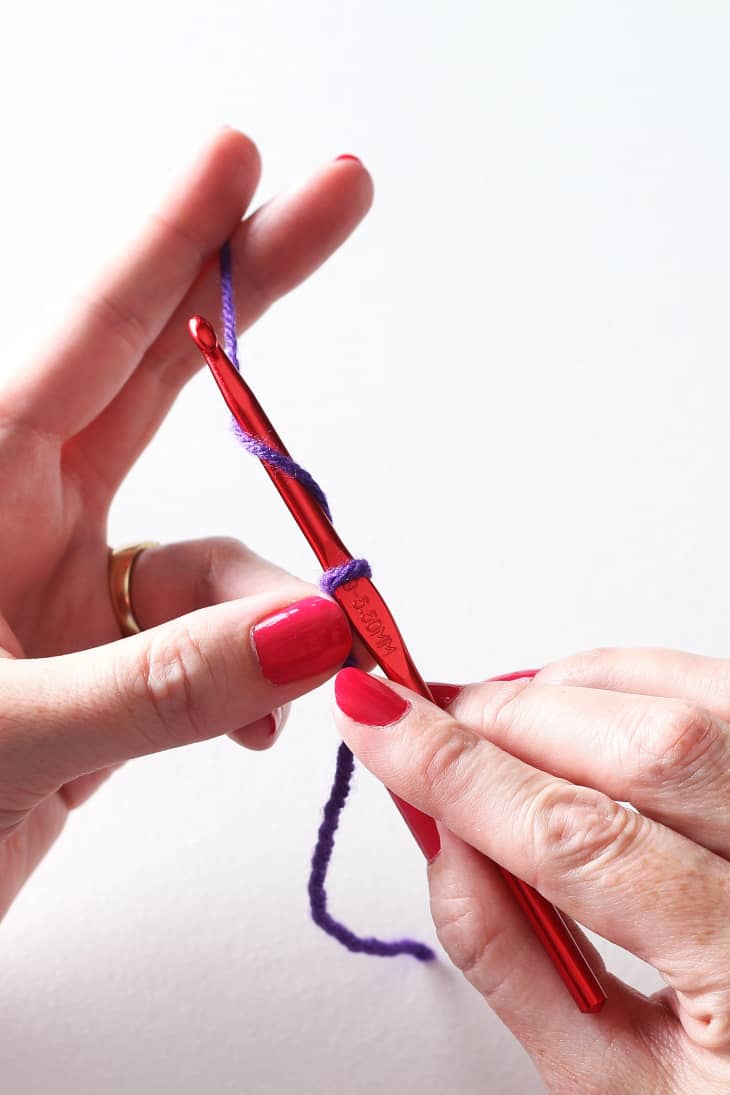
4. Hold the hook in your hand the way you might a fork or a pencil. Hold the tail of the yarn in your hand however it’s most comfortable for you. One common way is to place the yarn between your index and middle finger, the way you might hold a cigarette.
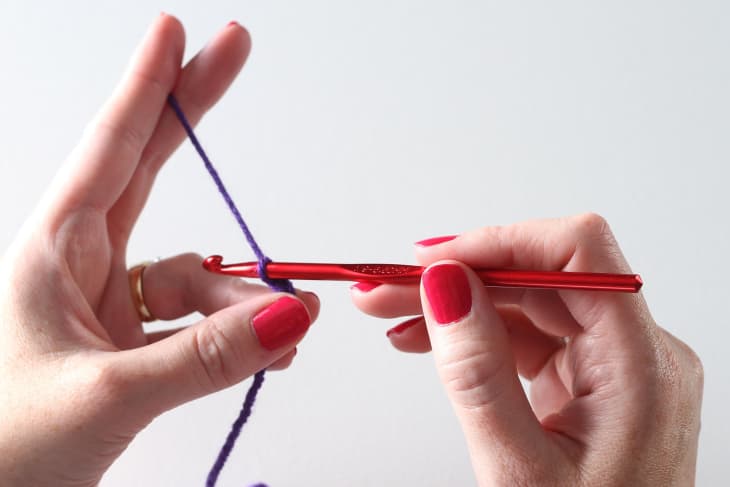
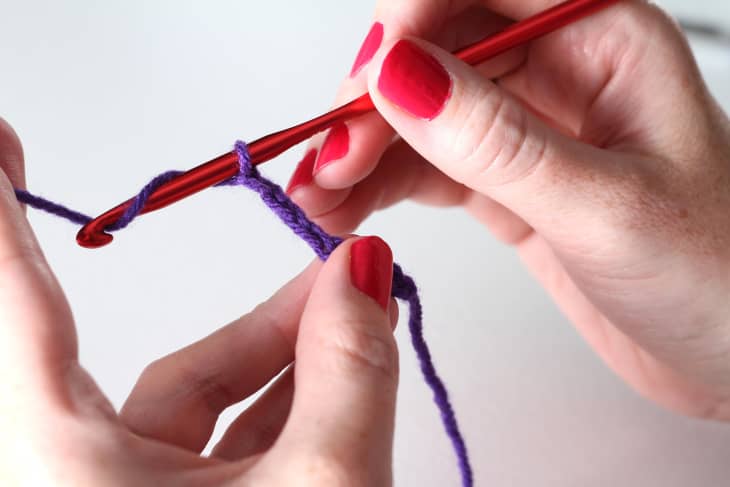
6. Wrap the yarn under and over the end of the hook, keeping it tight and avoiding slack. This technique is called “yarn over” (yo).
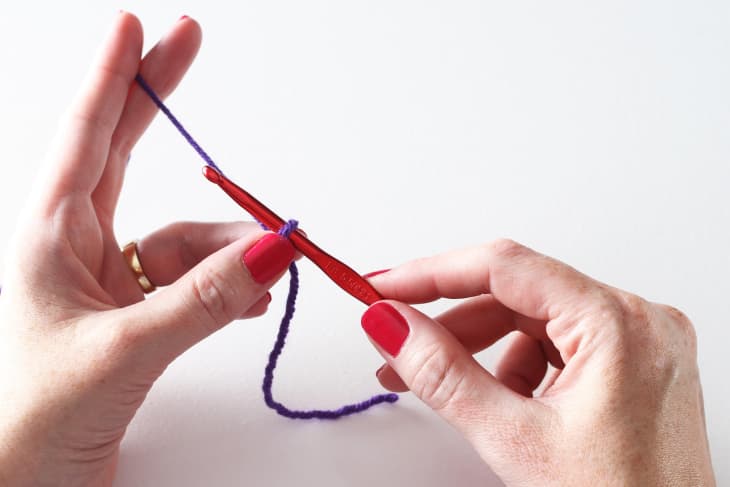
7. Keeping the tension in your left hand taut, pull the hook back towards you so the new loop is sitting at the very end of the hook.
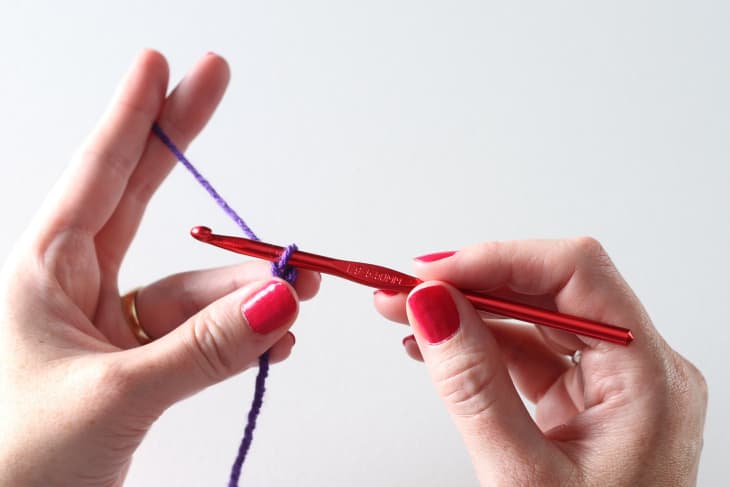
8. Catch your yarn with the hook and pull it through the previous loop to the shank.
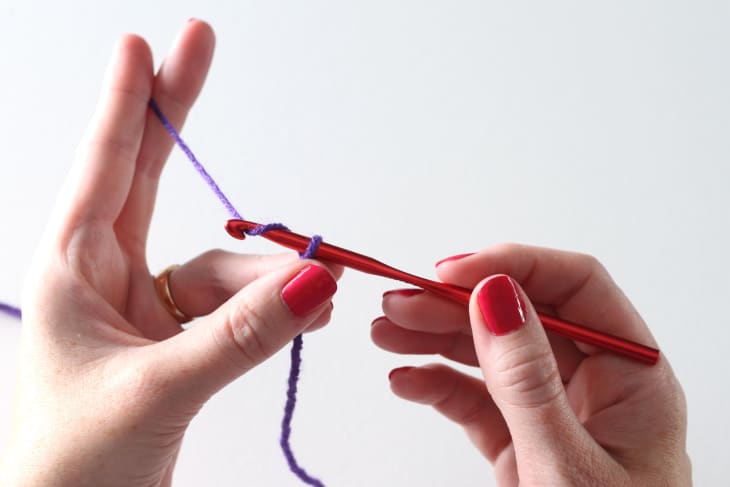
9. Slide the existing loop down about an inch or so on the crochet hook and repeat the process.
10. Holding the yarn between your fingers, pull the tension taut.
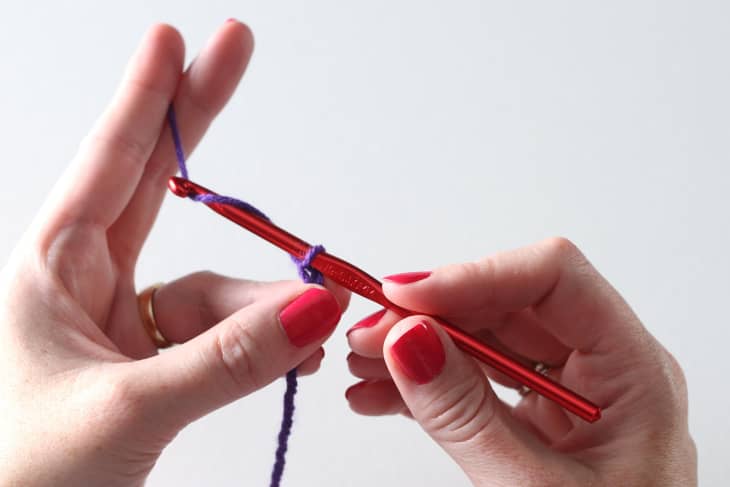
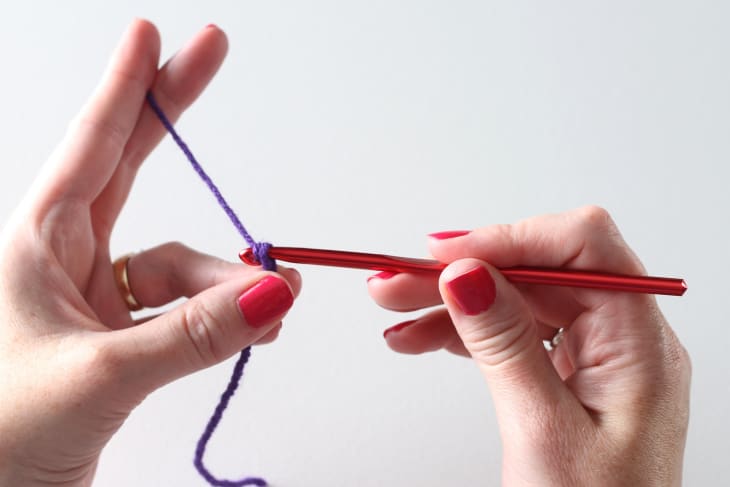
11. Yarn over.
12. Slide the loop down into the existing loop.

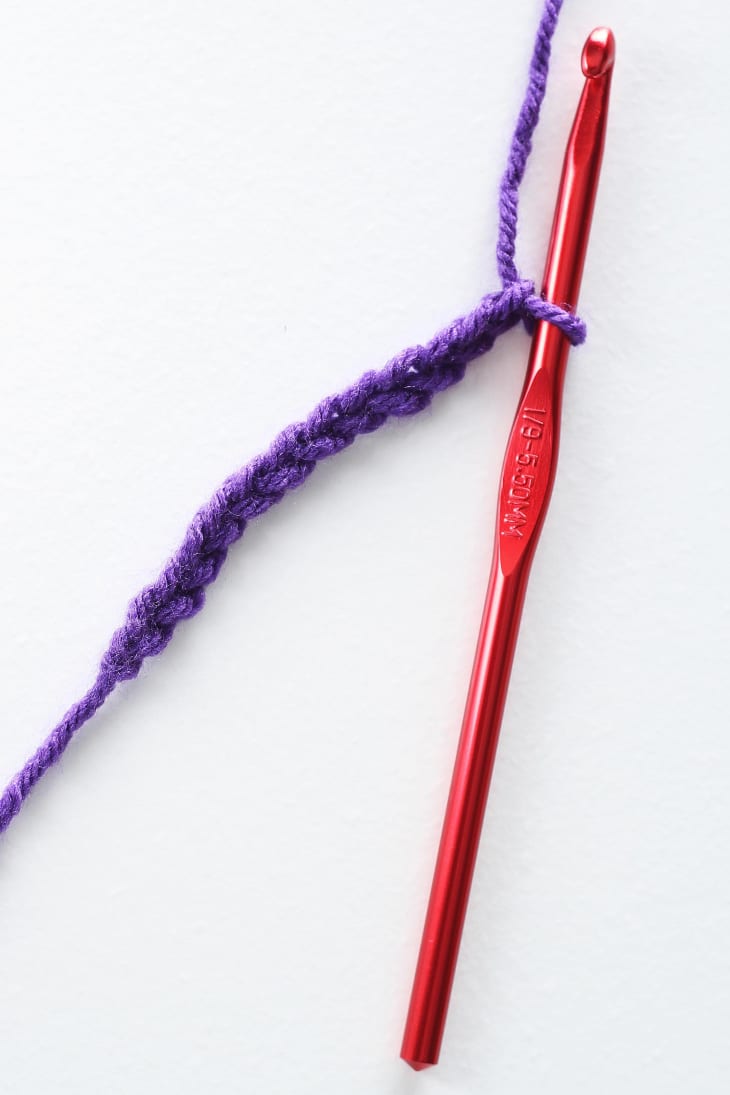
13. Repeat until your chain has the required amount of stitches for your project!
Have a really great DIY project or tutorial that you want to share with others? Let us know! We love checking out what you’re making these days, and learning from our readers. When you’re ready, click here to submit your project and photos.