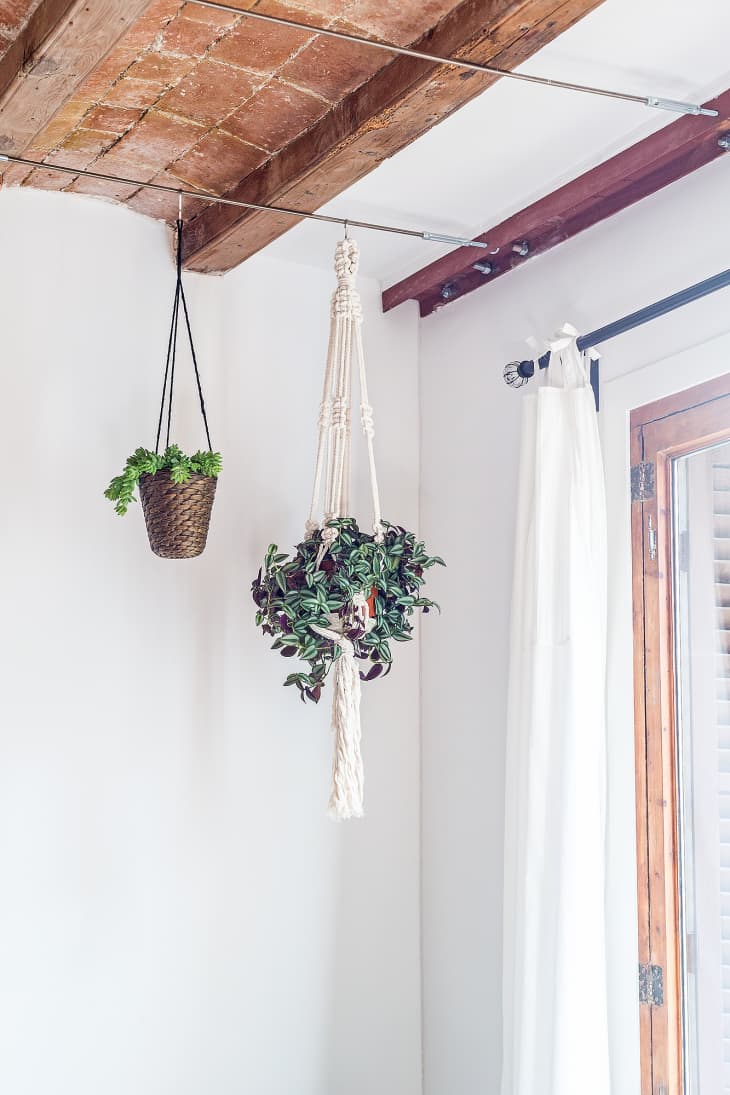
How To Hang Plants From Your Ceiling in Less than 20 Minutes

From space constraints to pet safety to pure aesthetics, there are so many reasons why you might want to hang plants in your home. I’ve spent my fair share of time up a ladder with a drill in my hand. Interested in trying it yourself? Hanging a planter is an easy 10- to 15-minute DIY project—here’s the best way to hang plants from the ceiling, with a few tips and tricks thrown in for good measure.
Step 1: Buy your plant
These plants look fabulous in hanging planters:
- For bright light to bright indirect light: Burros Tail (or Donkey’s Tail), Lipstick Plant, Ric Rac Cactus, String of Pearls
- For indirect light: Creeping Fig, Nepenthes, String of Hearts
- For low light: Jade Pothos, Tradescantia Zebrina
Step 2: Consider your container
Once you start shopping around, you’ll realize that hanging planters come in all different styles and materials. You’ll find affordable ones made of cheaper plastic, and you’ll find handmade ceramics that will cost you much more.
If you end up with a heavy ceramic container, you will need different hardware than you would with a macrame hanger with a lighter terracotta pot. If you don’t like any hanging options you’ve found, take a pot you love and put it in a hanger.
And regardless of which pot you choose, make sure that you’ll be able to manage the drainage. If you water a plant in a container with open drainage holes while it’s hanging up, you’re going to have a mess all over the floor.
I’ve made the mistake of hanging a container with drainage holes with the intention of taking it down every time I watered it. The situation ended up being more than I wanted to deal with: Taking it down, watering it in the sink, waiting for the water to drain out, remembering to put it back up—what a pain!
Here are some potential hanging planters to purchase:
Step 3: Hang it up!
Once you’ve got your planter filled with flora, it’s time to get hanging. Remember, safety first! Make sure you’ve got eye protection and a friend to spot you on the ladder while you’re drilling into the ceiling.
You can purchase ceiling hook kits from your local hardware store that correspond to the weight of your planter. If you’re putting the hook into a wooden beam or wooden ceiling (like a porch or cabin), a regular J-hook will suffice. Otherwise, it’s important to secure the hook with an anchor, so it doesn’t pull out of your ceiling.
What you’ll need:
- Drill
- Hook kit (like this one)
- Drill bit
- Ladder
- Eye protection
- Friend
What to do:
- Mark the spot where you want your planter to hang. Keep in mind the light requirements for the plant you want to hang there. And if you’re hanging more than one plant in the same area, make sure you space out the holes accordingly.
- Drill a pilot hole with the drill bit. Make sure your bit is slightly smaller than the screw of your hook. This ensures that the hook will fit securely.
- If your hook kit has spring-loaded metal toggles, put the anchor onto the bolt of the hook so that the wings fold closed. Hold the wings together as you push the bolt into the ceiling and then twist it so that the wings open and secure the hook.
- Hang your plant! If the rope or wire on your planter isn’t long enough, you can find extenders at any garden supply shop.
