
How To Install a New Light Fixture
I can’t tell you how easy this project is. Seriously, my bloodhound could do it. This is also one of those things you can do to make yourself happy as a renter, but that won’t piss your landlord off. After removing it, just keep the old light and put it back up before you move out.
First, you’ll be removing the old fixture – check out our step-by-step instructions:
Now, on to installing the new one…
What You Need:
Materials
• New light fixture, including mounting bracket and screws
• Wire Nuts
Tools
• Wire stripper, or a basic utility knife
• Screwdriver or power drill
Instructions:
1. Turn off the circuit breaker associated with your light. I operate on the paranoid end of the fear scale when it comes to electricity, so don’t mess with me on this. If you’re not sure which breaker operates that particular light fixture, do this project during the daylight and turn the main breaker off. Or get comfortable with a headlamp.
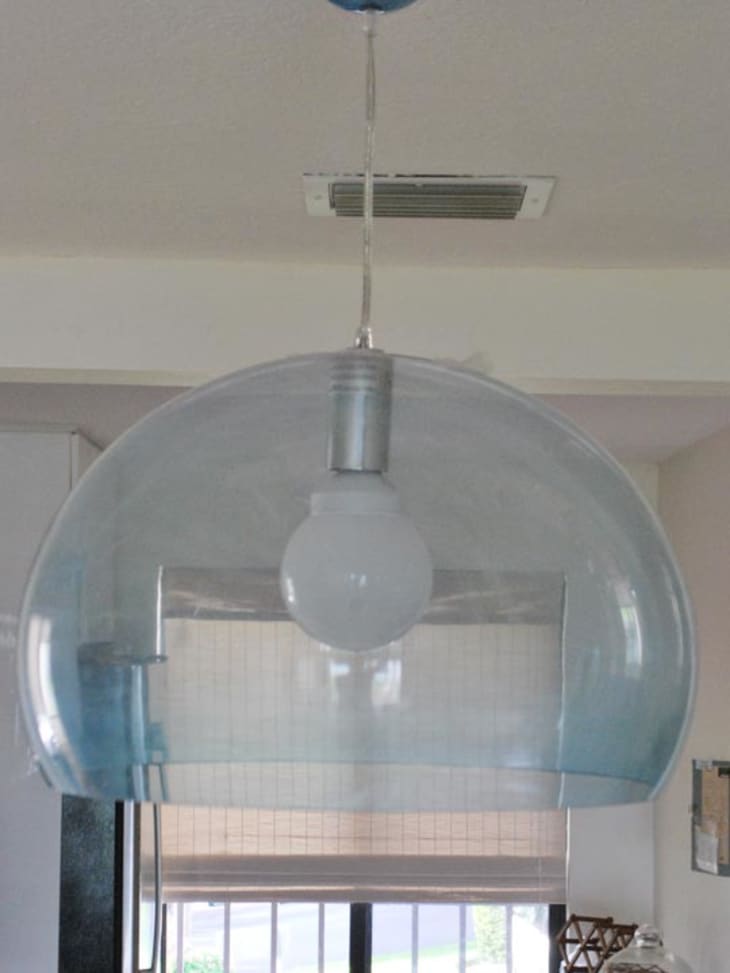
2. Examine your new light fixture and read any instructions that come with it. Every light fixture is different.
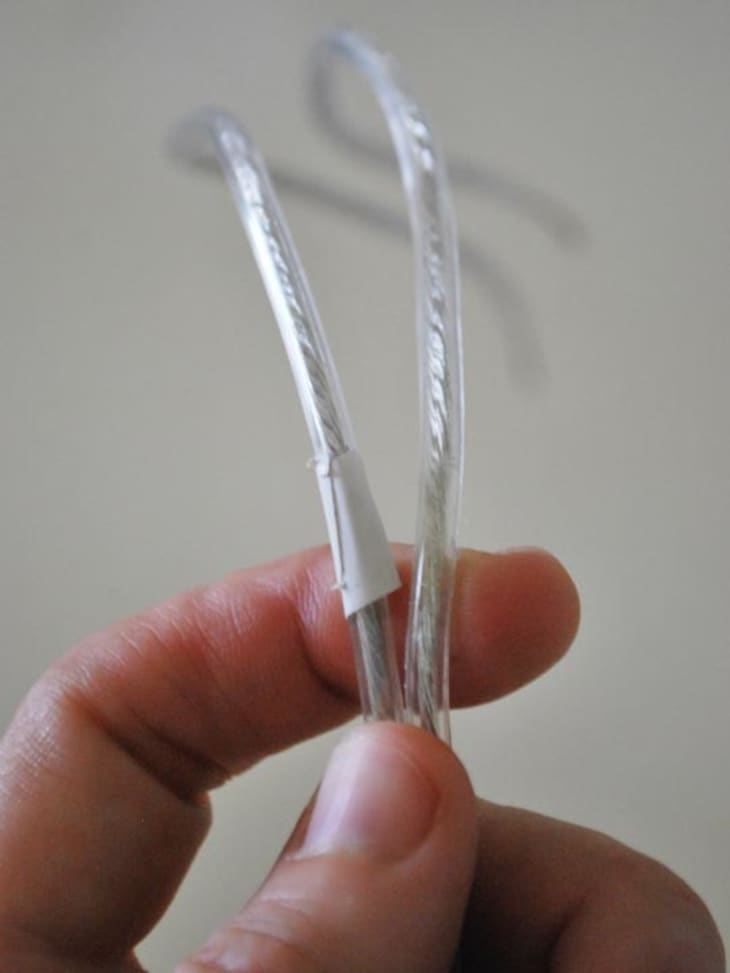
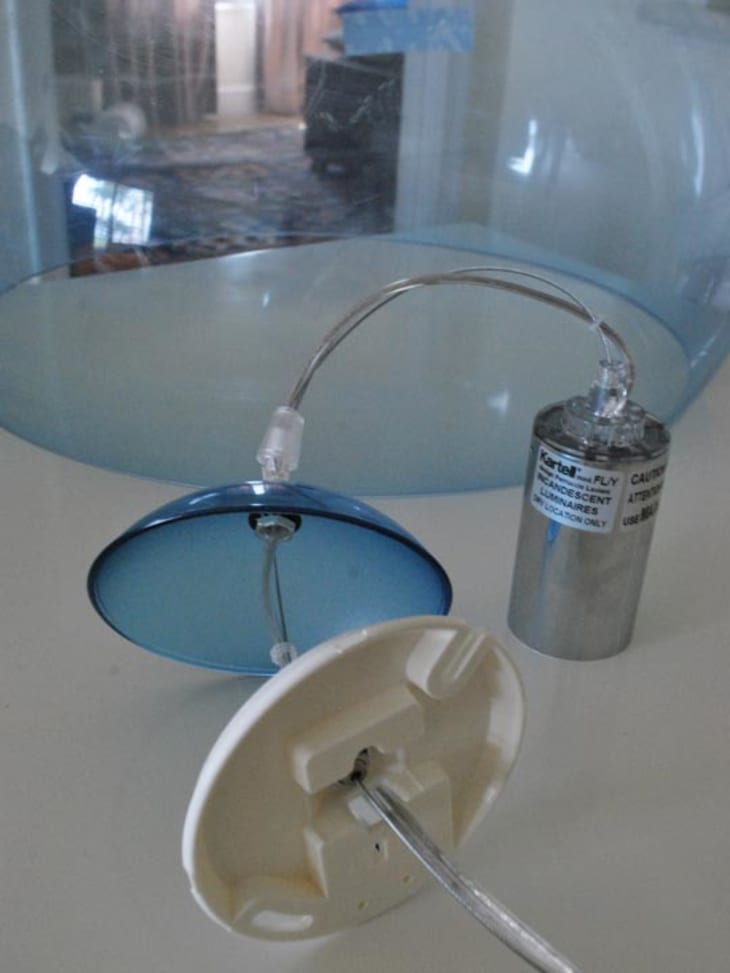
There should be at least two wires coming out of the fixture: a white (neutral) wire and a black (hot) wire. In this case, the two were conjoined and covered with protective plastic. Although they look identical, one wire has a ridge that you can feel with your finger. This is the white wire.
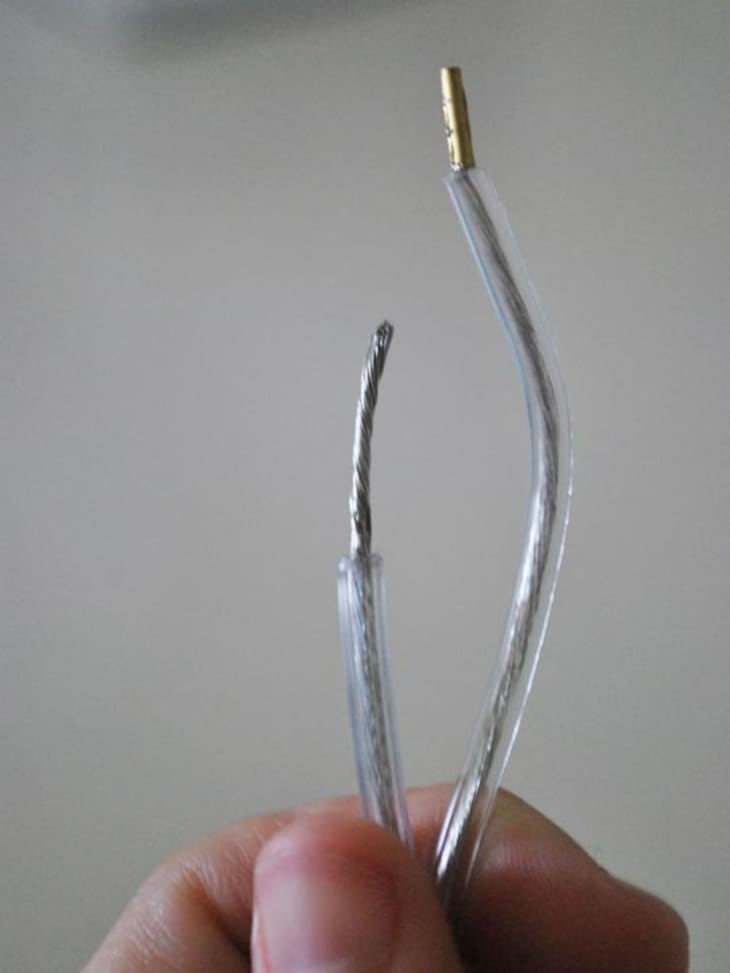
3. Separate the wires a little ways, then use the wire stripper to expose roughly an inch of bare wire on each end. If you don’t have a wire stripper, gently cut the plastic all around the wire with a knife, then strip it off manually.
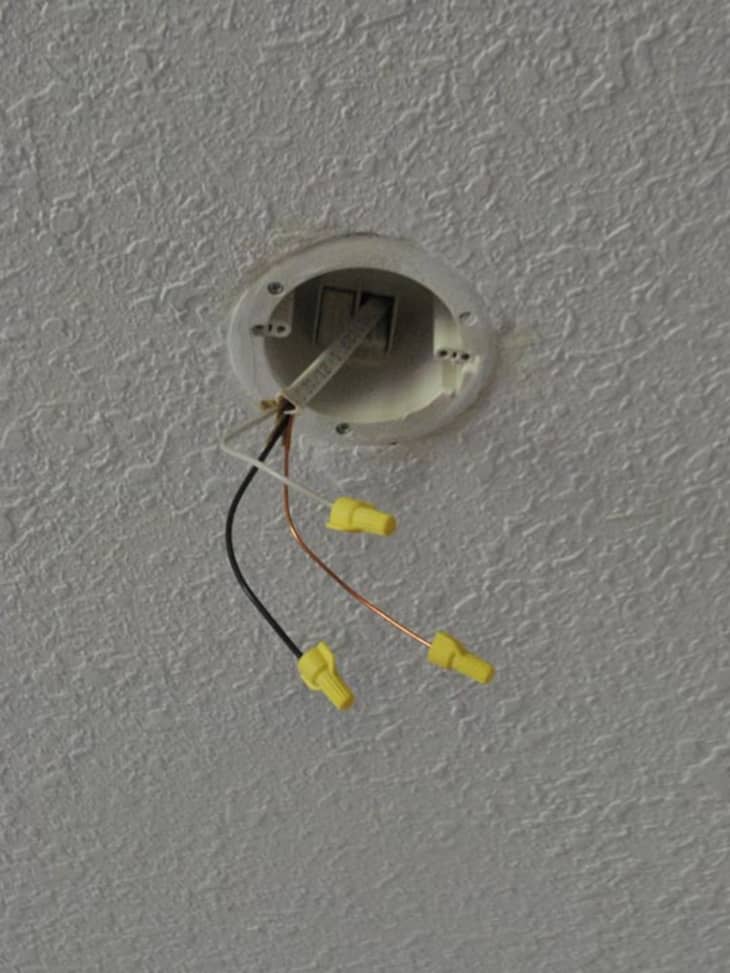
4. Next, attach the wires protruding from the ceiling box to the wires on your light fixture. Notice that the ceiling has a black and a white wire as well. The third copper colored wire is the ground wire.
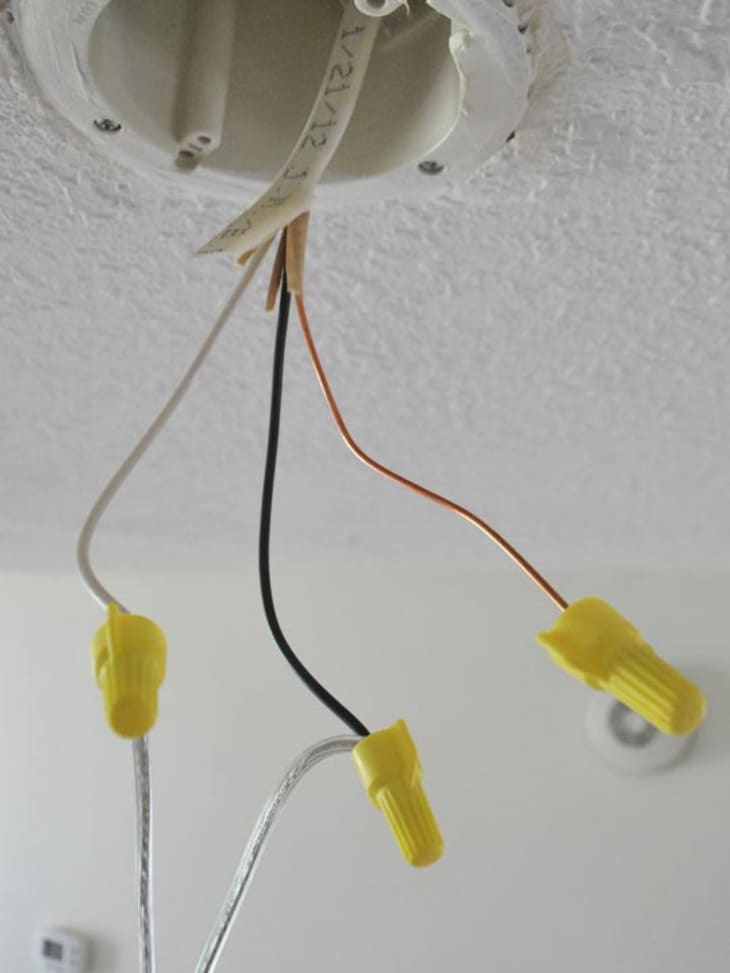
Twist the exposed parts of the white wires together clockwise, then screw the wire nut onto the ends. Do the same with the black ones. Note: you might need help holding the light fixture up while you do this step. Loop the exposed part of the copper ground wire around the green screw on the mounting bracket of the light fixture, then tighten it into place.

5. Tuck all the wires neatly into the ceiling box, then screw the fixture’s mounting bracket into the ceiling box, according to the instructions. Once you test it out and see it’s working properly, you are done!
Variations That Might Trip You Up
• Sometimes wires from the ceiling box attach directly to the metal part of the ceiling light, instead of to corresponding wires. If so, wrap the black wire around the brass screw, and the white around the silver screw.
• The ground wire is sometimes green instead of copper.
• If there is a green screw on the mounting bracket of the light fixture, loop the exposed part of the ground wire around the screw, then tighten it into place.
• If there is a grounding wire on your light fixture as well, attach the two grounds together and secure with a wire nut, just like you do with the black and white wires.
• In the case of multi-light fixtures, there can be more than one black and white wires. If so, attach all the black together and all the whites together.
HELPFUL LINK:
• How To Remove a Light Fixture
(Images: Dabney Frake)