
How To Make a Simple, Modern Screen to Hide the Ugly Stuff in Your Backyard
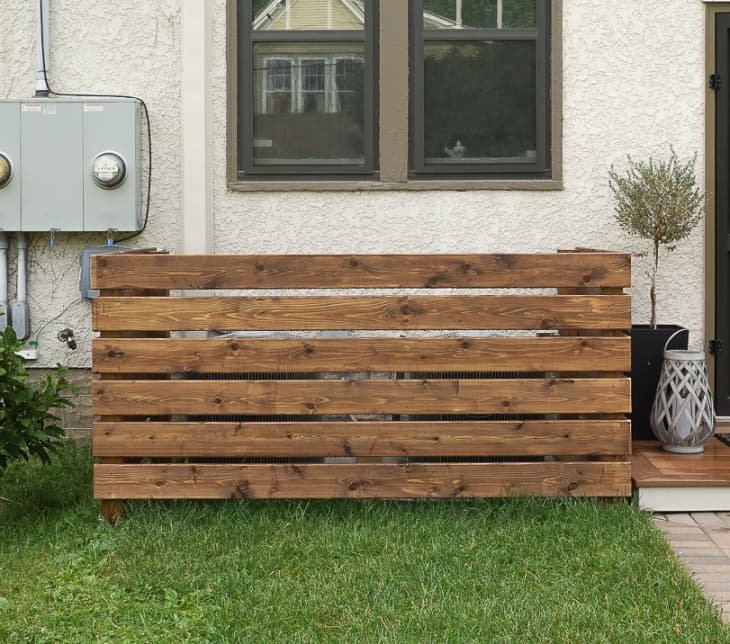
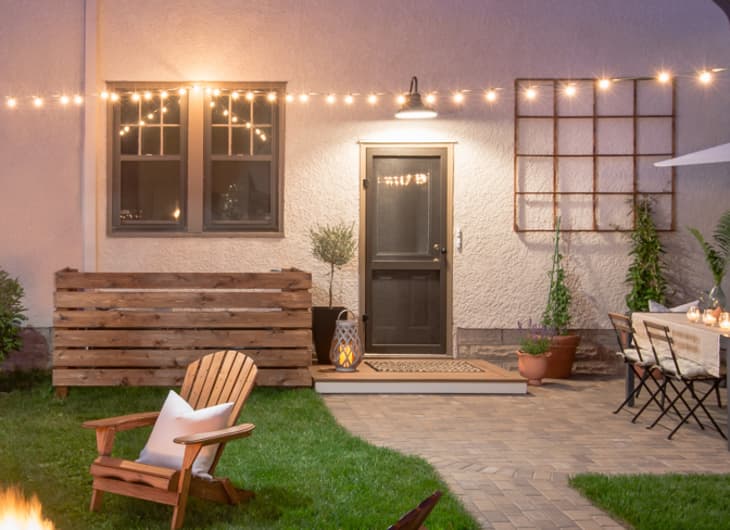
Central air conditioning can be a lifesaver for keeping our homes cool in the summer months, but the look of the air conditioning units themselves leave much to be desired when it comes to backyard ambience. With our home being a duplex, my husband, Ken, and I had double-trouble air conditioner units located next to our backyard patio, and we needed to find a solution for hiding them in plain sight without interfering with their efficiency. We looked high and low for fencing with the right look and specifications to meet our needs, and after coming up short, we decided to simply build one from scratch out of cedar.
Follow along as we build an enclosure that adds a beautiful wood element to our home’s backyard façade and more importantly still allows our air conditioning units to cool our socks off in the summer months.
What You Need
- Twelve 1” x 6” cedar boards @ 8’ long
- Four 4” x 4” cedar posts @ 8’ long
- 2.5” Galvanized screws in a color that matches the wood stain
- Mitre saw
- Post hole digger
- Level
- Cordless drill
- Dark walnut exterior stain
- Speed square
- Pencil
- Spray paint
- Circular saw
- Two saw horses (optional but helpful)
Instructions
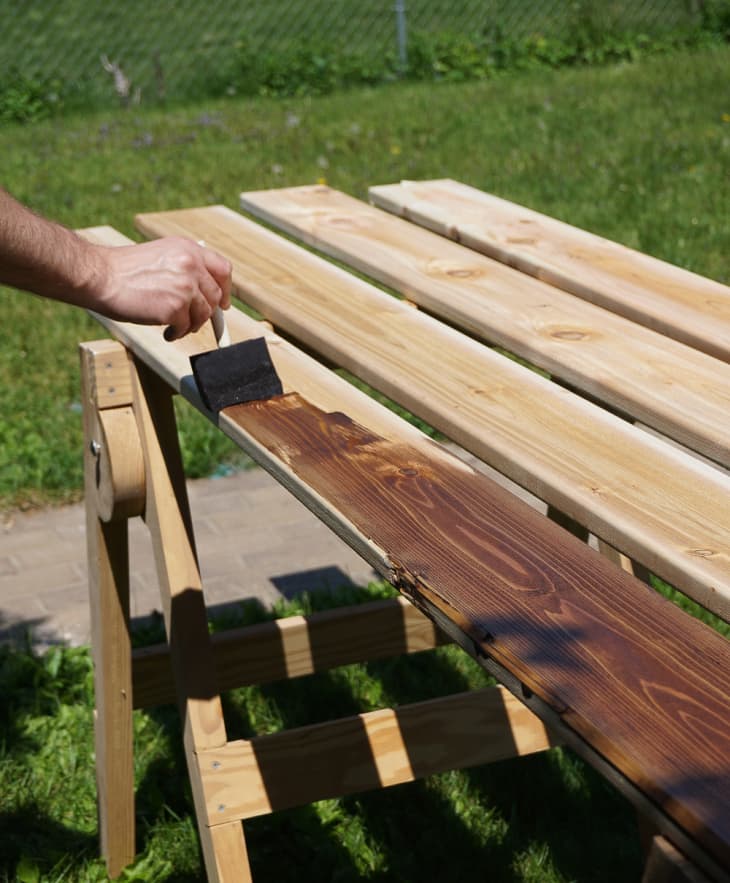
1. Stain all sides of the cedar boards and posts with one coat of exterior grade stain.
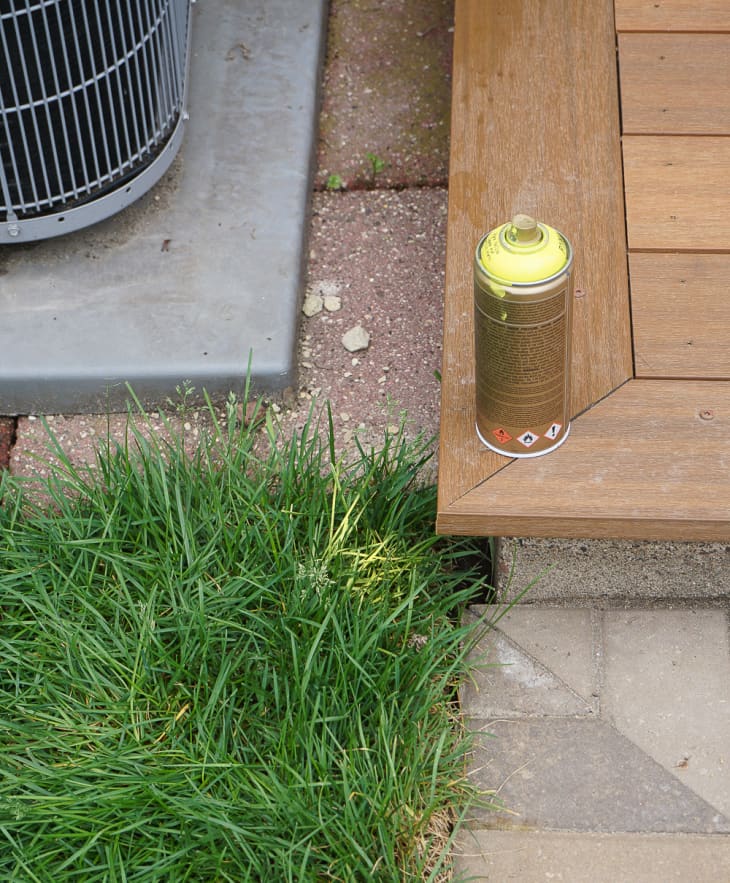
2. Mark the locations for the four posts using a spot of spray paint. Find each of the exact locations by measuring out from the house, making sure the enclosure will align parallel. In terms of post placement, a good rule of thumb is to build the enclosure at least 12”+ away from the unit(s) on all sides to ensure proper air intake.
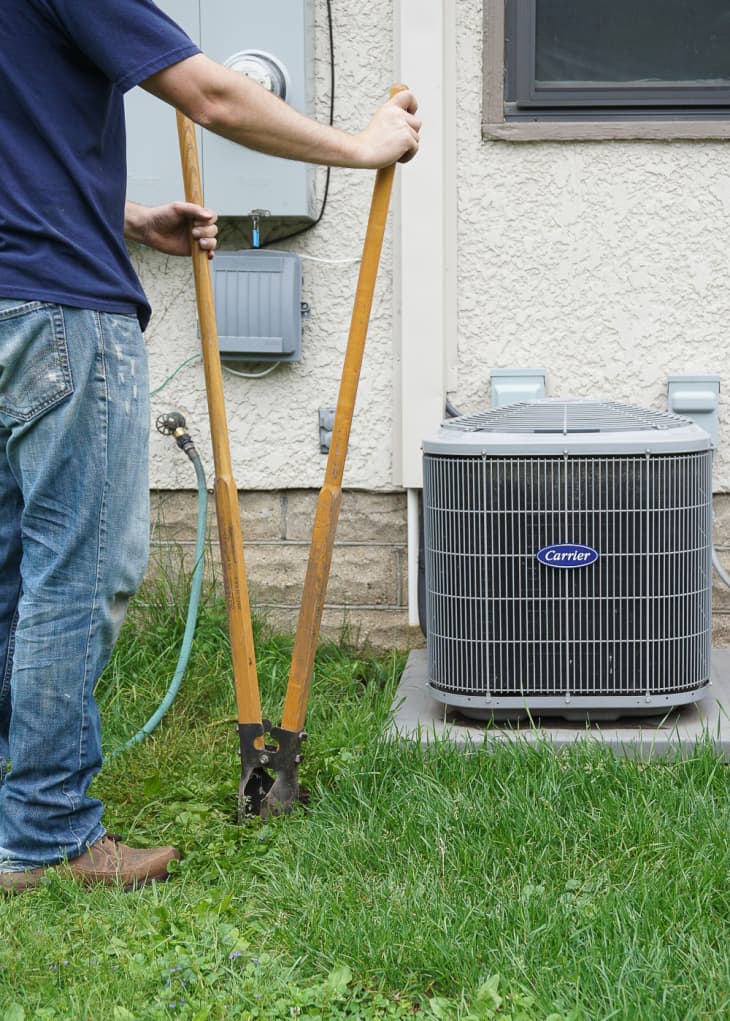
3. Use a post hole digger to dig down roughly 2-3 feet in each of the four intended post locations.
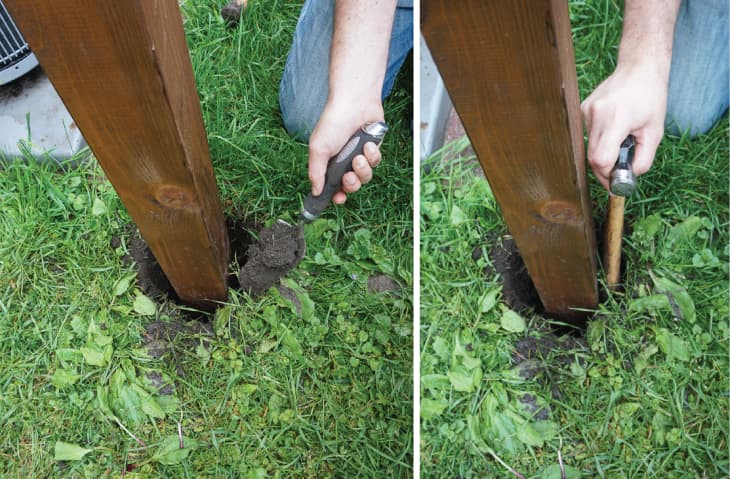
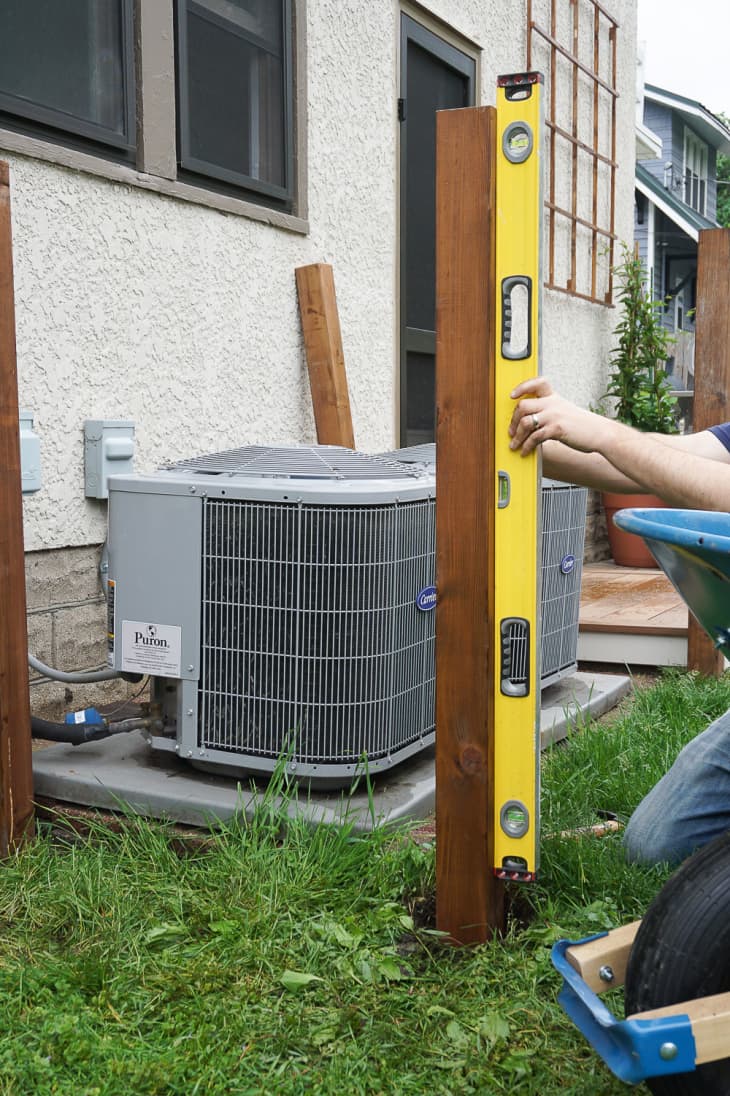
4. Place the posts into the holes and back fill with dirt to secure into place. Use the back end of a hammer to pack the dirt in and a level to make sure the posts are coming straight out of the ground.
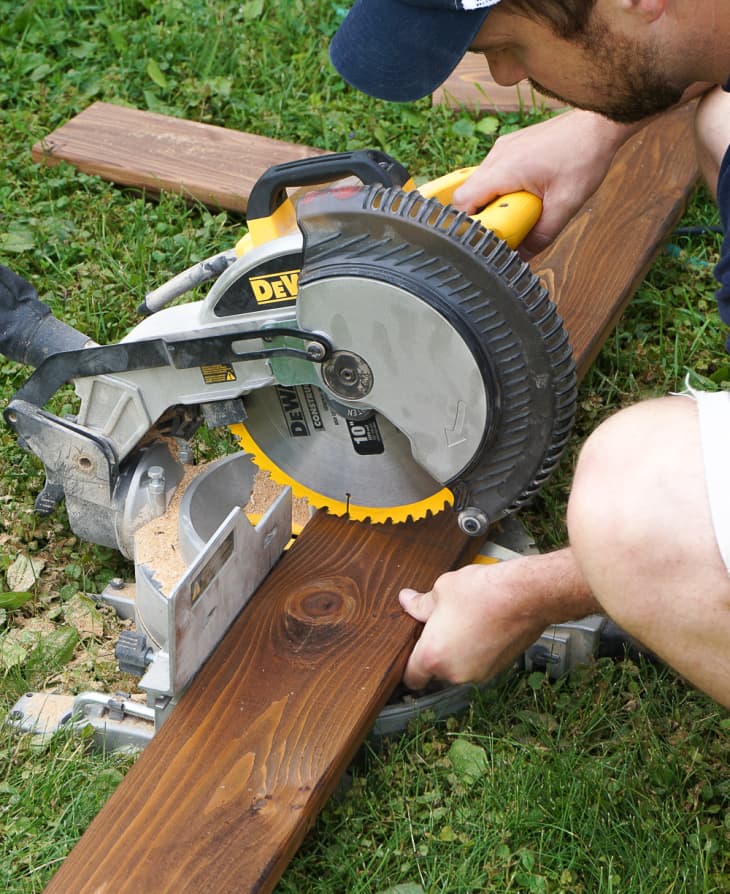
5. Now we can start cutting and attaching the boards! Use a mitre saw to cut the boards down to size as you go to ensure a perfect fit.
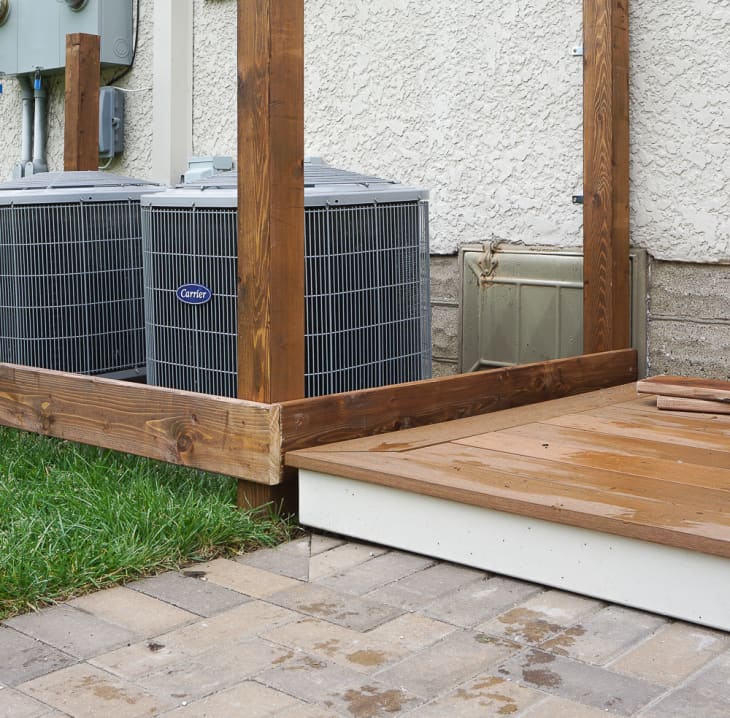
7. Attach the boards horizontally to the posts using galvanized deck screws and a cordless drill. If the ground isn’t level, hang your first board at the highest point and work your way around from there. Don’t forget to use a level on the first row of boards to ensure straight placement.
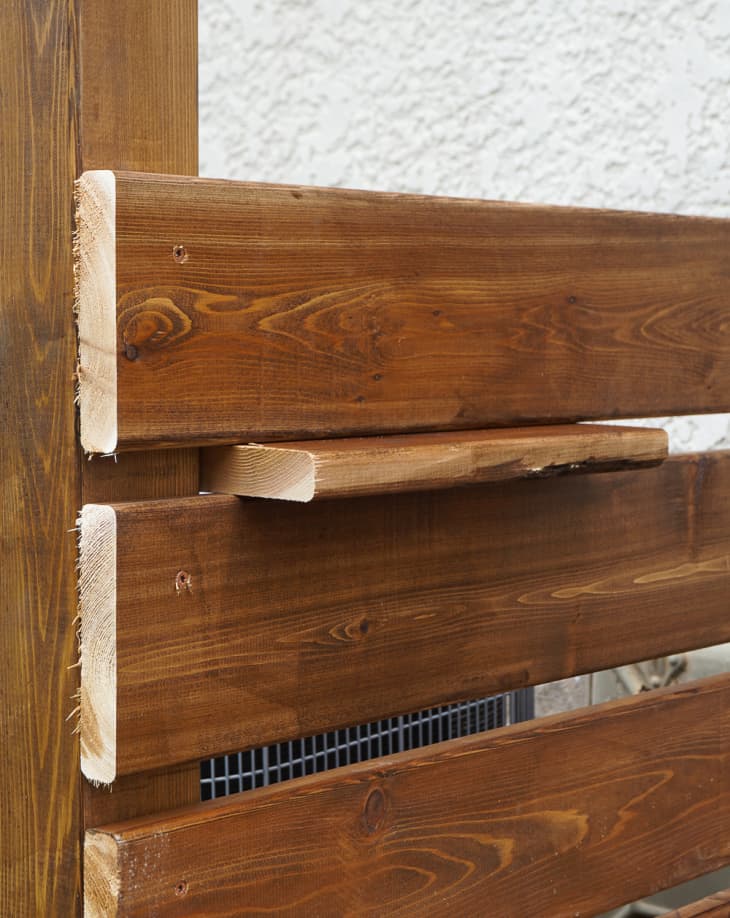
8. Once the first row of boards are attached, begin working your way up one full side of the enclosure attaching the boards with just one screw on each end to begin with (just in case you make any mistakes or need to adjust anything). You’ll come back at the end with the 2nd set of screws. Use two scrap board pieces as quick 1” spacers. Once you reach 6 boards high, you should be at a good height to hide the air conditioner units. Repeat with the remaining two sides.
9. When you reach the top row, mark the finished height for your posts, and cut them down using a circular saw. We chose to cut down the posts so they recess below the top row of boards by 1/2″.
Have a really great DIY project or tutorial that you want to share with others? Let us know! We love checking out what you’re making these days, and learning from our readers. When you’re ready, click here to submit your project and photos.