
How to Tie a Perfect Bow on a Present
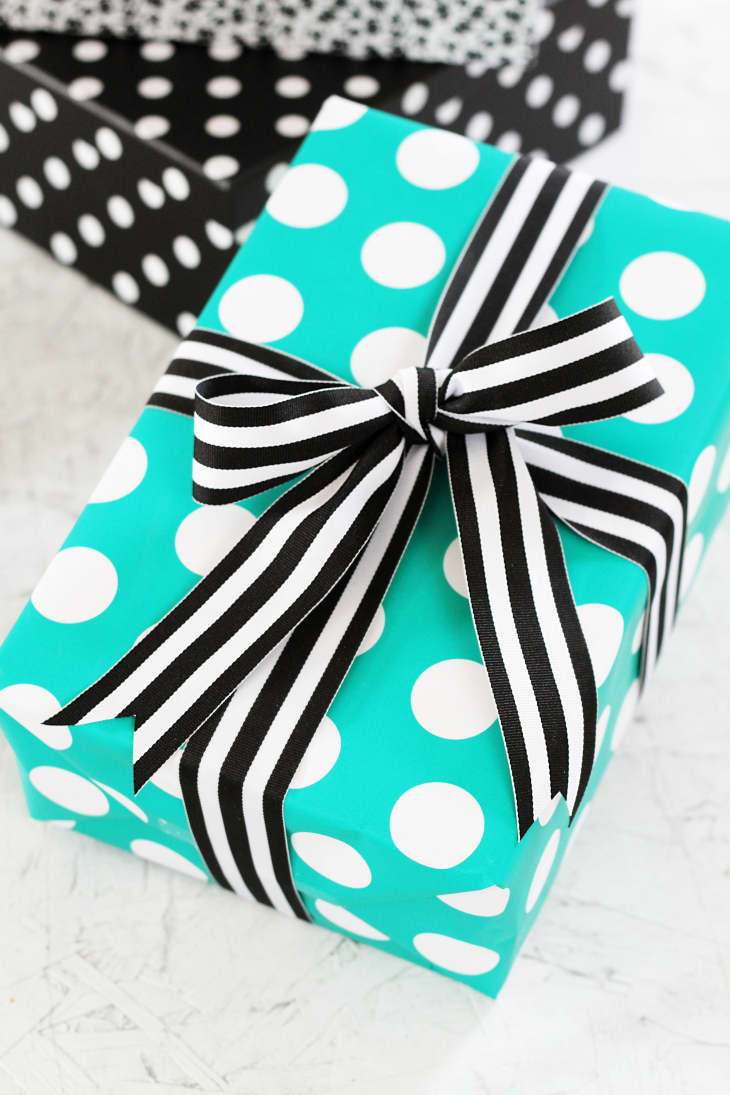
Yes, yes, the most important part of a gift for a friend or loved one is what’s inside the box — but that doesn’t mean the outside can’t be beautiful, too! Aside from gorgeous wrapping paper, one simple way to upgrade your gift-wrapping game is with a statement-making bow. And tying a bow on a present is easier than you might think!
All it takes to create a beautiful bow on a present is enough ribbon and a little practice. Below, learn how to tie a bow on a present for professional-level results that will wow recipients every time.
How to Tie a Bow on a Present
1. Get the right amount of ribbon.
Prep your ribbon by measuring the present you’re wrapping. Get the height by measuring from the base of one end, the length across the top, and the height from the top to the base of the opposite end. Then multiply that by 5 (or 6 if you want to build in some cushion) to get the total length of ribbon you’ll need to tie the bow around the package.
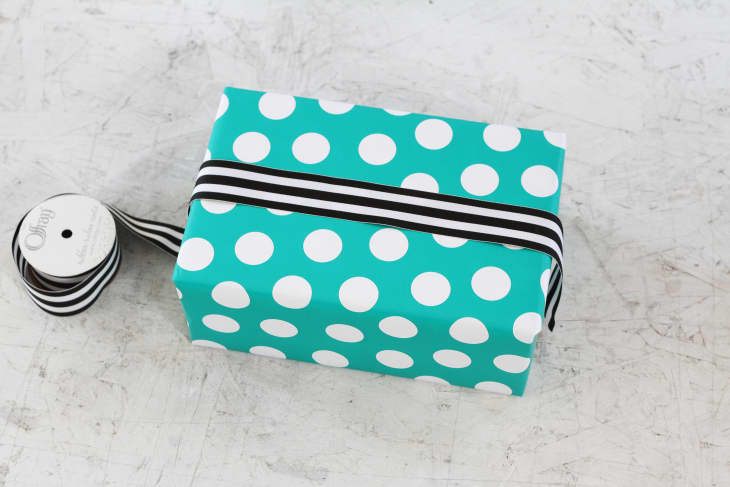
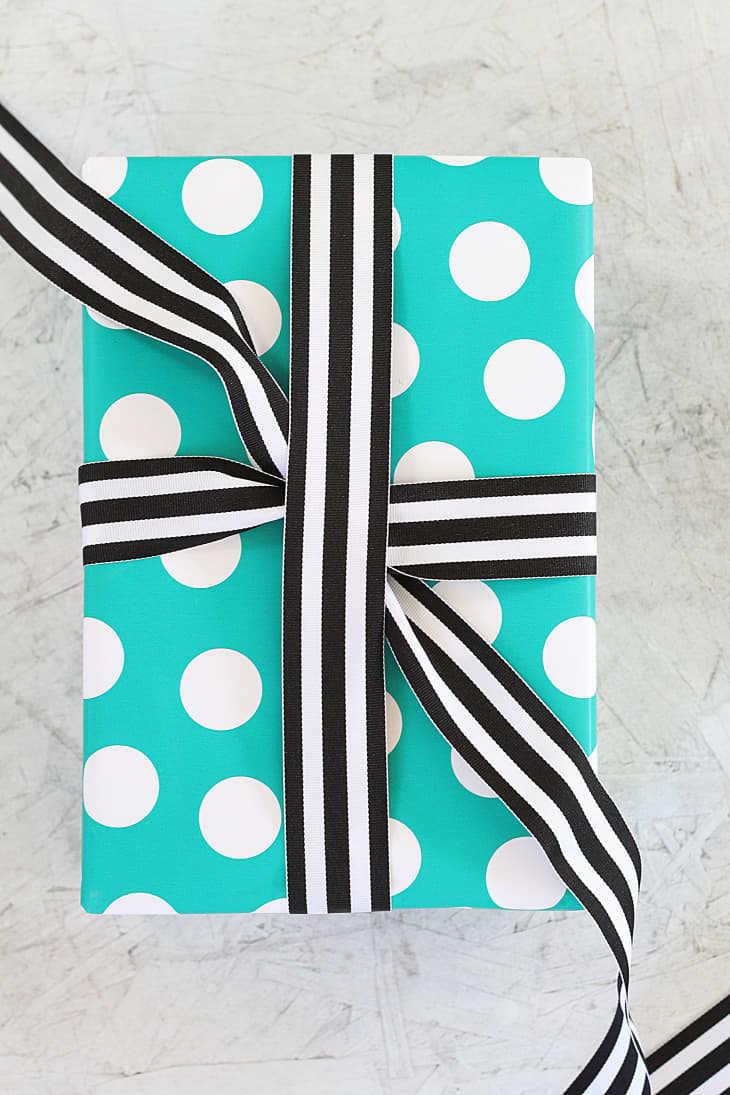
2. Locate the middle of the ribbon.
Find the middle of the ribbon by bringing the two ends together and dividing in half. Place the middle of the ribbon over the center of the package. Be sure the middle of the ribbon stays in the center of the gift as you proceed to the next step.
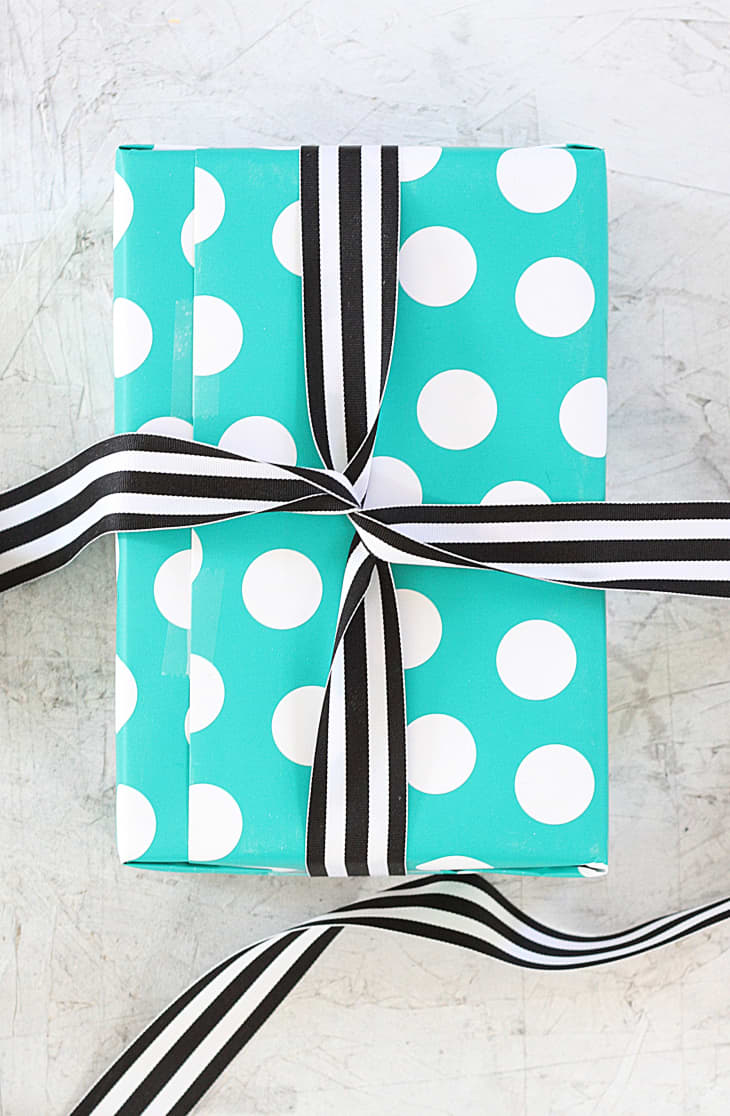
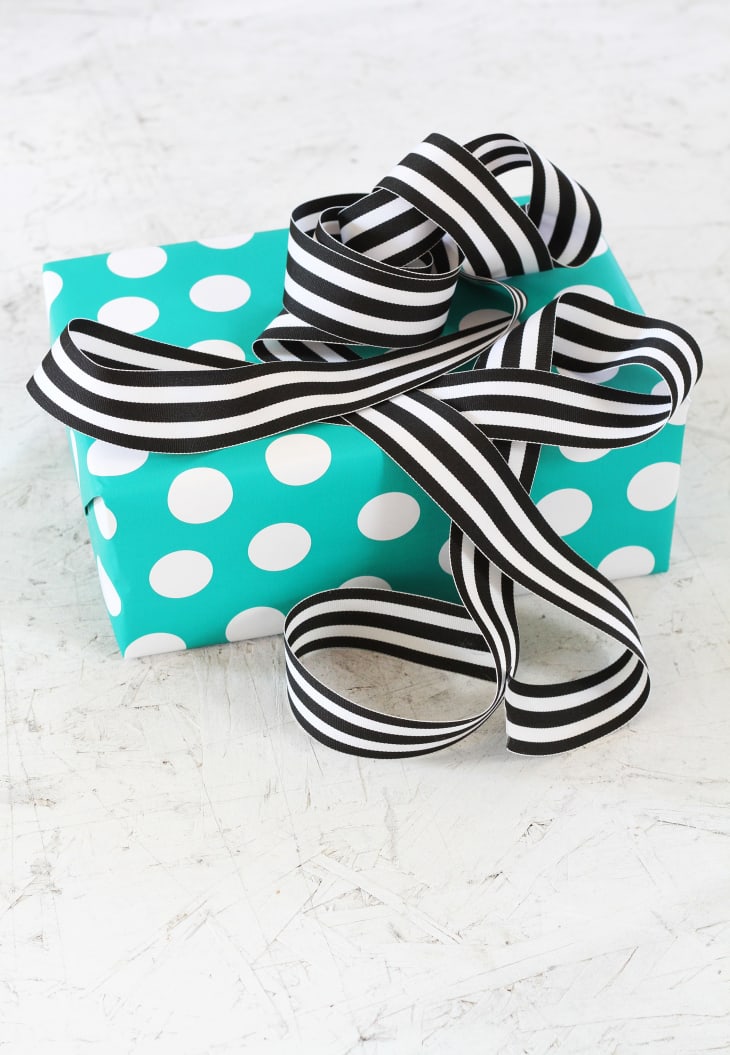
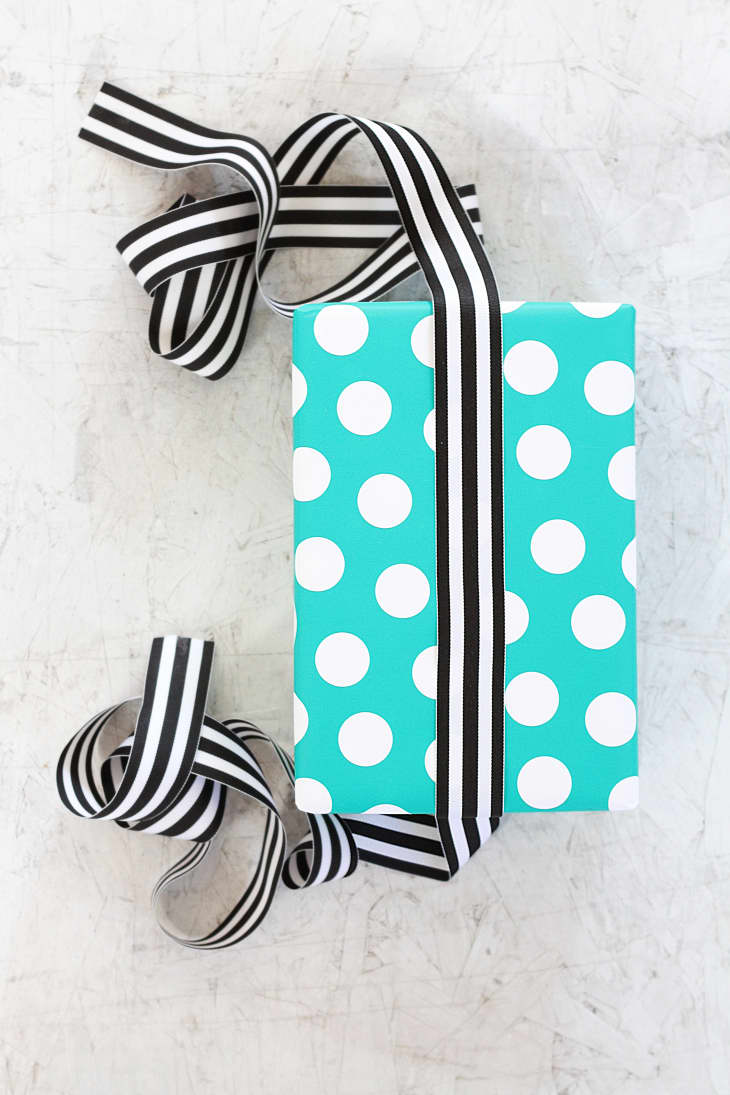
3. Start wrapping the ribbon around the package.
Fold the ribbon around the edges and bring together at the center of the back side of the package. Then, twist so that you create a cross in the middle of the package.
4. Bring the ribbon back to the front.
Bring the ribbon up and around the edges to the front of the package. Tie the ribbon in a knot under the initial vertical placed ribbon.
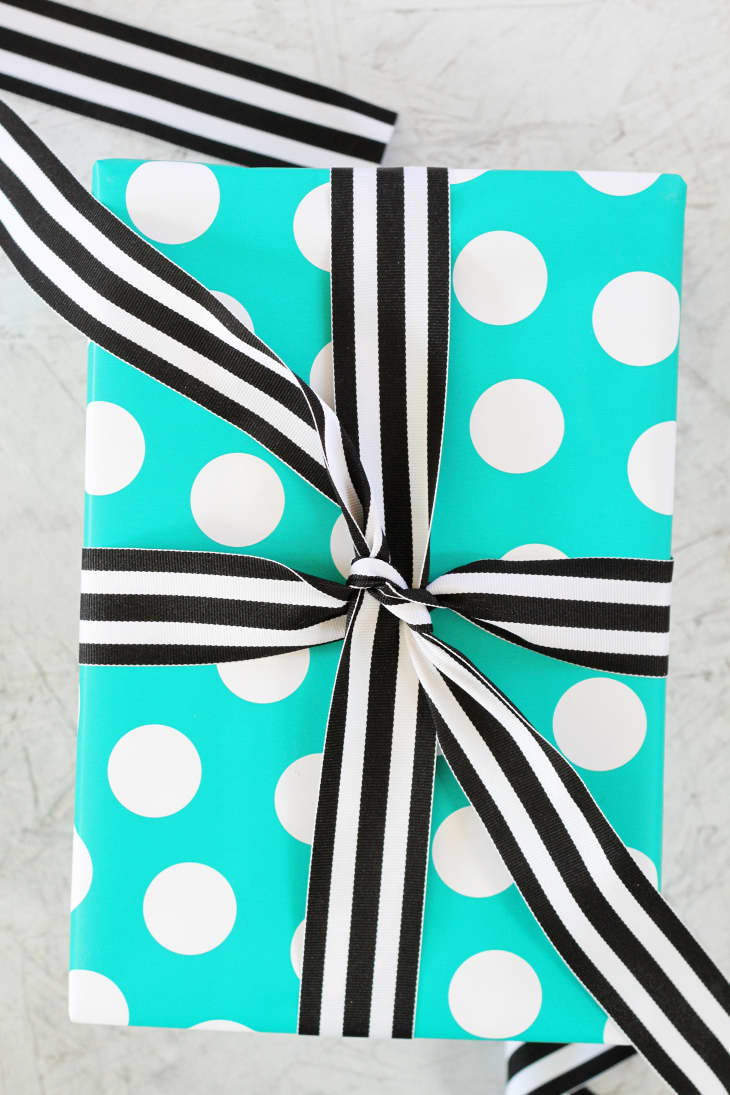
5. Tie a knot.
Using the two loose ribbon ends, tie a knot around the vertical ribbon you’d placed at the beginning of the project. You should have a gift that has ribbons on all four sides and a knot in the center of the top face.
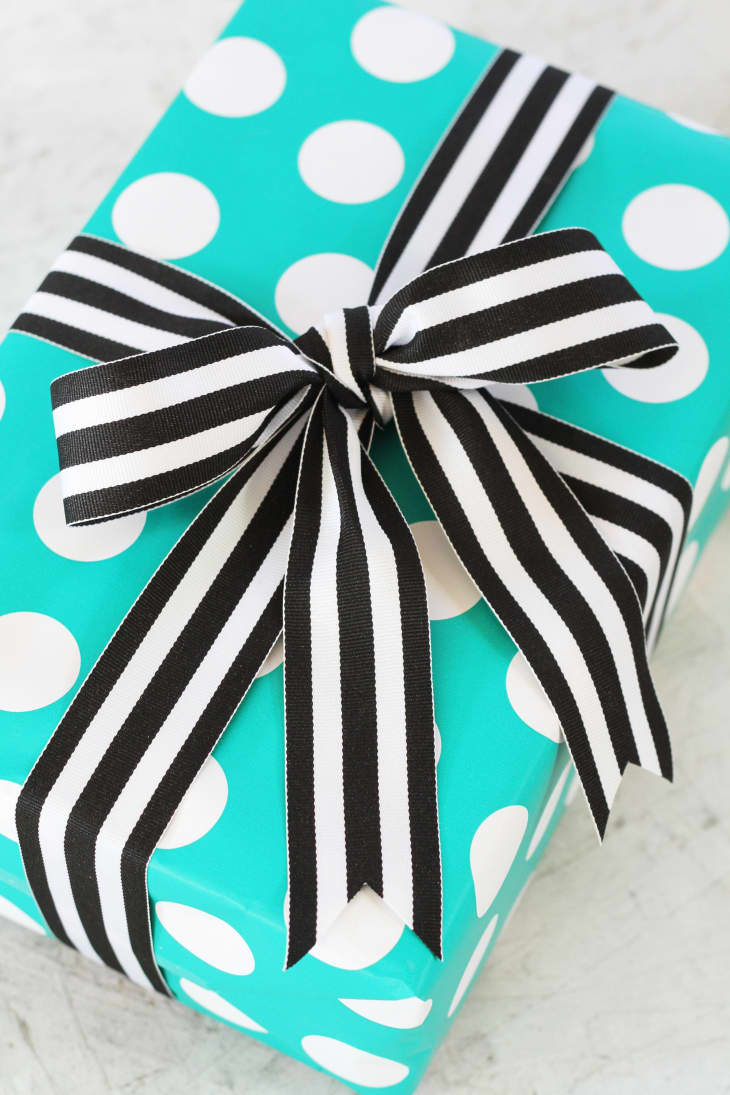
6. Tie a bow.
Take the two loose ends and tie in a bow by first bringing up one end in a loop, pinch at the base, and bring the other ribbon around, under, and through the loop. Pull taut.
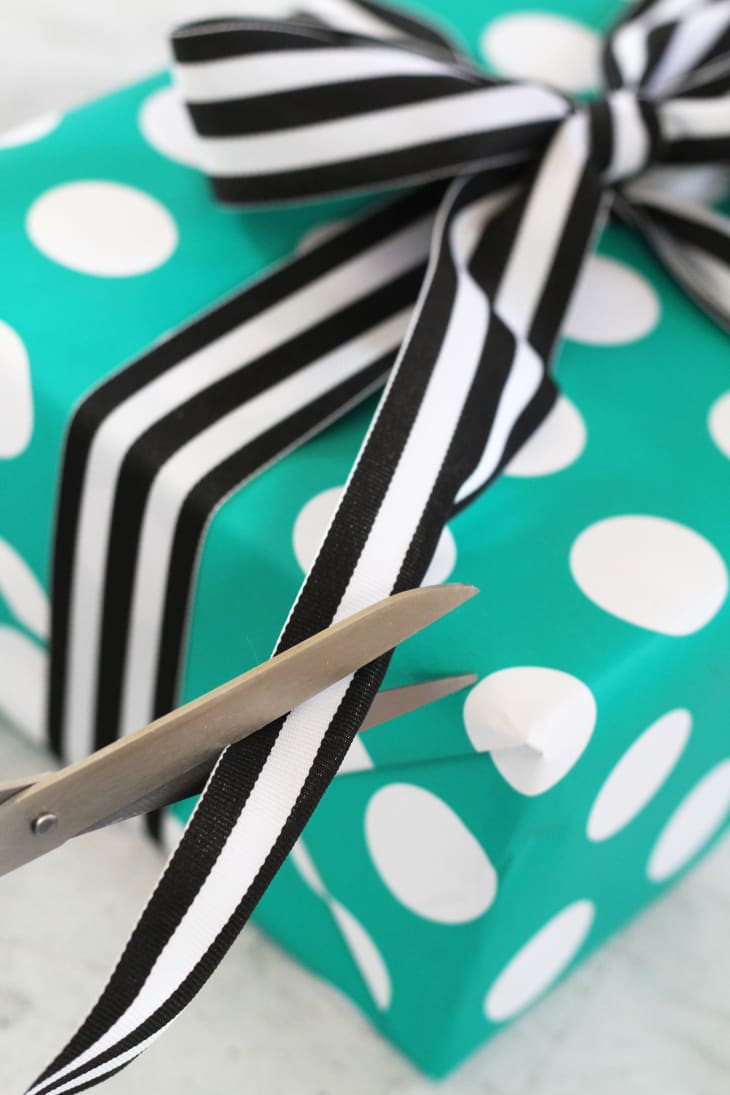
7. Fluff the bow and snip any excess.
Take some time to fluff up and perfect overall look of the bow, you may need to adjust the loops by tugging on the tails. If you really want to get fancy, clip the tails by folding them in half and trimming at at upward angle.
