
Don’t Make These Common IKEA Kitchen Cabinet Assembly Mistakes
Swapping out your cabinets is one of the easiest ways to give an outdated kitchen the refresh it needs. But this particular item is one of the more expensive elements in a kitchen. Fortunately, there’s a solution: IKEA kitchen cabinets.
Though much more affordable, going this route isn’t without challenges. We love IKEA, but readily admit assembly and installation can be rather tricky. That’s especially true when you’re building out an entire kitchen worth of IKEA furniture.
To save you time and frustration during your own reno, we’ve assembled (pun intended) a list of the most common mistakes people make when installing IKEA kitchen cabinets.
1. Not paying for delivery
The surest way to avoid frustration before you even take a single step inside your house is to pay for delivery. Like most of IKEA’s offerings, their kitchen cabinets are entirely modular. Even though all those pieces come packed neatly inside boxes, you’ll be dealing with a lot of boxes. IKEA’s delivery fee starts at just $59 and will save you many back-and-forth trips.
2. Not making a list—and checking it twice
Because IKEA’s kitchens are modular, it’s easy to miss something. When ordering your IKEA cabinets, book a free appointment with a kitchen specialist to ensure your order is correct.
On delivery day, make sure each and every box on your list is accounted for. It’s a whole lot easier to order a missing part before you start assembling.
3. Buying everything at IKEA
You read that right: One of the big benefits to the modular system is that you don’t have to buy everything from IKEA. If you’re looking for a custom look without the custom price tag, consider buying the cabinet shells from IKEA and splurging on custom drawer fronts and cabinets. A company called Semihandmade makes beautiful options manufactured to fit IKEA cabinets.
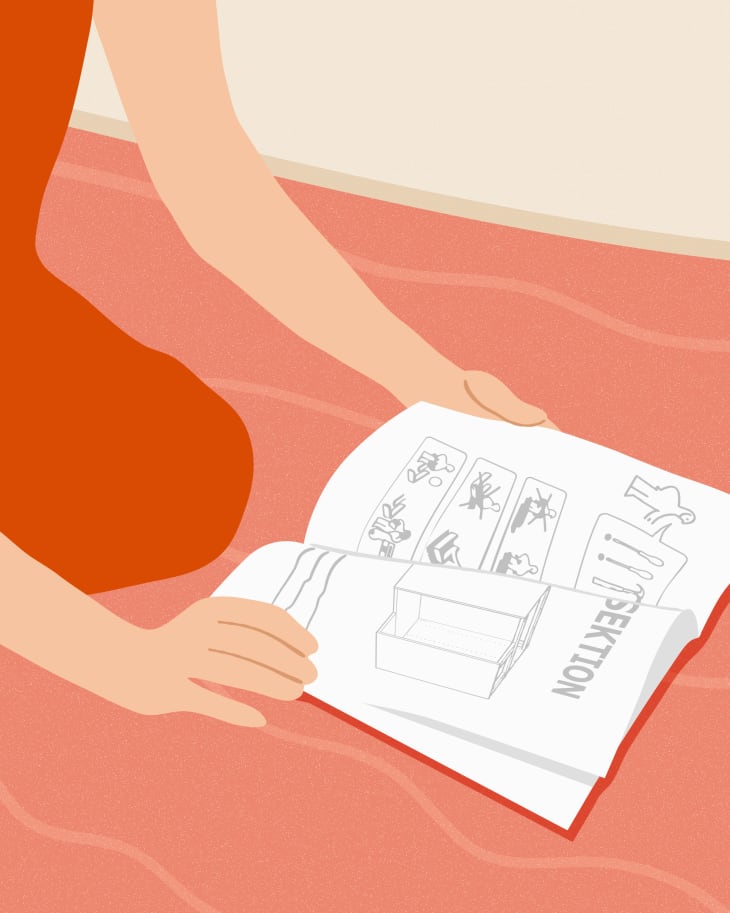
4. Not reading the directions carefully
This should go without saying, but we get it—assembly day is exciting. What’s not so exciting though? Realizing you’ve installed everything backwards or upside-down and starting from scratch or—worse—ending up with drill holes in the wrong spots.
Read the directions carefully each and every time—even if you’ve already built the same cabinet three times.
5. Trying to do it alone
The directions clearly state assembly requires two people for a reason. And while you can probably get away with ignoring that advice when building a bookshelf, it’s not a smart idea when it comes to kitchen cabinets—for reasons pertaining to both safety and finished aesthetic. Cabinets are heavy, plus they require precision (especially upper cabinets) to hang evenly on suspension rails.
6. Assembling furniture on a bare floor
IKEA kitchen cabinets are made of MDF, or medium-density fiberboard. Because they aren’t real wood, they’re much more affordable. But this also makes them more prone to chips and scratches. Do yourself a favor—protect your brand new cabinets from premature demise by assembling them atop a drop cloth or carpet.
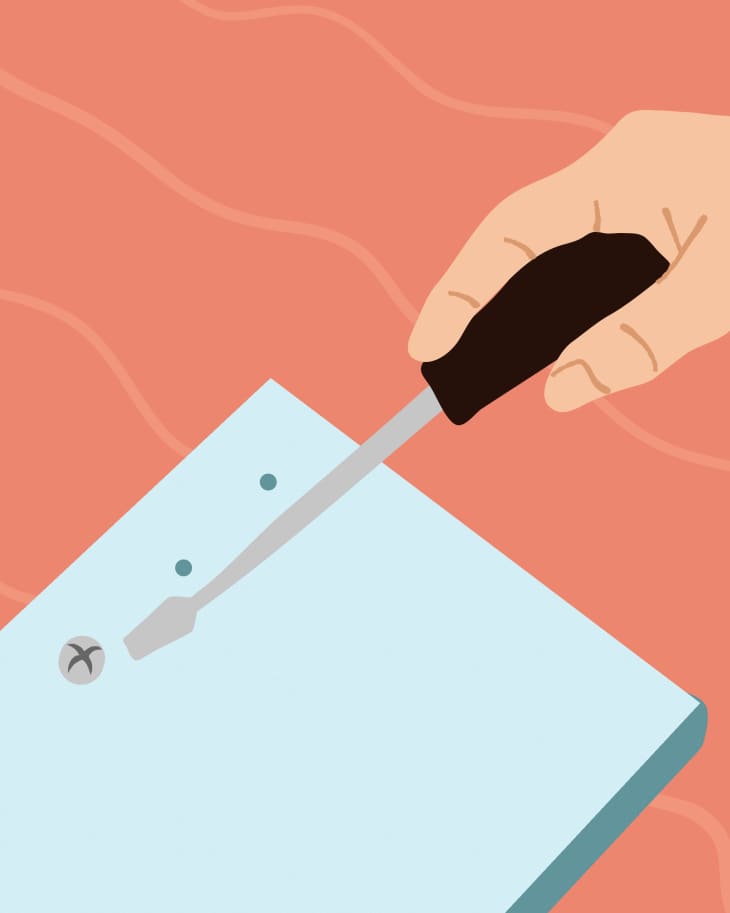
7. Not using a drill
This goes against IKEA’s assembly instructions, but assembling their kitchen cabinets is a very tedious task. A drill can save a significant amount of time when screwing everything together. Just proceed with caution—drilling too fast and too far can cause that fragile MDF to crack or splinter.
8. Installing boards the wrong way
When you’re relying on black-and-white instructions with no text, deciphering the steps can feel a little like reading another language. And this style of instruction makes it a little too easy to fall for one of the biggest potential pitfalls: installing the cabinet boards backwards. During installation, take care to ensure the brown side of the boards are facing the exterior of the cabinets. Otherwise, you’ll end up with multi-colored interiors.
9. Not using the suspension rails
Though the rail system is optional, it makes installation much easier. As long as your suspension rail is level, your cabinets will be level. Plus, you can slide your cabinets onto the suspension rail before locking them into place to ensure they’re exactly where you need them to be.
Use the suspension rails for the base cabinets, too. The legs that IKEA provides are flimsy, and won’t hold up to regular use.
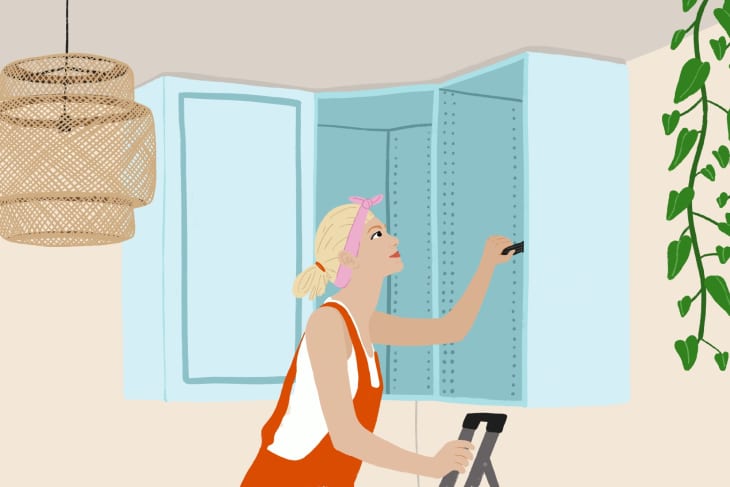
10. Installing base cabinets first
Start with the upper cabinets—this makes them much easier to hang, since you won’t have to reach around lower cabinets to work on parts that are higher and harder to reach.