A Designer’s Ingenious Hack for Making Your Home Look Better in Photos

Almost every homebuyer across the U.S. views a property online before scheduling a physical house tour. Scrolling through listing photos is simply the beginning of the process. So if you’re a seller, it’s pretty important to make sure your home is looking picture-perfect to increase foot traffic.
To make your home look better in photos, think like a lighting designer, says Niki VanEch, principal designer with VanEch Studio in Occoquan, Virginia. Lighting designers arrange lights to enhance settings for plays, television, and concert performances.
Over her 30 years as an interior designer, VanEch has staged many homes for Realtors and observed how professional real estate photographers use lighting to illuminate a home’s assets, similar to lighting designers. While she recommends hiring a professional real estate photographer, VanEch says even if you use a smartphone, you can take better photos of your space by staging the lighting.
According to a 2021 National Association of Realtors report on Real Estate in a Digital Age, 89 percent of homebuyers listed photos as the most valuable features on a Realtor’s website. In the same survey, 51 percent of homebuyers said they first found the home they eventually purchased by viewing it online. That means photographs can make or break a home sale. To make your home look better in photos (and in real life, of course), VanEch suggests using the following lighting techniques.
Use natural light when possible.
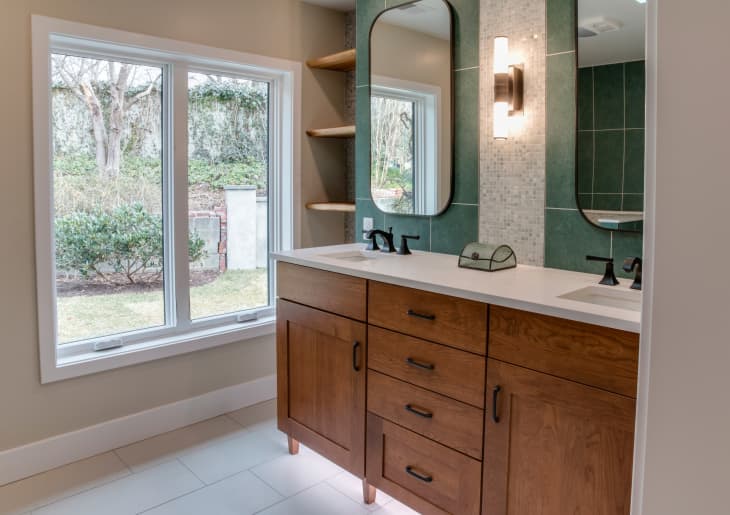
Even if you turn on every light in the house, VanEch says nothing beats natural light for photographing a home. She recommends taking photos while the home is drenched in sunlight. Pull back drapes, lift blinds, and bring natural light into every room in the house.
“If you wait until it’s getting dark outside, your home is not going to appear as inviting,” VanEch says. “You know, even very dark rooms that are photographed are drenched in natural daylight just because that’s how they look better in a photograph.”
Choose a consistent light bulb color.
“I’m very big on making sure your light bulbs are consistent in color. In other words, don’t have some LEDs mixed in with your regular incandescent bulbs,” she says. “Make sure everything is consistent. Because the camera will pick up those variations in color temperatures.”
She also recommends avoiding fluorescent lights, which give off a blue hue. “You’re gonna have kind of poor photographic quality where people are just going to not respond as positively,” she says.
Paint walls with reflective colors.
Paint colors have reflective qualities, and some show better in photography. VanEch suggests homeowners consider a paint’s Light Reflectance Value (LRV). You can usually find this on the paint container label. The higher values will reflect more light in photographs.
“Obviously, white is a very high reflective color, but you can go sort of in the mid-ranges and still maintain a high LRV,” VanEch says. “I wouldn’t go below 40.”
Fix your fixtures.
Make sure your lamp shades are clean and free from damage. Shades can reflect light in their fabric colors, VanEch says. She recommends leaving the lights off while taking photos if the shade is not white or clear.
Ensure your fixtures in the hallway and throughout the room are consistent in the finish and don’t look dated, too. You might need to revamp your light fixtures.
“You don’t want anything that looks like it comes out of a 1970s ad,” VanEch says. “There are inexpensive types of fixtures that you can switch out. That’s not going to kill your budget but makes a huge difference, both in the photography and when people come to walk through the space.”