
This “Wall-to-Wall White” Bathroom Got a Bright, Floral Makeover
Bathrooms under the eaves with angled walls and ceilings can be tricky to work with, and sometimes it takes work to squeeze in room for a standing shower (plus all the other plumbing fixtures a bathroom needs) in those spaces.
Hannah Bayliss’ (@thatstonecottage) bathroom under the eaves, thankfully, only had one sloped side, and the other half of the room was fairly tall.
Hannah liked the deep windowsill from her house’s thick stone walls, but she didn’t like how tiny the shower was, how the sliding shower door was about to fall off, and how the bathroom tile was in rough shape with Sharpie-marker stencil designs on it. (The room was last updated in the ’80s or ’90s.)
“It felt really cold and echoey, with wall to wall white,” she says. Here’s how she gave it a colorful makeover.

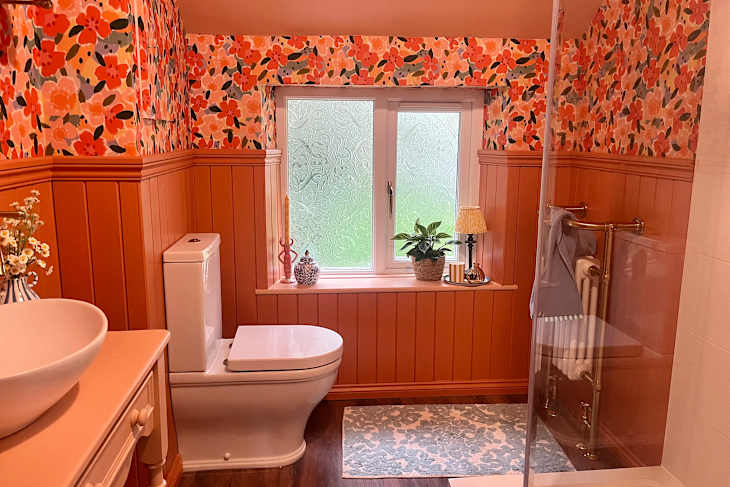
The bathroom’s new layout makes more sense.
First, Hannah and her husband worked with a contractor to rearrange the room a bit. “We removed the bidet, shuffled the toilet down toward the external wall (relatively cost-efficient since it was along the same line of plumbing), and moved the sink to the opposite wall than it was previously (next to where the bidet was),” Hannah says. “This freed up the wall next to the shower to allow us to add a much longer one.”
The contractor handled the demo and installation of the new fixtures and tile, and then Hannah took the project to the finish line.
The walls have new paneling, paint, and wallpaper.
“I’ve wallpapered before but never anything as complex as this room, with corners, hidden cupboards, and window reveals,” Hannah says. “To be honest, I just went for it! I had a reasonable level of confidence in wallpapering from my one day of doing a straightforward wall before, so I just took it all slowly, tried to look ahead and plan where the pitfalls could be, and also asked a few great friends on Instagram for their advice.”
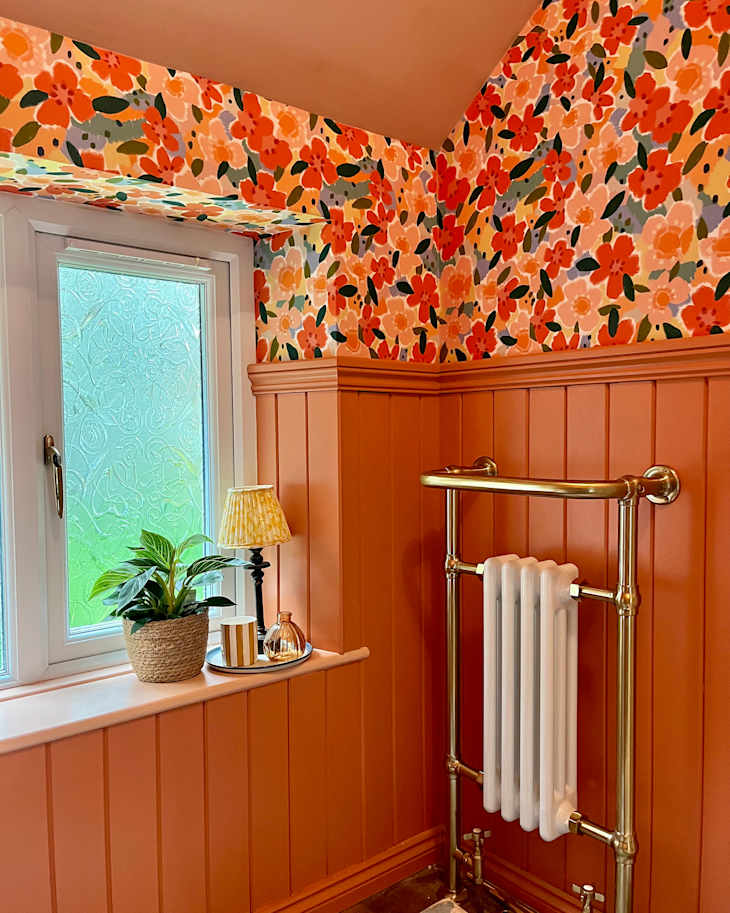
She used a bright multicolor floral wallpaper from Hovia, and she’s particularly proud of matching up the wallpaper panels given all the tricky angles.
Hannah also added tongue-and-groove paneling and a chair rail around the room — again, a feat given that there weren’t any perfect 90-degree angles in sight — and she painted that coral-meets-orange (Edward Bulmer’s Malahide). “The wallpaper brings such a vibrancy and makes the whole space feel uplifting, and the paneling and heritage-style fixtures ensure everything still feels like it belongs in a cottage,” she says.

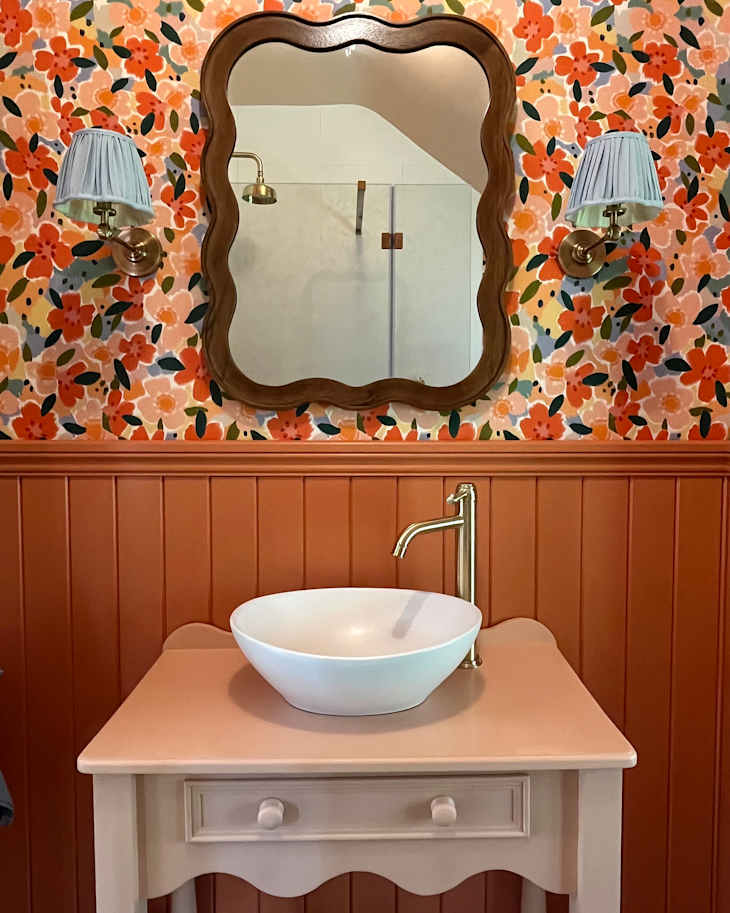
The vanity was a DIY project.
Hannah found her vanity (once a shiny orange pine piece) on Facebook Marketplace for about $41, and she stripped it, sanded it, painted it, and waterproofed it. She used a lighter pinkish coral, (Edward Bulmer’s Hespan) for the vanity (and the ceiling).
“I’m particularly thrilled with how the vanity unit turned out,” she says. “The lesson there is to scour Facebook Marketplace and eBay and wait for the right thing to come along. Once you’ve spent enough time searching on FBMP, the algorithm knows what you want, and you end up getting pretty good recommendations.”

The homeowners saved money where they could.
Other budget-friendly moments in this bathroom include: using an upcycled door from downstairs for the bathroom door, the approximately $150-per-pack white wall tiles, and a ceiling light fixture from Amazon.
“We also added wall lights on either side of the mirror, and put everything on dimmer switches,” Hannah says. “This makes such a difference.”
Her best bathroom advice overall? “If you have a vision and you love it, then stick with and go for it! … I absolutely love the look and feel of the room now!”
Inspired? Submit your own project here.