
Before and After: 3 Peel-and-Stick Projects Transform a Rental Kitchen for Just $200
It can be difficult as a renter to make big changes in a kitchen, but it’s not completely impossible. Take this kitchen transformation with funky renter-friendly checkerboard floors, for instance, or this one that completely changes the look of the cabinets and counters but can be easily undone when it’s time to move out. The great news is that both aforementioned redos cost less than $300, and the even better news is that there’s a new ultra-budget-friendly, renter-friendly kitchen to add to the list of low-cost project inspo.
DIYer Jillian Marie Sayegh (@mysmallbiteofthebigapple) added big style to her tiny NYC kitchen for jut under $200. “I knew upon renting this apartment that I was going to go all in!” she says. “I was excited to dive into this blank apartment, and because it was blank, the possibilities were endless. Although I am not a master chef, I wanted a kitchen that I could entertain in and be proud of. There is no point in having a boring space!”
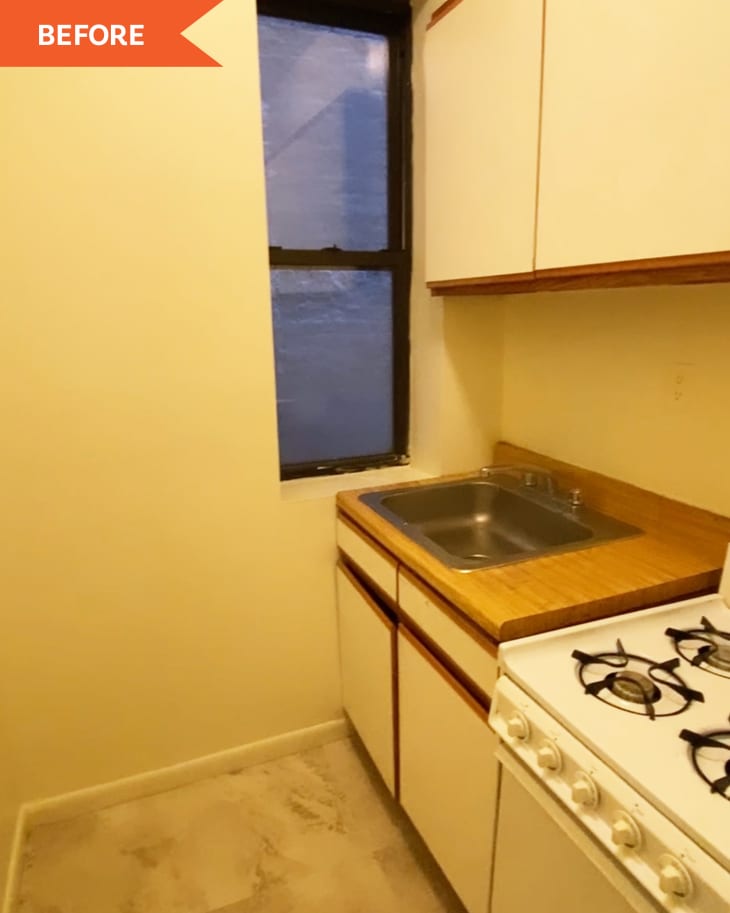
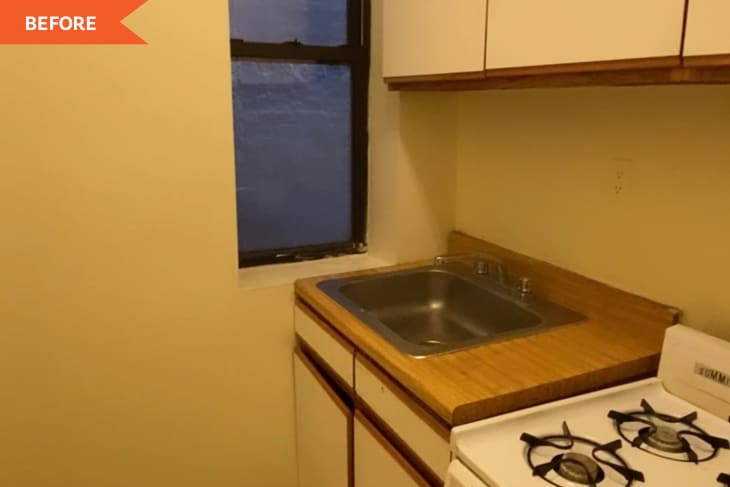
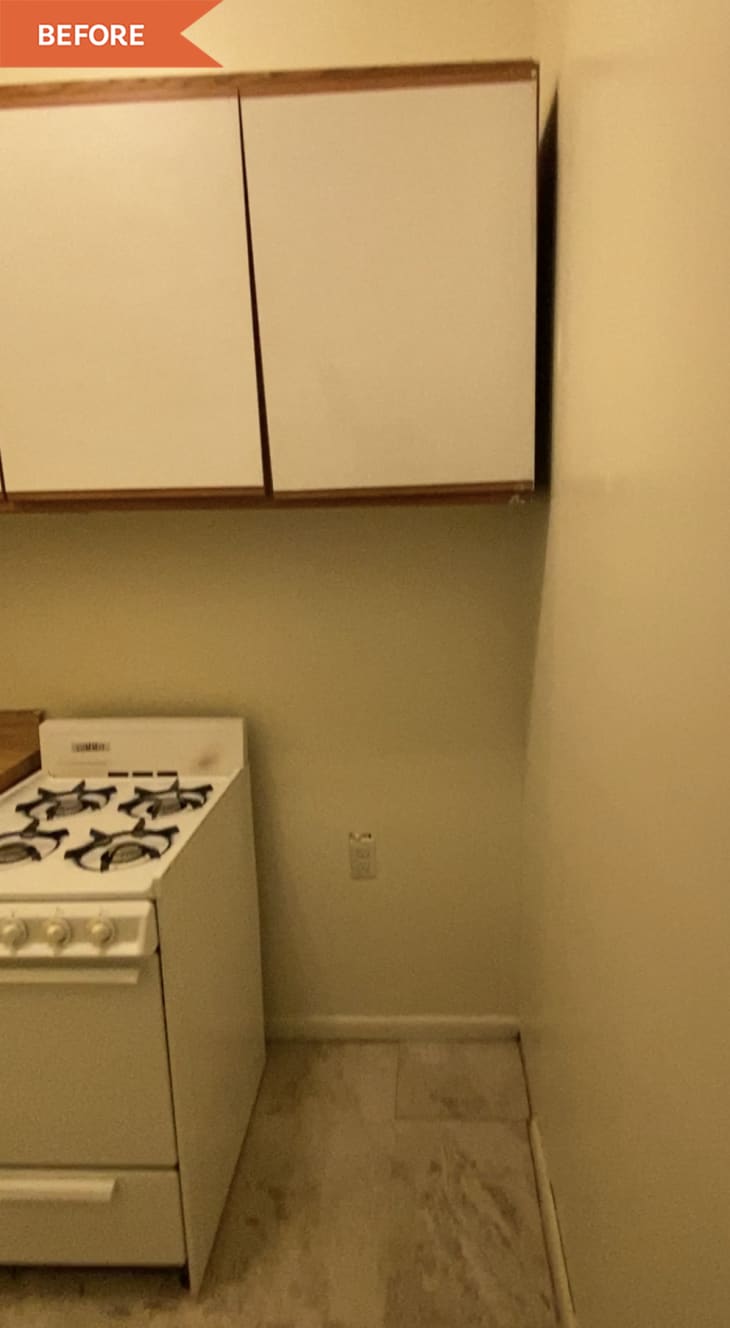
And before, Jillian’s kitchen was quite boring. “When I first stepped into the small kitchen, it was all beige and completely empty,” she says. “The cabinets were scratched and an off-white color. There was no backsplash, and the countertop was a wood look-alike cheap material. The floor was a faux gray and white marble peel-and-stick that had seen better days. The previous owner had two large dogs, so there were lots of scratches within the space. It felt like a forgotten storage closet with a yellow flickering light that made you feel like you made a mistake walking into it.”
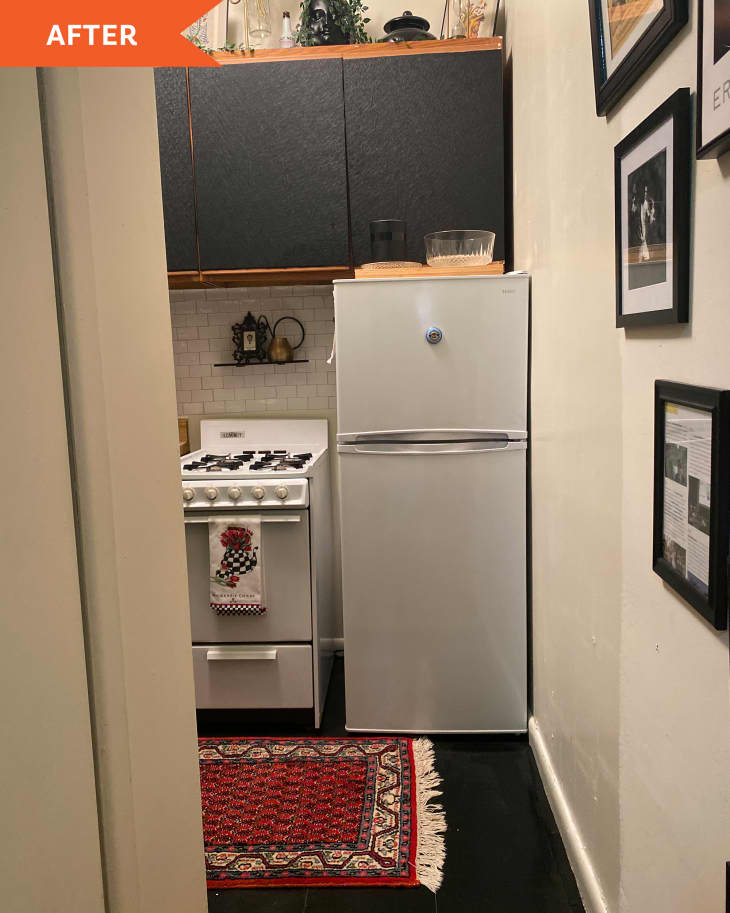
Jillian’s first step in making the space more stylish and intentional was was adding electrical tape to the windows to create “an old-school window pane effect.” Then she added a peel- and-stick subway style backsplash and peel-and-stick black textured contact paper on the cabinets. “The cabinets were the most difficult to do,” she says. “It is easier once you get the hang of it, but my mother, who helped me, and I definitely struggled with it.”
The most drastic change in the space, Jillian says, was adding peel-and-stick black tile to the floors.
“I am truly proud of all the DIY work I put into the space,” she says. “Every day I am proud to walk into my space because I made it look this way. Everything I did was renter-friendly. I am handy, but I am nowhere near a designer.”
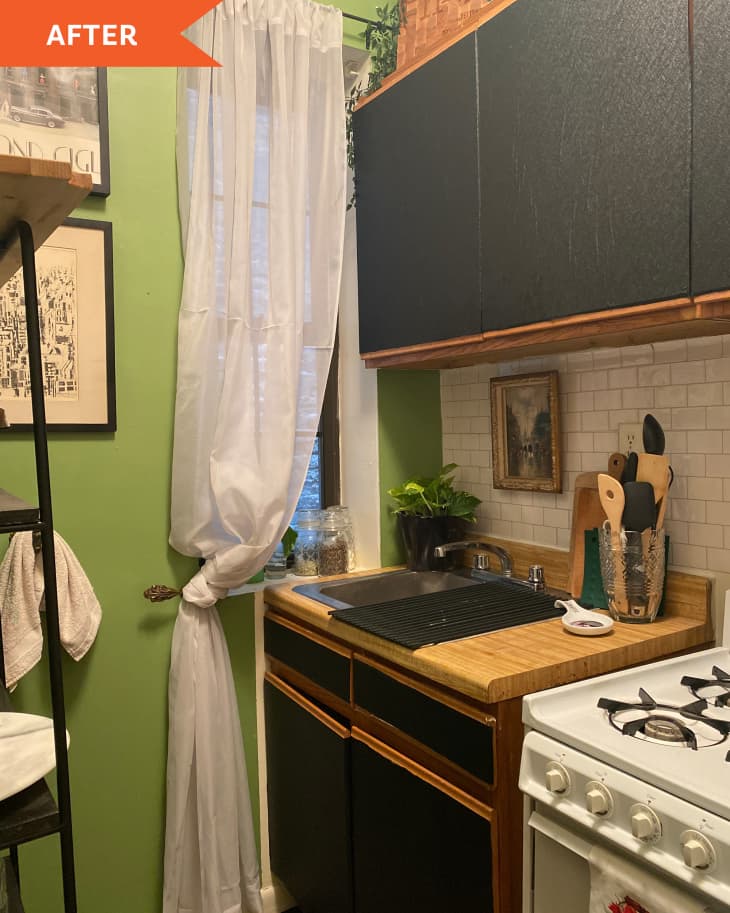
Her final DIY step was painting the statement wall green, a last-minute impulse. “I used leftover Lick Green18 paint from my bedroom makeover,” Jillian says. “I’m not completely sold on this color in the space and am still open to changing it.”
Jillian says she might also change the shelving. “I love the mid-century shelving unit, however I could have gotten something with more shelves and more counter space,” she says. The decor on the shelving, however, is non-negotiable.
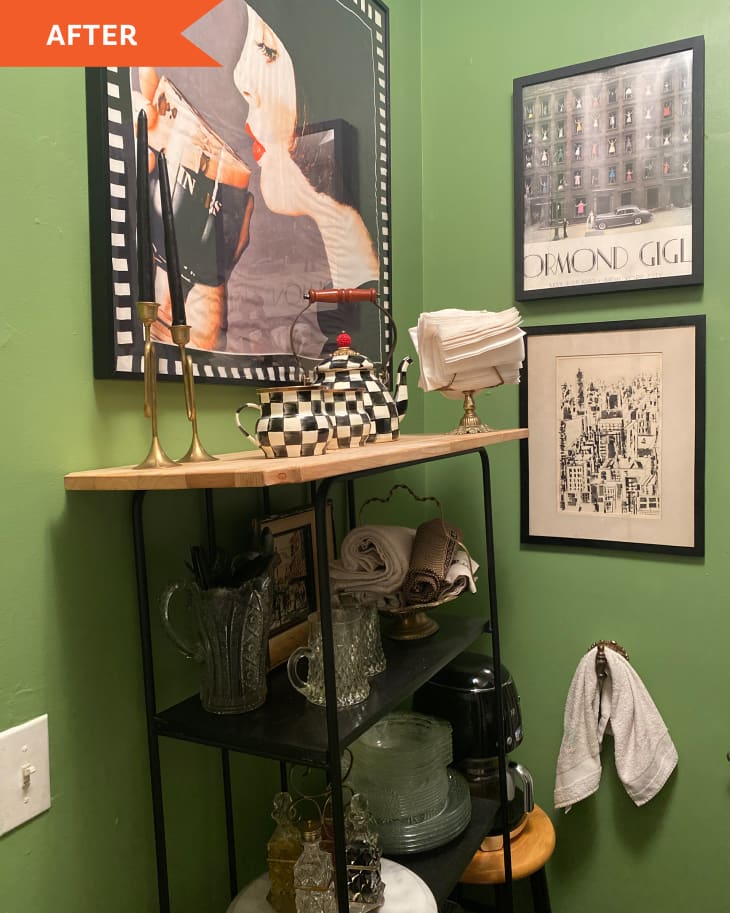
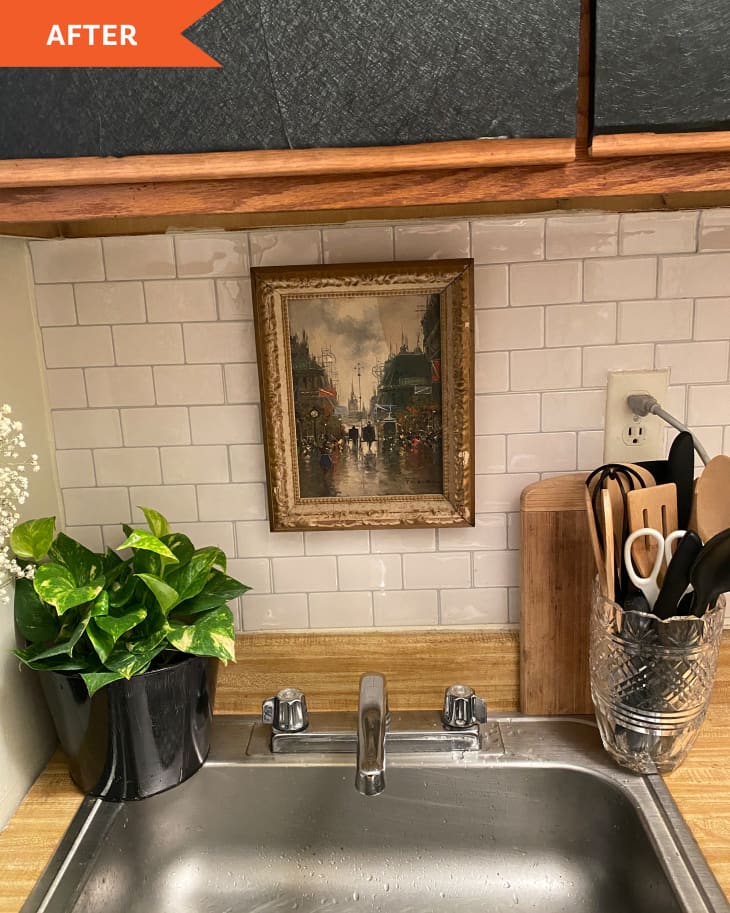
“I was gifted by a dear friend the MacKenzie Childs teapot, and it provided so much inspiration for the color scheme, the vintage Turkish rug, and the small pops of red throughout the space,” she says. “My favorite part of the kitchen is over the sink. I had found a small oil painting at a flea market for $5. It’s so delicate and intricate. Its placement over the sink is completely untraditional, but it brings me so much joy.”
Jillian says the “before” was “void of any personality … bare, and sad,” and the after is”fun and whimsical.” She’s proud that she was able to infuse her personality with budget-friendly, renter-friendly changes.
“You deserve to have the space of your dreams,” she says. “Just because you are renting does not mean it can’t be beautiful.”
This project was completed for the Spring 2022 One Room Challenge, in partnership with Apartment Therapy. See even more of the One Room Challenge before and afters here.
Inspired? Submit your own project here.