
The Floating Shelf That Took Me 5 Minutes (& No Tools) to Install

I’ve been on a bit of a mission lately to spruce up the areas in my home that I’m less than satisfied with, like my primary bathroom and bedroom, which have both gone a little neglected as of late. I’m not looking for a big makeover here — just small, everyday hacks that will elevate my space and help me function better during my day-to-day life. Storage was a key place that I was lacking — my bathroom sink looked more like a bargain bin at Sephora than a spa, and I needed a place to put decorative pieces that would enhance the overall look of the room. Luckily, with nothing more than a tape measurer, a pencil, and a little force via my thumbs and body weight, I had a perfectly level shelf that felt sturdy (that didn’t need to go into a stud).
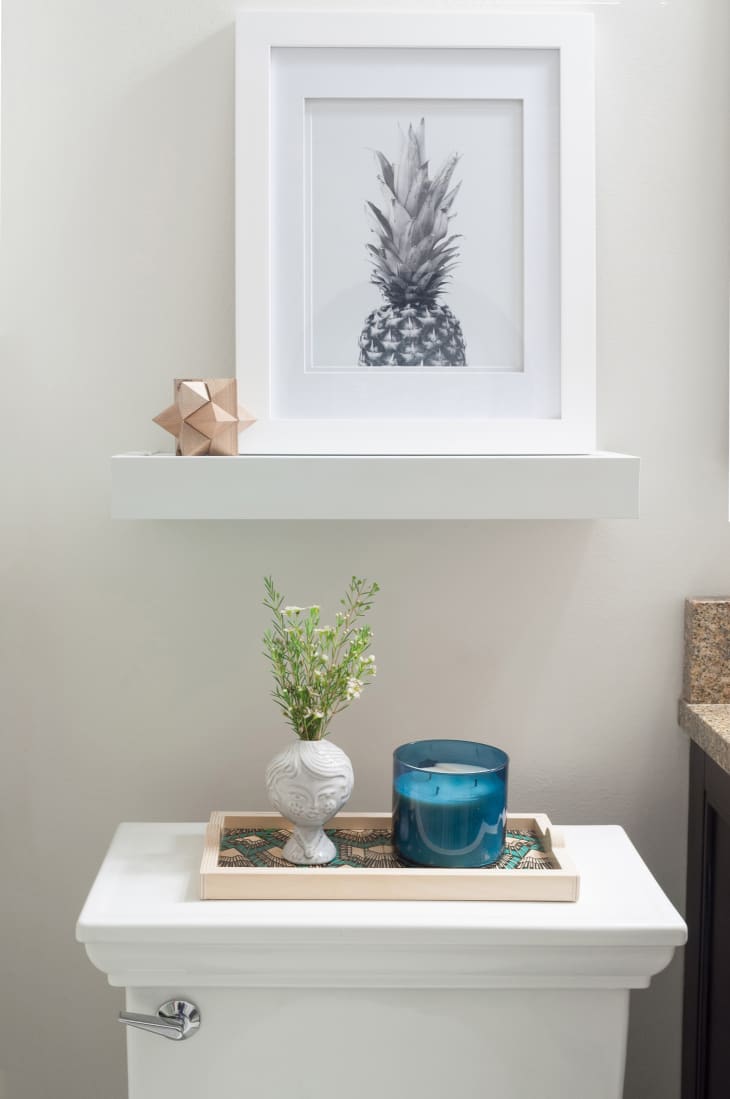
While giving my bathroom a bit of a renter-friendly refresh (which I chronicled in this post), I knew I wanted to add art and a little bit of decor here and there and planned on installing a shelf above my toilet area to do just that.
I had heard some buzz about High & Mighty’s no-tools-required products (including their floating shelves) and was intrigued to give them a whirl for this project, so I reached out, and they were kind enough to send me two different shelf sizes to test.
First, I installed it in my own bathroom to give things a bit of a test run, work out the kinks (should there be any), and see if I liked it enough to share. Much to my delight, the shelf was incredibly easy to install (it took less than five minutes) and should be simple enough to remove when I move out without too much visible damage to the walls. The below GIF shows all the steps it took to hang the 18″ floating shelf (which, according to the manufacturer’s website, can hold up to 15 pounds).
How to Install a Floating Shelf on Your Wall
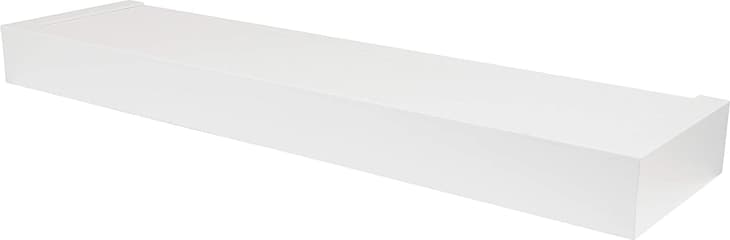
The shelf comes with three parts: the actual shelf itself, an adhesive strip that has a marked center point and a built-in level, and two metal pieces that you push through your wall on each side (the adhesive strip has little notches so you know where they go).
Once I measured out the center of where I wanted it to go, I leveled out the strip, removed the tape from each side to stick it to my wall, pushed through the two metal pieces that hold the shelf up, lined up the shelf to the brackets and slid it on.

It took me a few tries to get the shelf to slide on properly (it’s not clear which side is up, so I did it the wrong way several times before figuring out that I needed to flip the whole thing over), but once I did, I was done! Boom…I had myself a solid (up to 15 pounds) floating shelf. And, from the looks of the metal brackets I put through my wall, I’ll likely be left with nothing more than four small holes I could fill with spackle.
Overall, I like this product, especially as a renter and someone who avoids tedious tasks such as hanging shelves for as long as possible. I do wish the instructions were a little clearer and that there were more sizes and colors to choose from, but in general, this one gets a thumbs-up from me!
Buy: High & Mighty Modern Floating Shelf, $44.32