
She Created the Ultimate IKEA Toy Storage, and Now Her Basement Is Clutter-Free
Fact: Living with kiddos means living with their toys. Although it’s not realistic for toys to be neatly hidden away at all times in a living room that looks like it belongs in a magazine, there are some great design tricks out there to mitigate toy clutter. (Check out AT’s sister site, Cubby, for TONS of inspo for living, decorating, organizing, and cleaning with kids.)
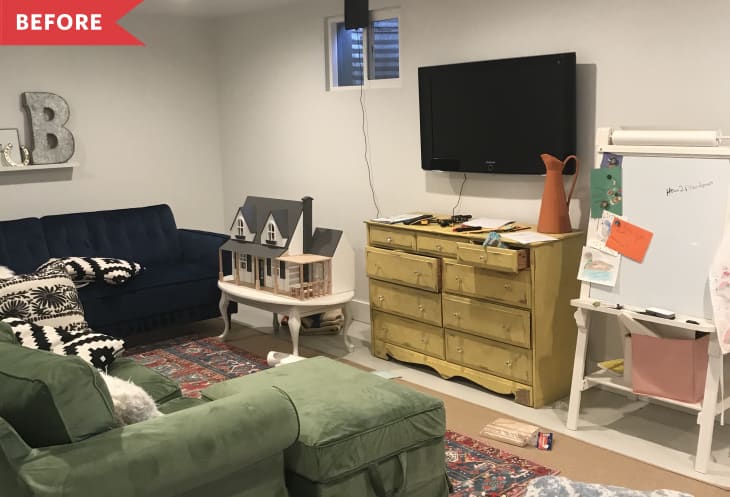
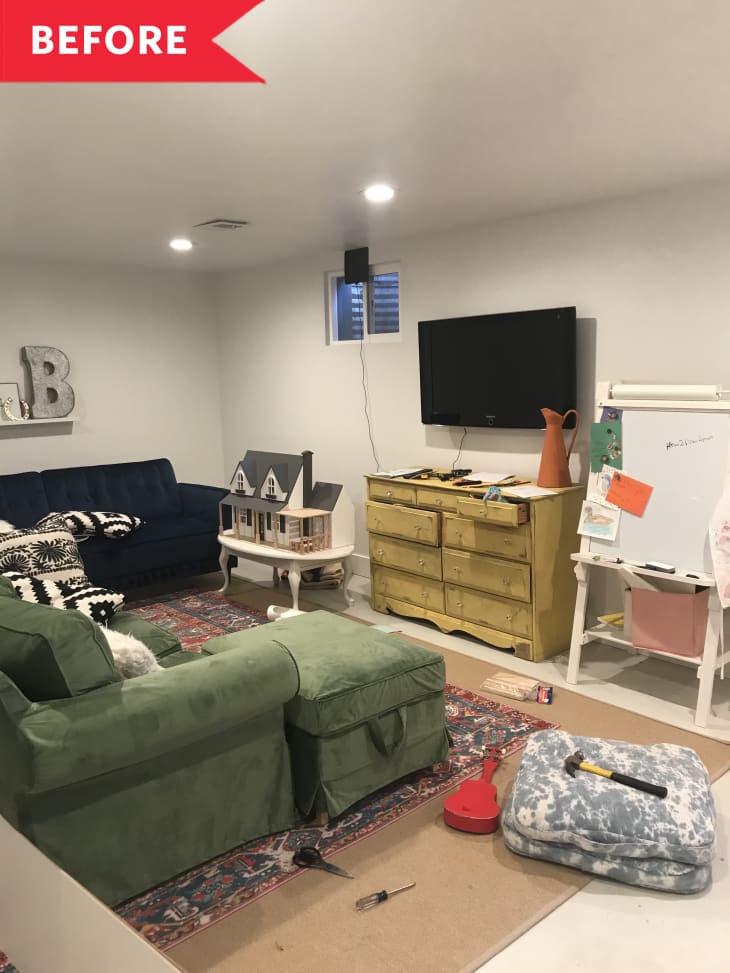
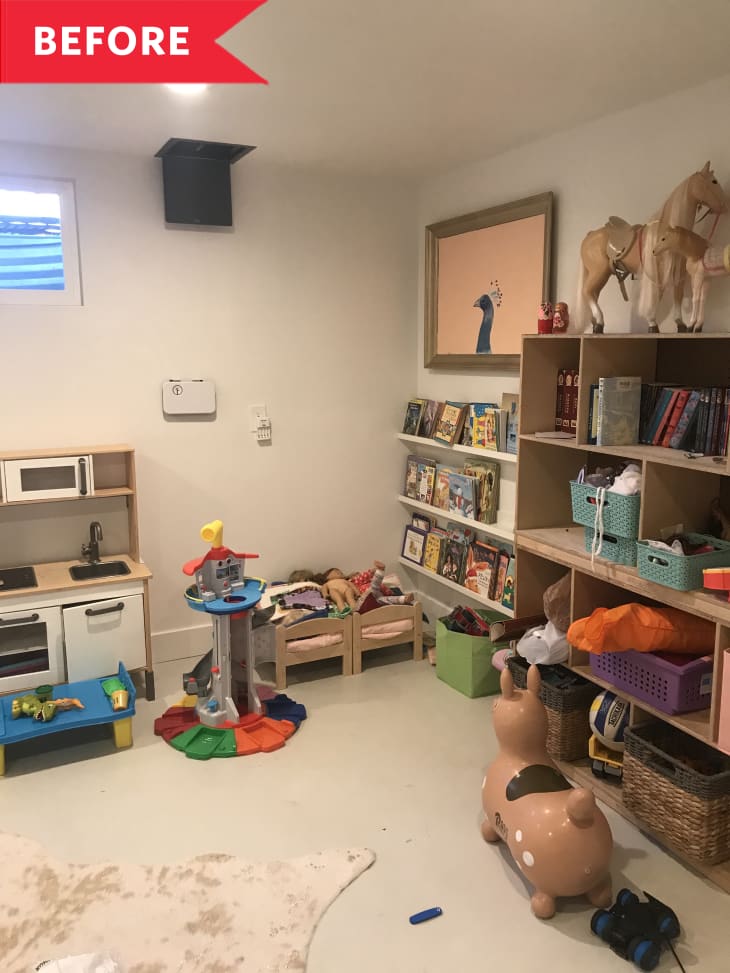
Homeowner and mother of four, Stephanie Barnett’s basement was (understandably) taken over by kids’ toys for three years until she decided to take storage matters into her own hands.
As a Mother of 4, She Had Never Mastered How to Store Toys with Style
“I have never been able to execute toy storage with functionality and style,” she explains. “I have tried the open shelving, the bookcases, the bins and baskets, but it always looked too cluttered for my anxious mind.”
Stephanie began researching IKEA built-in dupes online — scanning Apartment Therapy’s best IKEA hacks as well as other online sources — and then her “Pinterest search went into overdrive,” as she puts it. She began sketching out possible IKEA furniture configurations.
She Combined Multiple IKEA Pieces to Create Her Dream Built-In Unit
“After measuring the space (and memorizing the IKEA website), I finally created a sketch that combined several IKEA pieces with a butcher block desk,” Stephanie says.
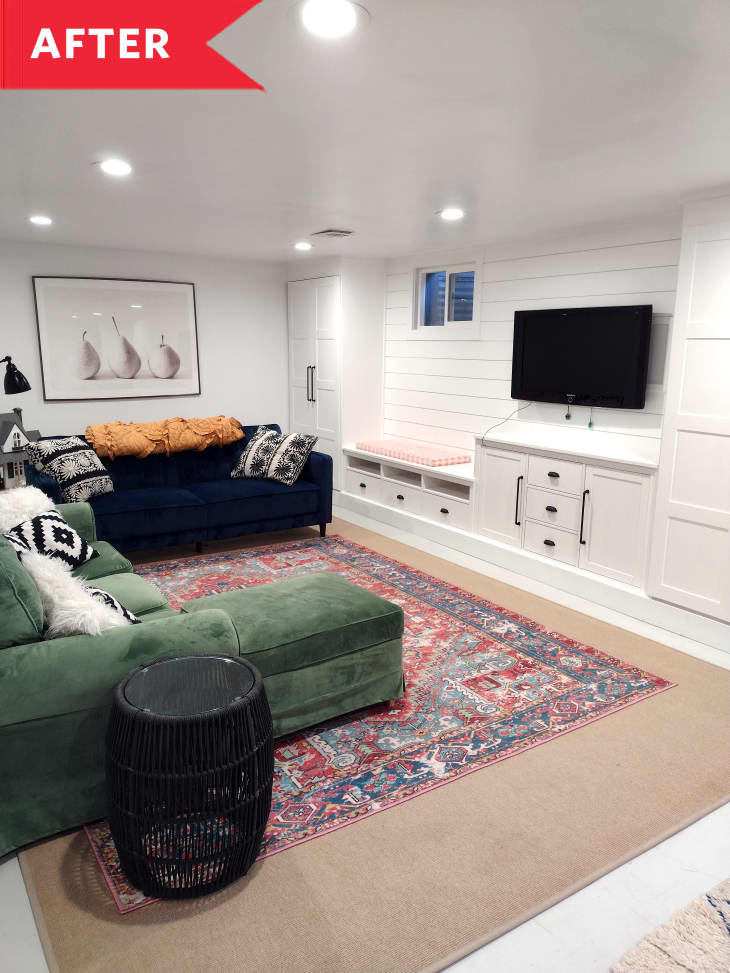
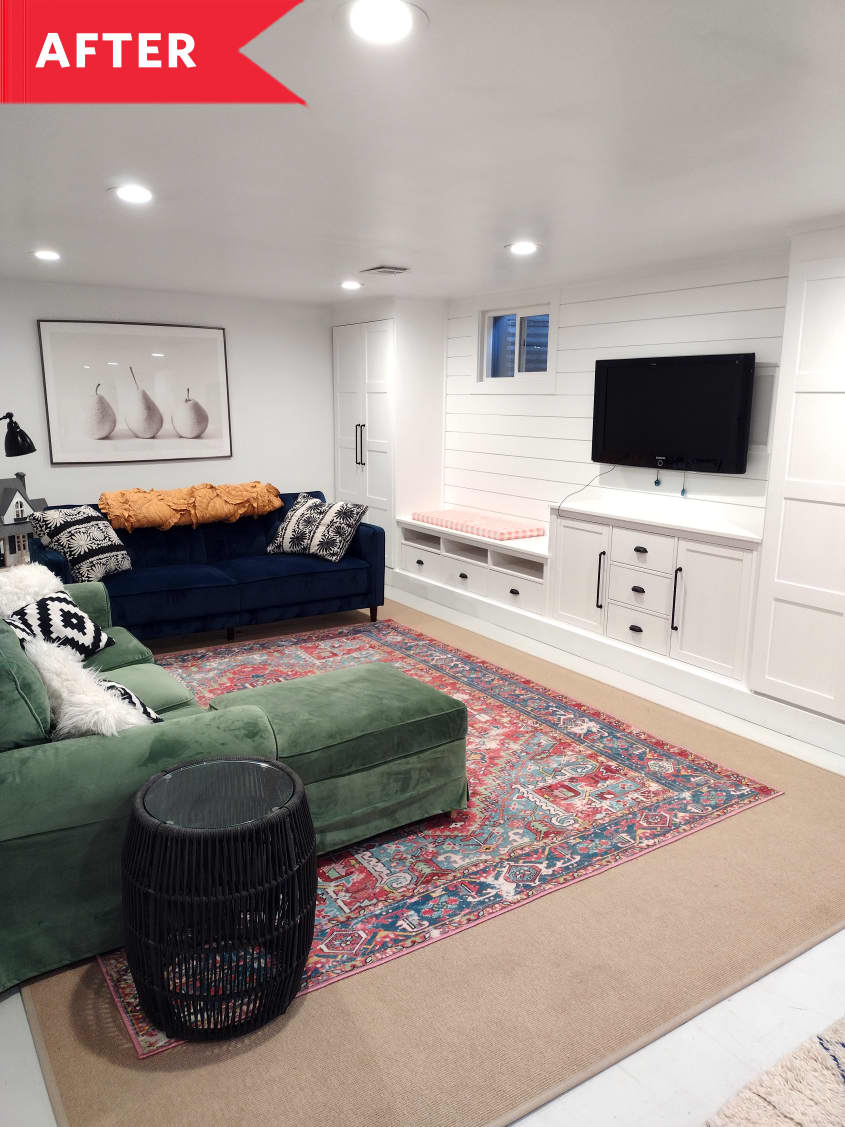
Stephanie ordered and assembled the furniture (a combination of IKEA’s PAX, BILLY, HEMNES, BERGSBO, and KOMPLEMENT pieces), and then her husband tagged in to create platforms, attach the furniture to the walls, trim around the furniture, install the shiplap, mount the TV, re-wire the outlets, cover their water shut-off valve, hang the floating desk, and mount the light fixtures. (Whew!)
“I wildly underestimated the electrical work component to this project, but my husband critically problem-solved those roadblocks,” Stephanie says. “There are still a few stray big toy items that cannot fit in the drawers or cabinets, but overall it has the perfect mix of functionality, open space, and design I was craving.”
Her Old Furniture Looks Brand-New in the Space Thanks to the IKEA Overhaul and DIY Desk
If she could change one thing about the project, it would be to add some color to the cabinetry, which is now painted white (Benjamin Moore’s “Chantilly Lace”) to match the walls. “I love the look of having a bold, monochromatic look for built-ins,” she says.
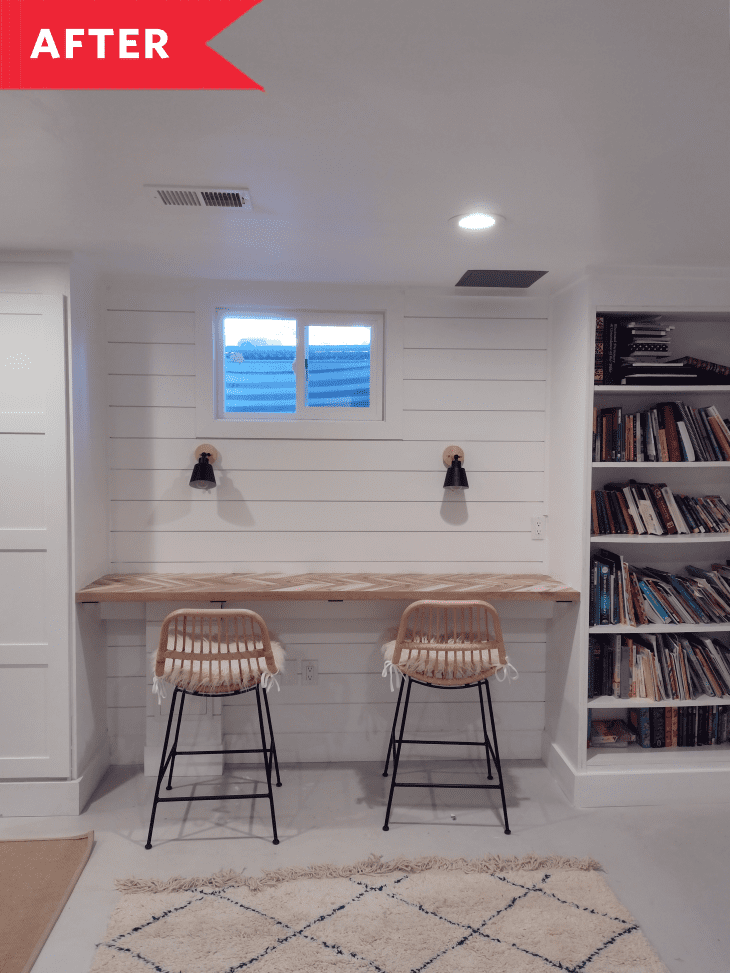
In addition to the IKEA overhaul, Stephanie added rattan barstools (plus faux fur cushions) to her butcher block floating desk. She found them on Craigslist, but you can buy the same ones from Target. The cool chevron butcher block is from Home Depot. And the black metal wall sconces make the desk area super practical, too.
As for Stephanie’s gorge green sofa? It’s an IKEA find as well: an EKTORP and matching ottoman with a green velvet cover. Her blue sofa is from Wayfair, and everything else is a Craigslist find. Because Stephanie used secondhand and low-priced finds, she was able to keep costs for the redo to around $2000.

She Loved Growing and Expanding Her Home to Fit Her Family’s Stage of Life
“I am most proud of seeing my vision come to life,” Stephanie says. “Of course, buying a new, shiny, beautiful home would be lovely, but I have thoroughly enjoyed the process of seeing the potential in a space and watching it emerge.”
Her advice for future DIYers? “I would encourage everyone to accept their limitations, embrace the process, and be thankful for the space you have been given because it likely is a privilege to even be contemplating a DIY,” she says.
Inspired? Submit your own project here.
Shop This Before & After


- Paint
- Products
- IKEA PAX Wardrobe
- IKEA BILLY Bookcase
- IKEA HEMNES Sideboard
- IKEA BERGSBO Wardrobe Door
- IKEA KOMPLEMENT Shelf Insert
- IKEA EKTORP Beige Sofa
- IKEA EKTORP Green Velvet Cover from Etsy
- Blue Velvet Sleeper Sofa from Wayfair
- Monoglian Faux Fur Chair Cushions from World Market
- Rattan Barstools from Target
- Hevea Chevron Butcher Block from The Home Depot
- Rotating Black Collin Wall Sconces from Letifly
Get all the IKEA UPDATES
Sign up for The IKEA Edit, our twice-weekly newsletter with the latest IKEA finds, deals, and hacks.