
This $35 DIY Project Helped Me Organize and Conquer My Paper Clutter
Recently, I spent some time reining in my paper clutter, sorting and sifting through years of receipts, documents, and various pieces of paper that filled not one box, but a separate filing container, another bin, a messy junk drawer, and even took up a spot by my washing machine (for all those pesky receipts and bits of trash we forget to take out before loading the laundry).
With all things decluttered and my paper piles looking better than ever, I sought out a better system to file and put things away. I didn’t want to have a separate filing cabinet or purchase a whole new bin to keep things in.
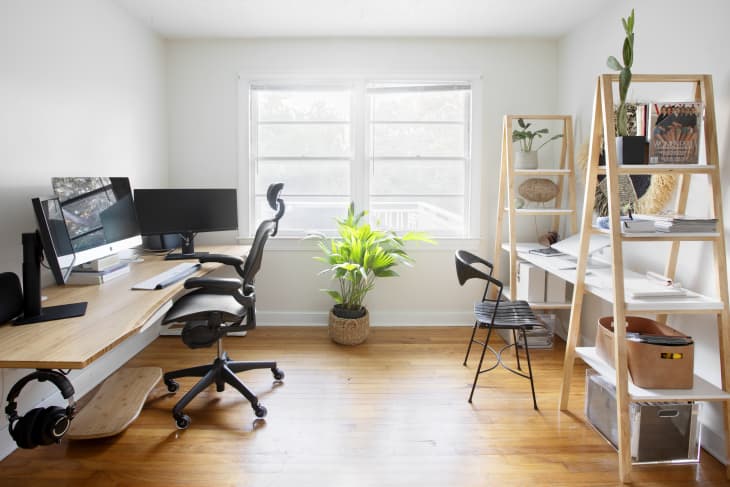
After spending some time researching and scrolling through social media, I discovered a perfect solution. In this Instagram Reel by @theorderlyspace, you can see a storage cube being converted into a hidden filing cabinet. I, too, had a six-cube organizer with a spare cube available (thanks to recent decluttering sessions!). I thought this would be the ideal project to help me organize and store my things.
This video touts that it can be done for under $10, but that wasn’t feasible for me, as I had to buy not only the inserts but folders, too. That aside, here’s how I got things together.
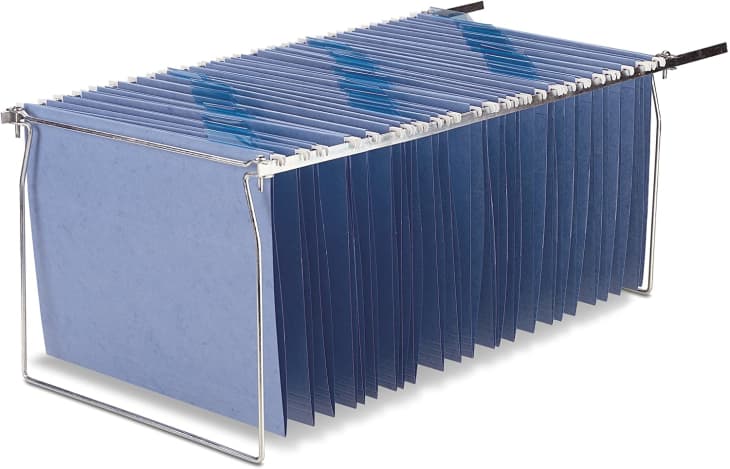
First, I searched online for a file-organizing insert that could fit into the cube. It is crucial that you measure the inside of your cube, with a little wiggle room to spare, so that the insert can easily fit inside. There are several options out there, but the best fit for me was this Officemate Hanging File Frame I found on Amazon that’s adjustable from 14 to 18 inches.
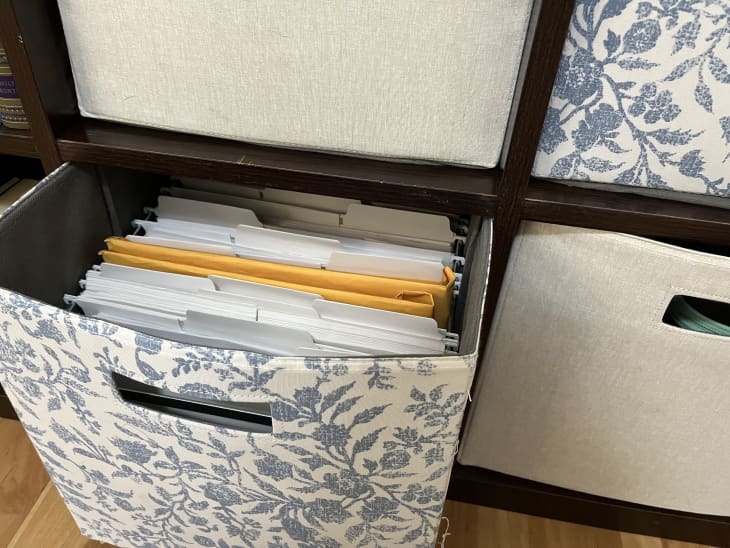
Then, I picked out some file folders. Initially, I thought I wanted something colorful, but I landed on going neutral with white folders since my storage cube has a beautiful floral design. Something about the folders being stark white was also aesthetically pleasing and gave me comfort that things are neat and organized inside.

Once everything arrived, I assembled the file frame and got to sorting my documents into the folders. Then, I put it all together in the storage cube.
What you don’t see is after the photo below was taken, I got to labeling. This was a crucial last step, as it makes it easy to see what’s inside each folder without having to go through each one to find what you’re looking for.
I loved this easy DIY project because it was super simple and inexpensive. At the time of purchase, the total cost came out to roughly $35. The hardest part was making sure that everything fit and was organized. But, the result speaks for itself.
Everything is now in one central location — and it’s not an added fixture, either. I repurposed a storage cube that would have been left nearly empty anyway after my big decluttering fest.
Amazon Prime Day is here, and our editors are sorting through thousands of deals to find the ones actually worth shopping. Shop our favorite furniture, smart home gadgets, cleaning essentials, and more here, now through June 26.