
How to Hang Prepasted Wallpaper (It’s Actually Easier Than Peel-and-Stick!)
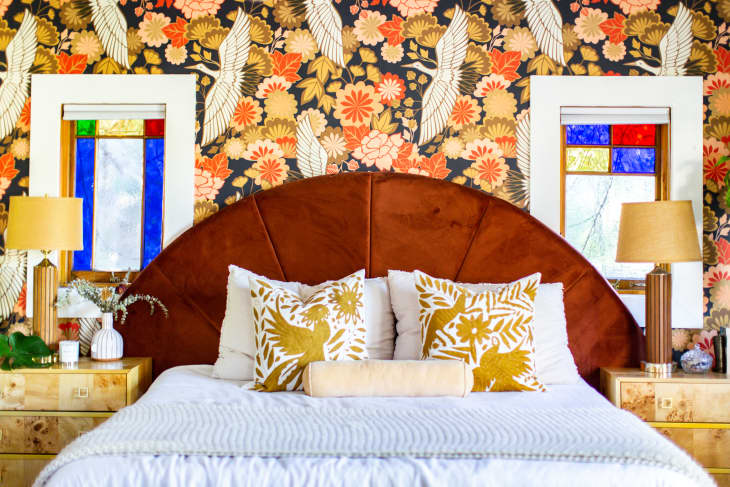
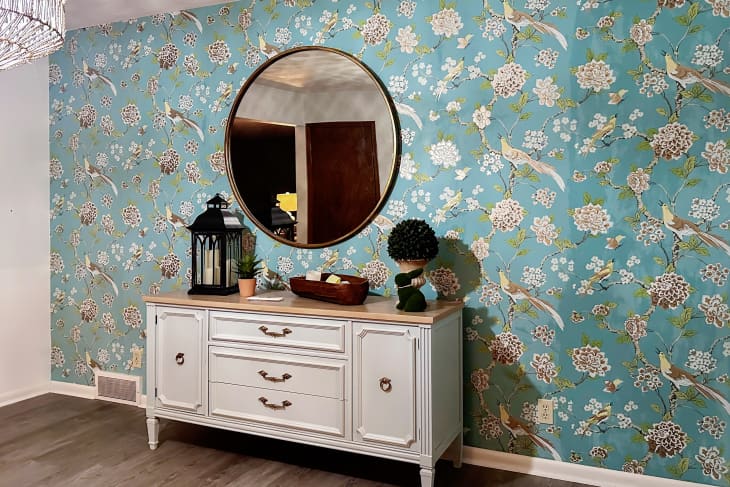
If you want to do a quick refresh at home without spending a lot of money, painting your walls is a great way to do it. But while paint can give you lots of options for changing up the color of your space — and stencils can even help you add some cool detail — if you want to bring pattern and texture to your walls, there’s nothing quite as effective as hanging wallpaper.
You might be familiar with peel-and-stick wallpapers, which are a favorite among renters since they’re marketed as totally removable. But prepasted wallpaper is an option that I actually think is easier to hang — and you won’t need to buy as many materials as you would for unpasted paper (for which you’d need to BYO glue). The backside of prepasted wallpaper just needs to be wetted to activate the glue, and then you’re ready to hang.
As a seasoned DIYer I have to admit, hanging wallpaper is not my favorite way to spend a day — but it is much easier than it seems. The most important thing to note is that hanging prepasted wallpaper is definitely a job for two. Make sure to recruit someone who you work well with. Patience and precision are key for incredibly satisfying results! Here’s everything you need to know about how to hang prepasted wallpaper.
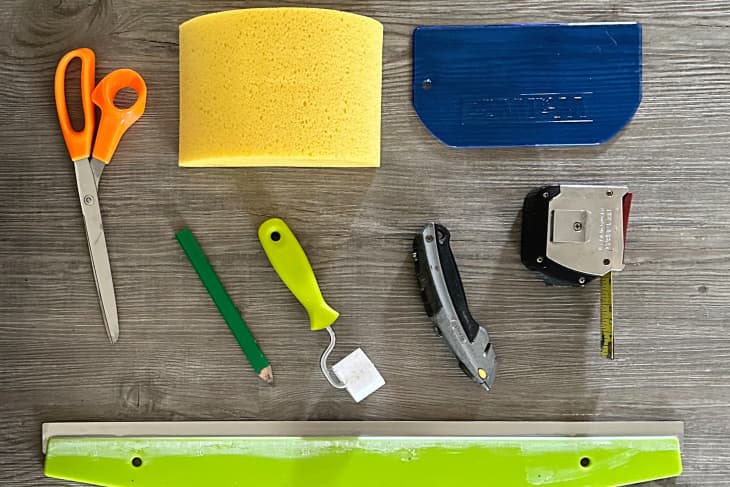
Tools and Supplies You’ll Need to Hang Prepasted Wallpaper
- Level
- Straight edge
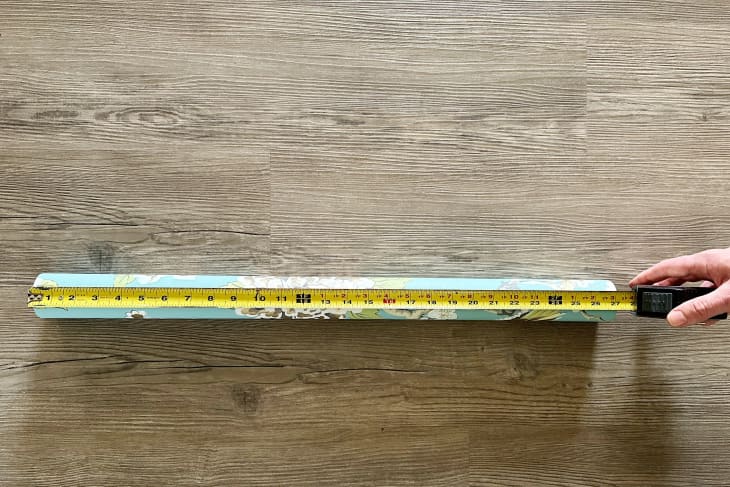
- Measuring tape
- Scissors
- Utility knife with extra blades
- Wallpaper tray
- Sponge
- Water bucket
- Smoothing tool
- Pencil
- Dropcloth
- Clean rags
- Ladder
- Spray bottle *optional
- Seam roller *optional
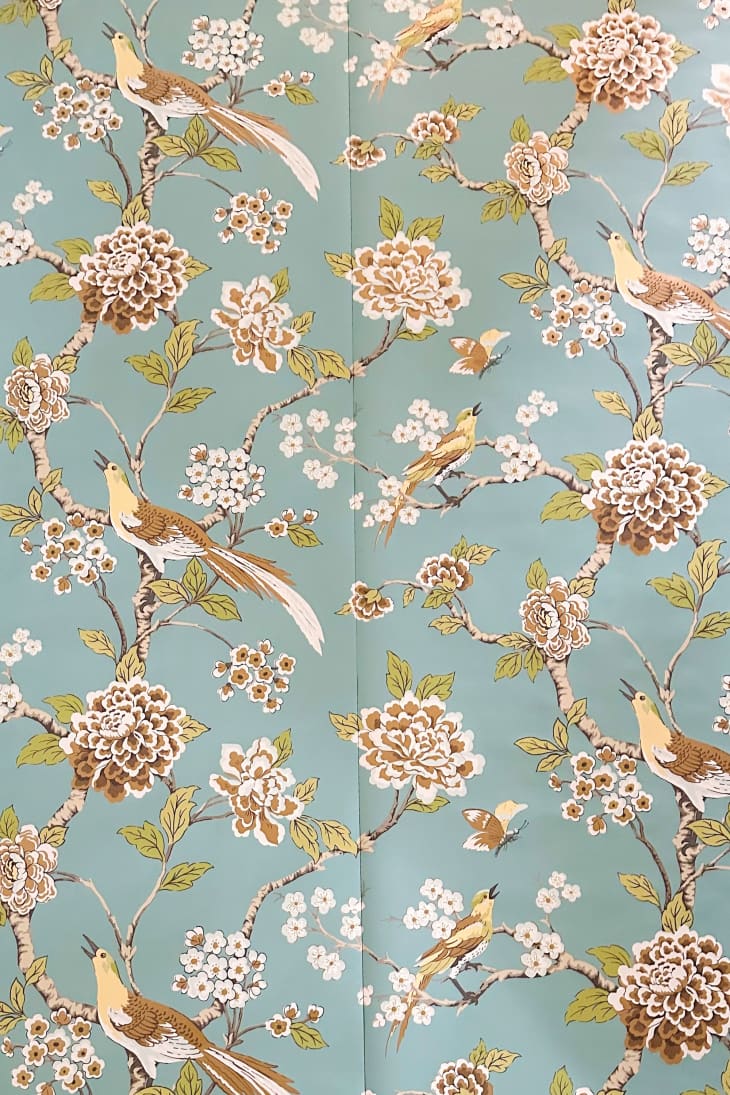
- Wallpaper of your choice
How to Hang Prepasted Wallpaper

1. Prep the wall.
For the absolute best results, you’ll want your wall to be as clean and smooth as possible. Fill any nail holes and sand any uneven or textured areas. Wash the walls with a cleaner like TSP to remove any leftover dust or debris. Once the wall is clean and dry, remove all lighting and electrical covers.
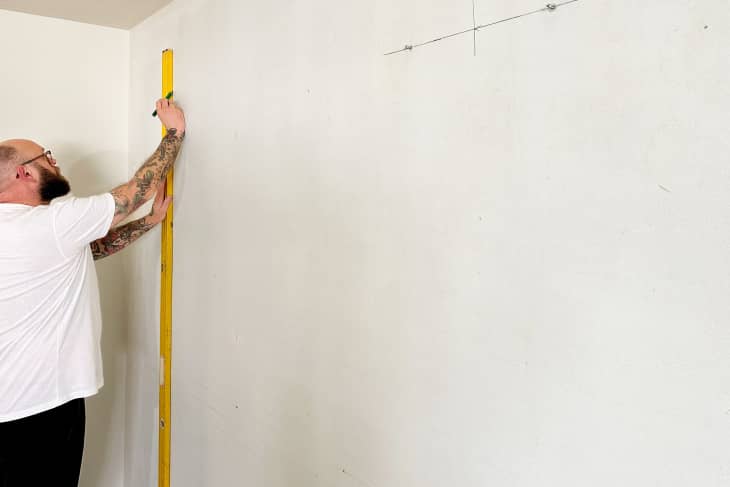
2. Mark the starting point on the wall.
To find the starting point on your wall, measure the width of your wallpaper and subtract 2 inches (you’ll end up trimming off the excess 2 inches at the corner).
Measure that distance from the corner and draw a vertical plumb line from the top of the wall down to the baseboard.

This will be the line where you match up the edge of your wallpaper once you’re ready to hang the strip.
3. Cut the wallpaper.
To make things as easy as possible on yourself, precut your strips. Measure the length of the wall and add an extra 4 inches (2 inches for the top, 2 inches for the bottom). Once you’ve cut the first strip, unroll more paper, line up the pattern and cut the next strip. Make sure to leave those additional 2 inches on each end for trimming once the strip has been hung.
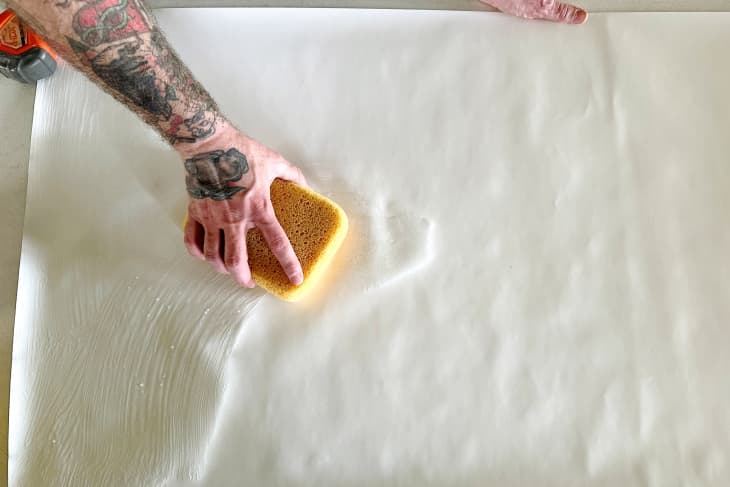
4. Wet the wallpaper.
Prepasted wallpaper needs nothing additional except for water and time. To activate the adhesive on the back of the paper, you can run it through a wallpaper tray, letting it soak completely for 10 to 15 seconds. Or you can lay it flat on a long table (or the floor) and soak the back using a very wet sponge.
Once wet, “book” the paper by loosely folding (do not press or crease) each end in on itself toward the middle, adhesive sides together. Let the booked paper sit for 1 minute before moving to the next step.
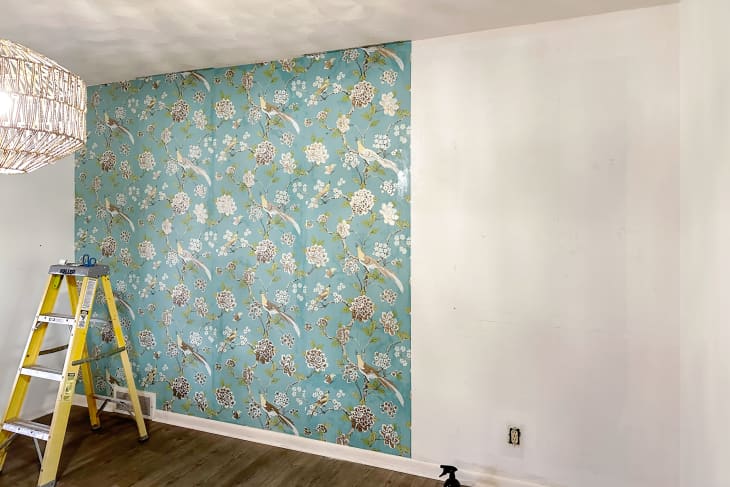
5. Hang the wallpaper.
This is the step where it’s really nice to have a second set of hands to help out. Place your ladder just to the left of your vertical start line and have your assistant hand you the first strip of wallpaper.
The best way to receive the paper is to have them unfold the top portion while leaving the bottom portion “booked.” Allow for the extra 2 inches along the top of the wall, and line up your paper with the vertical line.
6. Smooth the wallpaper.
Once your paper is in place, use a damp sponge or smoothing tool to press it in place. Smoothing in a downward and outward direction should get rid of any air bubbles along the way.
If you find you still have a few here and there, they should dissipate as long as they’re no larger than the size of a coin.
As for smoothing tools, if you have smaller hands and feel like regular smoothers are cumbersome, you might prefer using a 4-inch felt-lined smoother.
7. Trim the wallpaper.
Use a straightedge to really cram the paper into the corners to get a good crease. Some people like to use the tool as a guide to cut along when trimming, but I find I get a cleaner cut when I take the straightedge away so I can see exactly where I’m cutting.
Whichever way you decide on, be sure your utility knife is extra sharp so you don’t tear the wallpaper.
8. Repeat for the next strip.
Climb back up on your ladder and have your assistant hand you the second strip. Match up the pattern and try to get the lines as close as possible without overlapping.
Smooth down and out as you go, checking to be sure the pattern continues to match as you work your way down.
Once the second strip is up, wipe down both strips with a clean wet sponge, removing any excess paste that may have found its way around the edges. You can use a seam roller to help smooth out the line where the two sections of paper meet.
Continue hanging the strips following these steps, wiping any excess adhesive off the front of the paper as you go.