The Easy, No-Nails-Required Way to Give Your Walls a Vintage Shiplap Look
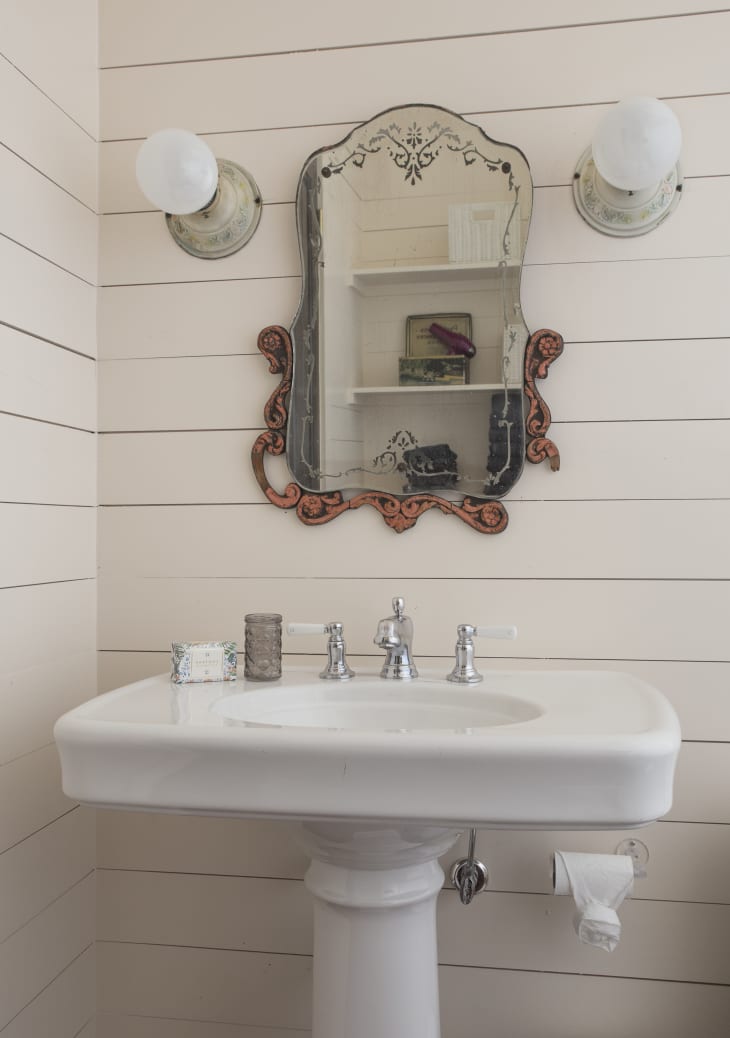
Shiplap is surprisingly versatile: It looks at home in farmhouse-y settings, of course, but it can also lend warmth and texture to vintage-style spaces, or give some depth to more industrial spaces. And while there are plenty of hacks for affordable and easy shiplap, we’ve got one trick that we promises is the easiest of all—not to mention, super cheap and renter-friendly to boot. The secret? Paint! With a little bit of math, some tape, and a couple colors of paint, you can create a shiplap-style wall in a day. Once you’re ready to try something new—or ready to get your deposit back—all you have to do is paint over it. Here’s how to get started on this beginner-friendly project.
Materials you’ll need for your painted shiplap wall
- white paint
- primer (optional)
- dark gray paint
- drop cloth
- paint tray and liner
- roller and cover
- angled brush
- painter’s tape
- pencil
- tape measure
- level
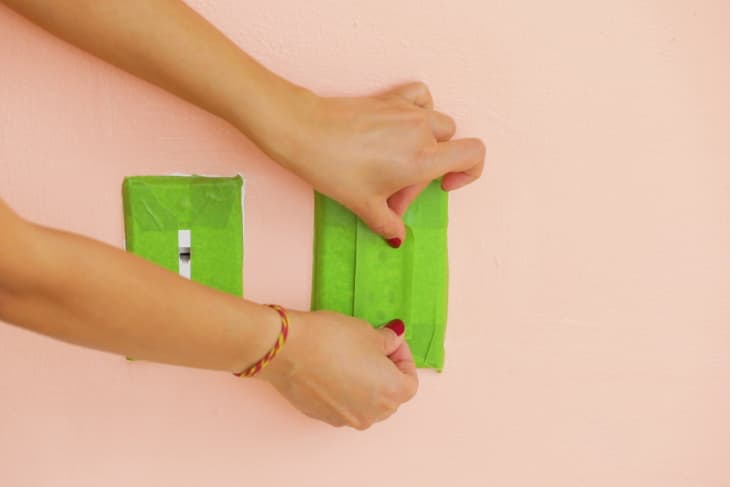
1. Tape off the wall you’ll be painting
Use painter’s tape to trim the edges of the wall you’ll be painting, and cover or remove any outlet covers or switch plates. Make sure to tape off any baseboards or trim, too. Put down a drop cloth, too, to catch any spills or splatters.
2. Prime the wall, if needed
If you’re painting over a dark color, or painting over never-painted drywall, you’ll need to prime the wall before adding the paint. If neither of those applies, skip to the next step.
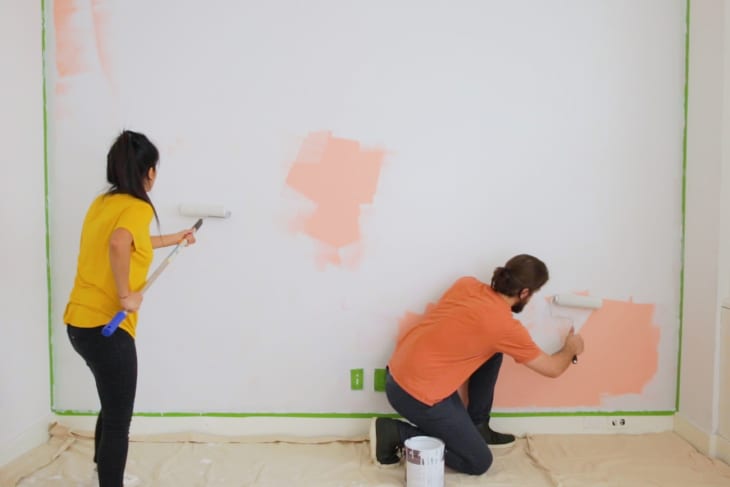
3. Paint the wall white
If your wall isn’t already white, give it a white base coat; try one of our picks for the best white paint colors.

4. Use a tape measure to mark the lines of your “boards”
Once dry, use a tape measure to locate the spaces between your boards. Starting from the bottom of the wall, mark every 7 3/4 inches and every 8 inches with your pencil. Make the marks in the center of the wall and on each end.
5. Trace lines between your markings
Using a long level to guide you, draw lines across the wall to join your markings.
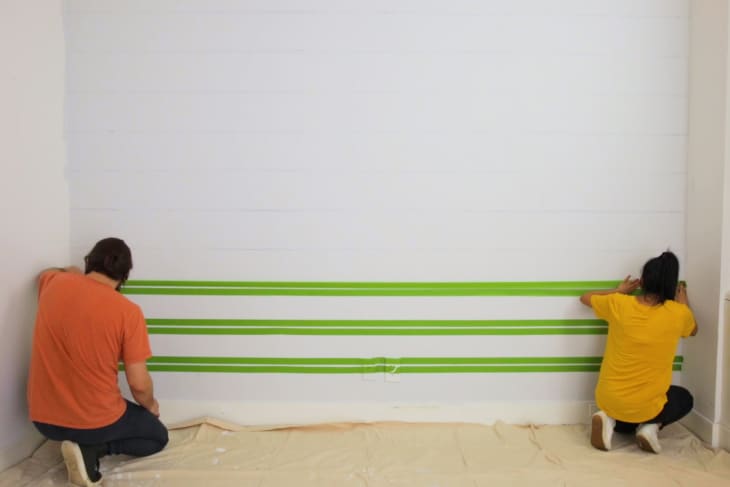
6. Tape each line
Apply painter’s tape to the wall outside of the lines, so that you’ve created quarter-inch gaps all the way up the wall. Smooth the tape with an old gift card or a credit card to prevent leaks.
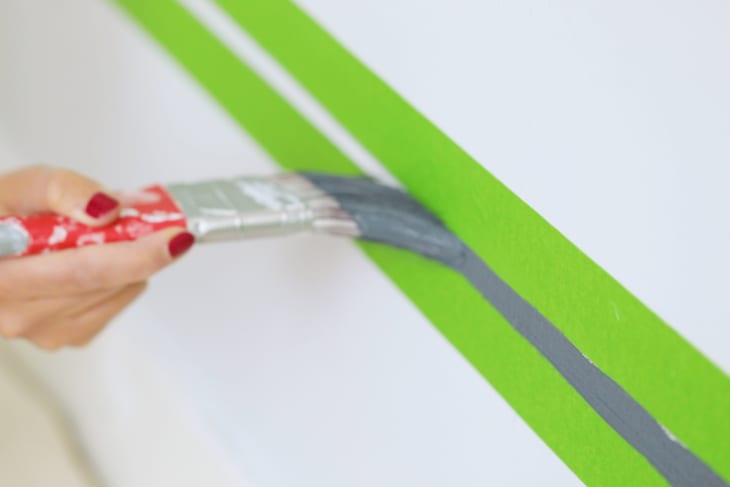
7. Brush on gray paint
Use an angled brush to fill in the quarter-inch gaps between the tape lines. You might need two coats, depending on coverage.
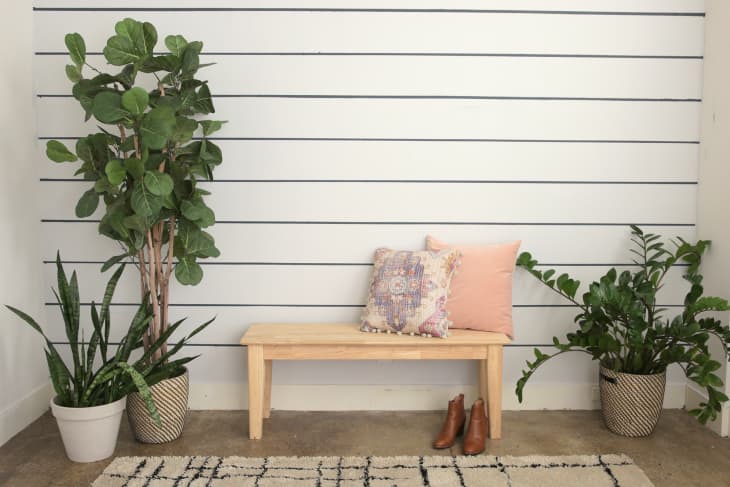
8. Peel off the tape
Peel the tape off the wall while the paint is still wet to prevent peeling. For best results, peel the tape at a 45-degree angle from the wall. After a few hours, your wall will be dry and ready to enjoy!