
How to Stain Wood & Give New Life to Old Furniture

Wood stain can dramatically transform the look of furniture. Whether it’s an old valuable beauty you’re giving attention to, or a newer inexpensive piece, wood stain is completely worth the while, and there’s plenty of natural wood stain options.
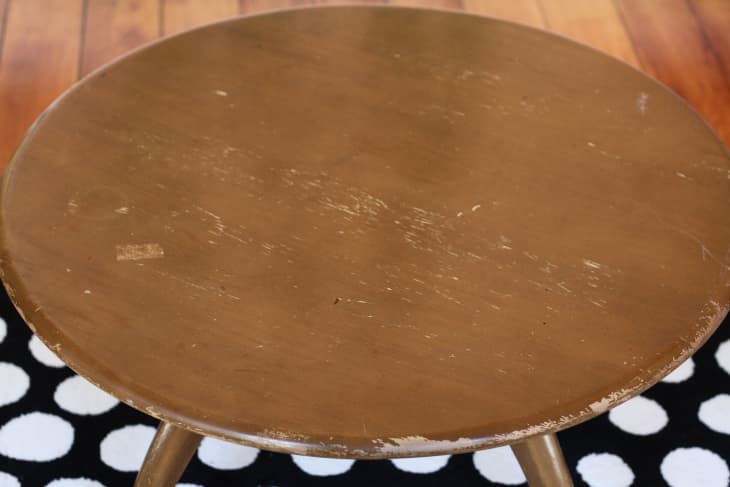
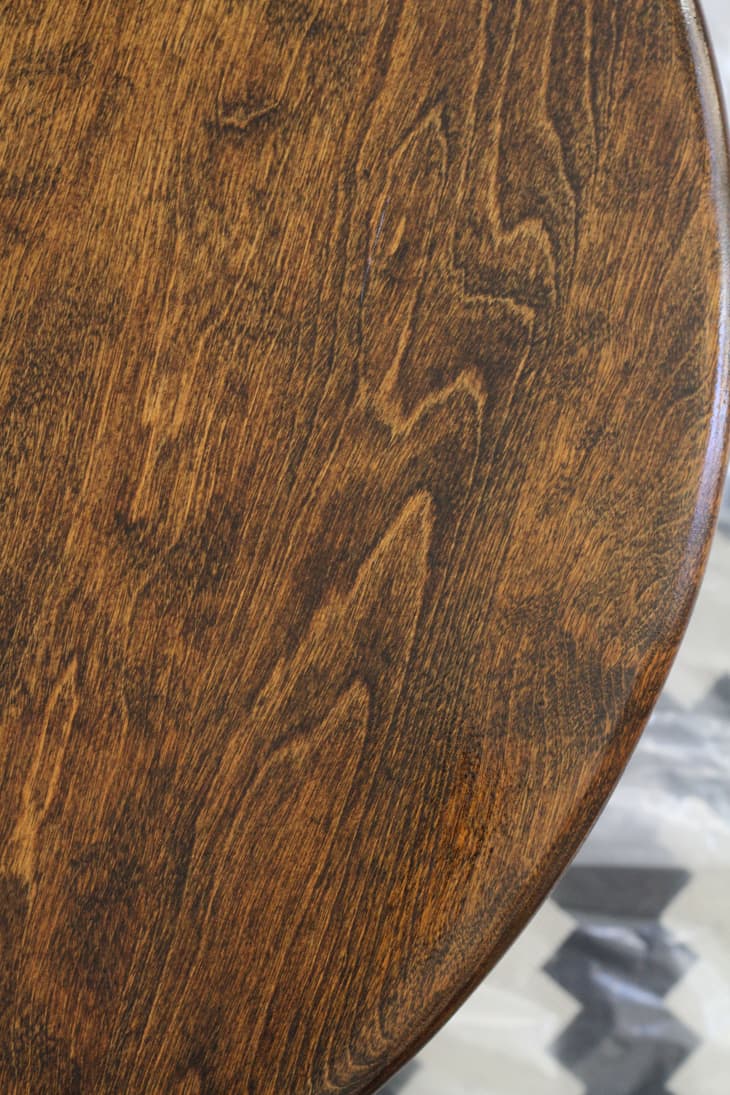
This old Heywood Wakefield table was rescued from a yard sale. It had wobbly legs and the surface was covered with scratches and water rings —let’s just say eyebrows were raised when I purchased it and brought it in the house. It’s a great example of how old, neglected furniture can really be given new life with a simple staining process.
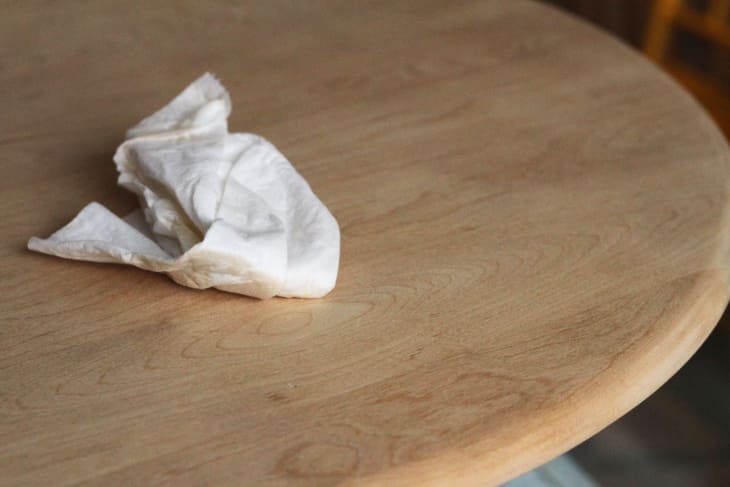
Don’t get too excited yet, there is still much to do before opening up that can of stain! First on the list: sand off all the bad stuff. Working with the wood grain, sand the piece back to its original naked state.
What You Need
Materials
- Stain
- Polyurethane
- Sandpaper
- Rag
- Stir stick
- Drop cloth
- Latex gloves
- Safety glasses
Tools
- Stain brush
Instructions
Once you’ve sanded and wiped down the surface, prepare your work area by laying out a drop cloth under the piece you’ll be working on. If you’d rather not have dark walnut hands, you should probably put your gloves on too!
If you are working with a really old piece that was neglected and weathered, you should think about applying a pre-stain wood conditioner. This will make the wood more uniform and reduce the chance of streaks and blotches later.
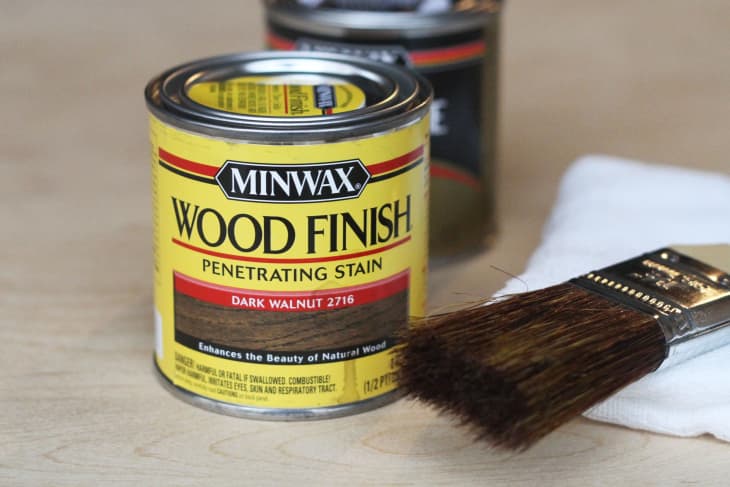
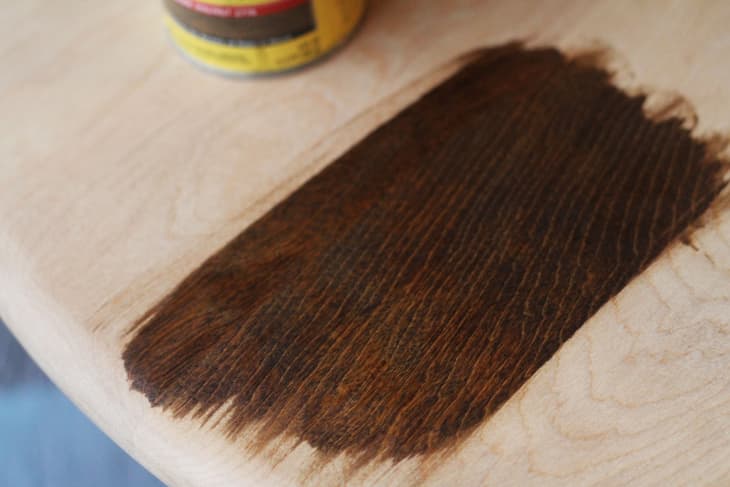
Step 1. Open your can of stain and give it a good stir. Brush it on to the wood surface, going with the grain when possible and being mindful of drops.
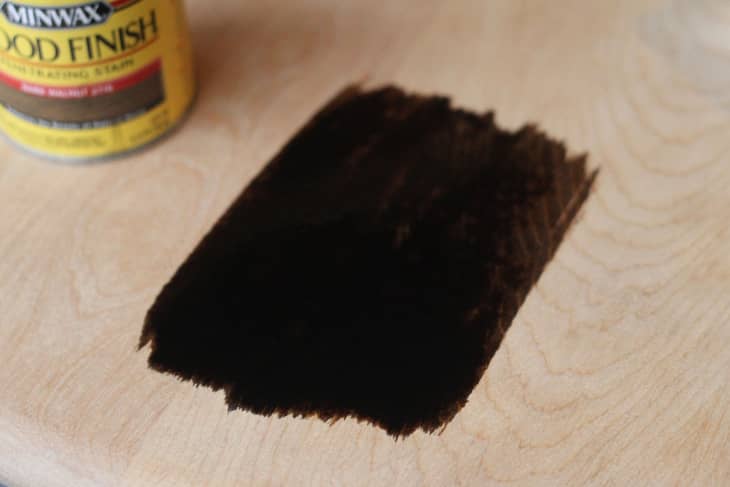
Step 2. Allow the stain to sit for 5-15 minutes, depending on the desired darkness you want to achieve.
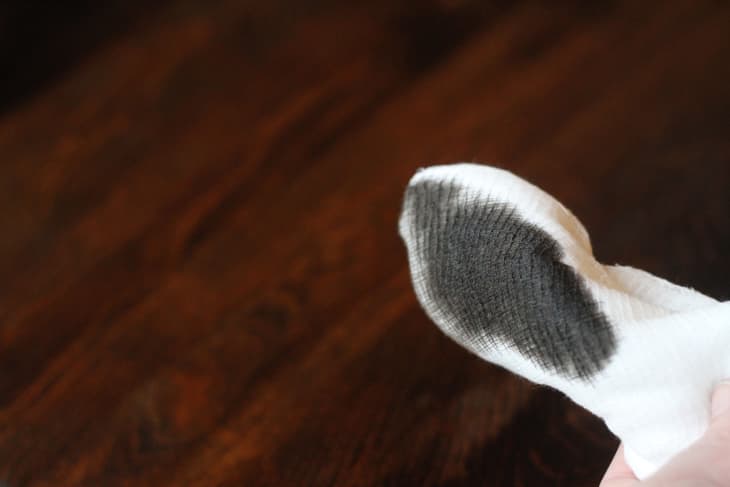
Step 3. Wipe off the excess stain with a rag.
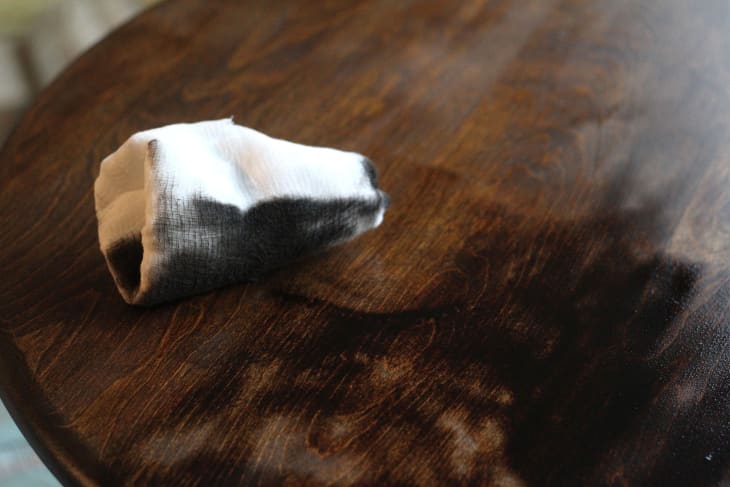
Step 4. Check color for uniformity. You can usually even out color by going back over it and re-wiping, but don’t wait too long.
Step 5. Apply additional coats until you have your desired depth of color, keeping in mind your topcoat will slightly darken the appearance of the stain. You’ll want to allow the stain ample time to dry (preferably overnight) before adding a top coat.
Step 6. Stir the polyurethane, do not shake it (shaking will create bubbles and bubbles at this stage are bad!).
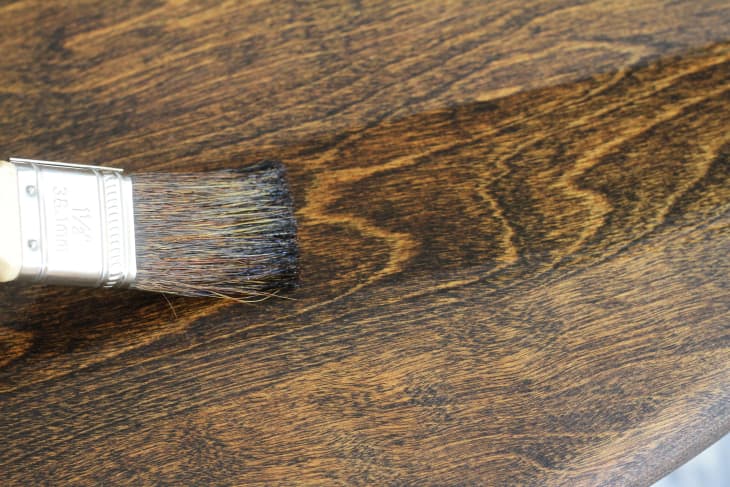
Step 7. Apply the poly with your brush. Try to avoid excessive brushing because this will cause air bubbles.

Step 8. Allow to dry for about an hour. The first coat will act like a filler, so be prepared to do at least one additional coat.
Step 9. Lightly sand between coats using 180 or finer grit sandpaper. Sanding will remove dust, air bubbles, or raised wood-grain texture.
Step 10. Add a second coat and repeat the process until the topcoat is to your liking. For dining tables it is recommended you apply 4-6 coats to best protect your surface.
Edited from an original post by Kimber Watson published on 2.11.2010 – AL
Have a really great DIY project or tutorial that you want to share with others? Let us know! We love checking out what you’re making these days, and learning from our readers. When you’re ready, click here to submit your project and photos.