
Learn to Use a Sewing Machine and Never Buy Another Throw Pillow Again
If you want to be able to decorate your home on a budget, you’re probably going to have to learn to embrace DIY. (Buying a brand-new dresser might be beyond your budget, but picking up a thrifted one and giving it a new finish probably isn’t!) One skill that’s worth honing if you want to take your furnishings to the next level? Learning how to use a sewing machine.
Learning a few hand stitches is useful for some DIYs, but if you want to take on bigger projects like making your own throw pillows, hemming your own DIY curtains or drapes, or even (someday!) reupholstering a sofa, you need to learn how to use a sewing machine. That doesn’t mean, though, that you need to dive right into the big stuff.
“Start small!” says Valerie Ott, editorial director at JOANN, who began sewing after a seventh grade home economics class. “Practice your skills on smaller projects like pillowcases, pet bandanas, or cloth napkins and choose less expensive fabrics in the beginning. As your confidence grows, slowly add skills such as adding buttons or a zipper.”
If you’re ready to up your DIY home decor game, here’s more on how to use a sewing machine, according to the pros.
What Is a Sewing Machine?
A sewing machine is used to sew two or more layers of fabric together with a loop stitch. When you hand-sew, you pass thread from one side of the fabric to the other using a needle. Machines can’t mimic this same action, so instead, sewing machines work by pushing the top needle only partway through the fabric. That pushes through a small loop of thread; from the bottom, a different piece of the machine grabs that loop and wraps it around another piece of thread.
Types of Sewing Machines
There are both manual sewing machines and electric sewing machines. Manual sewing machines use hand or foot pedals to power the machine; electric sewing machines are driven by a motor and are the most available type of sewing machine these days.
You can get a basic but solidly made beginner-friendly sewing machine for under $300. Raven recommends the Singer Stylist sewing machine or a similar Brother alternative, which are brands Ott also stands by.
“These sewing machines are easy to use, and when you get your skills up, you can continue to use them — you won’t have to upgrade,” Raven says. “You’ll want to choose a machine that has automatic needle threading and a top-bobbin loader where the bobbin is located by the needle. This comes without a bobbin case, which is one fewer step you’ll need when operating the machine.”
What You’ll Need to Get Started with Your Sewing Machine
It may be intimidating to invest in and use a sewing machine for the first time, and Lilian Raven, the founder of Los Angeles-based Lilian Raven Clothing, has seen the trepidation firsthand. She has been teaching students the basics since 2012, while sewing personally for three decades, and finds the practice to be useful and stress-relieving work.
“Make something that you will actually use, buy inexpensive fabric that you like, and don’t be afraid of making a mistake because that’s how you learn,” she advises. “Have patience. You can do this!”
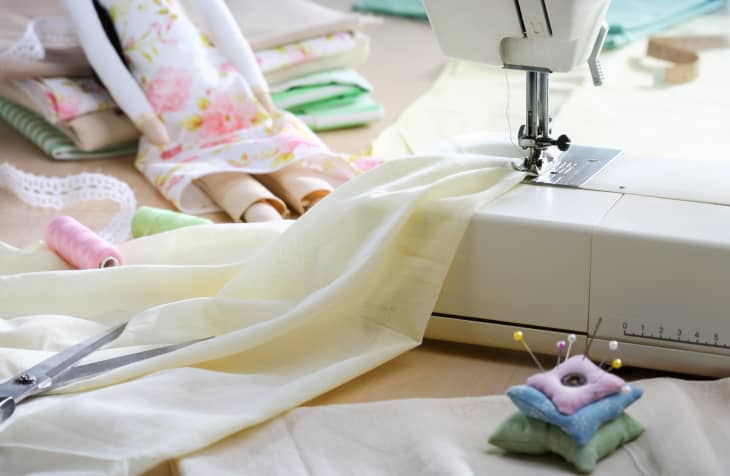
Raven says you’ll need a few standard tools.
- A good pair of fabric shears
- Flexible measuring tape
- Thread
- Bobbins
- Pins
- A pin cushion
Raven also recommends having good lighting, so a lamp nearby will likely come in handy.
As for fabric, Ott says to start learning to use a sewing machine with tried-and-true cotton. “Cotton is a great choice because it’s affordable, doesn’t stretch, and is lightweight, making it easy to guide through the machine,” she notes.
Key Parts of a Sewing Machine
Once you’ve purchased a machine and placed it in a designated spot in your home, Ott says that the next step is getting to know its features. While some machines will have more bells and whistles than others, the ones she lists below are commonly found throughout the market.
Hand Control: “This dial is on the right side of the machine and allows you to move the needle up and down manually through the needle plate,” she says.
Foot Control: “This is connected to your machine and sits on the floor so you can control the speed of the machine with your foot,” Ott notes.
Spool Pin: “This holds the thread spool for your top thread which passes through a series of thread guides before passing through the needle,” she adds.
Bobbin Winder: “This pin on the top of the machine allows you to wind your bobbin with the thread you’ve chosen for your bottom stitch,” she says.
Stitch Selector: “As you sew, you will have two threads that form the stitch,” she notes. “The top thread comes off the spool and the bottom thread comes off the bobbin. The stitch selector lets you choose between a straight stitch, a zigzag stitch, a buttonhole stitch, and so on.”
Stitch Length Selector: “This lets you select the distance between stitches,” she notes.
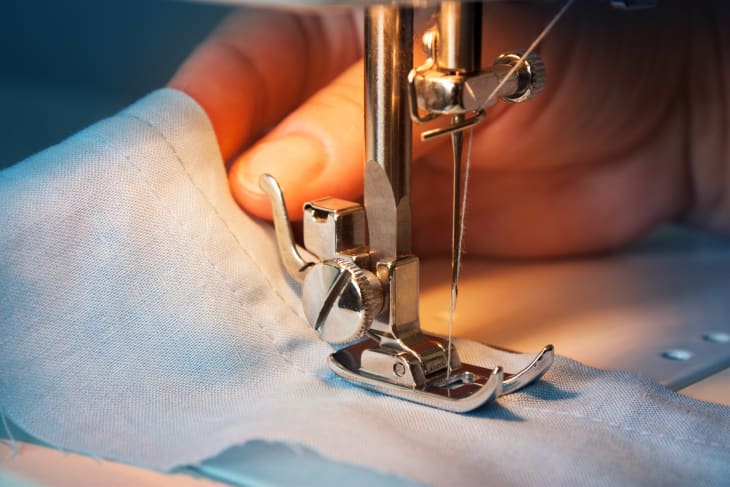
Presser Foot: “This keeps the fabric in place as the needle goes up and down and can be changed out for more specialized feet when sewing thick or slippery fabrics, or for sewing buttonholes,” Ott says.
Presser Foot Lever: “Usually located on the back of the machine, this allows you to raise and lower the presser foot to get your fabric in and out,” she adds.
Feed Dogs: “These are metal ridges that help feed the fabric under the presser foot,” she says.
Tension Control: “This allows you to adjust the tension discs through which the thread passes before being threaded down to the needle, for uniformity of your top and bottom stitches,” Ott notes.
Needle Plate or Throat Plate: “This metal plate covers the case where the bobbin is housed,” she says. “Most have markings on them that act as stitch guides.”

How to Set up a Sewing Machine
Sewing machines are almost ready to use out of the box, although this will vary based on the model you’re using. Follow the included instructions to make sure you’re not missing any pieces.
One thing you’ll need to do any time you start a project, no matter what type of machine you own, is to thread the bobbin in the machine.
Properly threading a bobbin — or ensuring that your thread is going through the needle and into the fabric correctly — will depend on your specific machine. “The instruction manual is your friend,” Ott says. Threading a bobbin is often the most challenging part of sewing for beginners, so take things slow.
How to Thread a Bobbin
“You must pay attention to the bobbin while it’s spinning,” Raven says. “Make sure the thread stays in the middle of the bobbin section and is not too loose, as the thread can often divert and wrap itself underneath the bobbin.” Raven often advises her students to hold the thread loosely between their fingers to make sure the first few spins are centered.
Ott has her own trick to share: “Pass the thread through the little hole on the outside of the bobbin to create about a two-inch tail. Hold onto this tail as you start to wind the bobbin, then release it when the bobbin winding is well-established,” she says. “Once the bobbin is wound, thread the machine with the spool thread. Then, use the hand wheel to manually drop the needle down and back up just once. This allows the needle to catch the bobbin thread and bring it up through the needle plate.”
She notes that you’ll probably see a loop, which you can pull the rest of the way with a pencil. Finally, Ott recommends pulling the threads to the back of the machine, and then you’re all set.
How to Use Your Sewing Machine
As soon as the thread is in place, starting a stitch is a cinch.
How to Start a Stitch
“To start a stitch, make sure the fabric is inserted underneath the presser foot and the lever is down,” Raven says. “Slowly press down on the foot pedal.” You’ll see the thread begin to stitch onto the fabric, which will indicate that all is well. “There’s really nothing to it,” Ott adds.
Practice sewing a few straight lines at first, and getting the hang of your pedal’s speed. Then, you can try sewing a straight stitch.
How to Sew a Straight Stitch
When you begin a project, start with a backstitch, which will keep your thread in place and prevent it from unraveling.
To sew a backstitch, you’ll set the needle to move in reverse and sew about an inch in the opposite direction of where you’d like to have your stitches go. When you’ve covered about an inch, reverse the needle again so it’s moving forward. Then, begin your straight stitch.
Feed the fabric through the machine slowly as you press the pedal with your foot to power the needle. The feeder dogs will do the work for you when it comes to moving the fabric, so you’ll just need to lightly guide the fabric with your hand as the machine does the work.
How to End a Stitch
When you reach the end of your straight stitch, it’s time to secure it with another backstitch. Backtrack with your sewing machine about an inch to help secure the thread. Then, raise the foot, snip the thread, and pull your project out.
Troubleshooting Your Sewing Machine
You’ll gain the most intel by consulting the manual specific to the machine you’re using, but there are a couple issues that might pop up in your beginner sewing projects.
Not lowering the presser foot: Not lowering the presser foot before you begin sewing will prevent the loop stitches from connecting, so you won’t be able to create a stitch.
Incorrectly threading the bobbin: If the bobbin isn’t properly feeding the thread to the needle, you’re not going to be able to sew a stitch.
Going too fast: Start slow; moving too fast can cause tangles.
Beginner Sewing Projects
Once you feel comfortable sewing a straight stitch, it’s time to try out some projects! Get started with something that involves simple line stitches, then move on to curved stitches as you progress.
A few beginner sewing projects to get you started are as follows:
- Hem too-long curtains or make your own DIY curtains.
- Sew your own placemats or napkins — then give the napkins a custom tie-dye look or dye the napkins with natural ingredients.
- Make a DIY throw pillow cover like this DIY pennant throw pillow.