
I Used One of 2025’s Trendiest Furniture-Flip Methods on My IKEA HEMNES

People who live in apartments love IKEA’s shoe cabinets. And for good reason — their dimensions are perfect for tight spaces, and they provide efficient storage without taking up too much room.
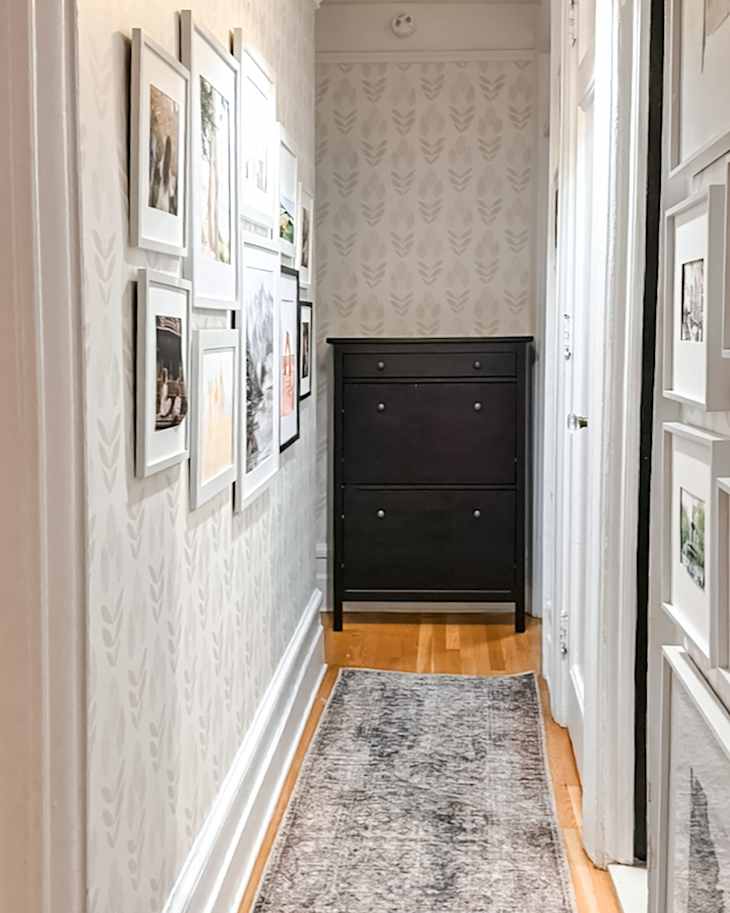
I recently added an IKEA HEMNES shoe cabinet to my own apartment to eke out a little extra storage at the end of a hallway. The layout of the hall is tricky; it’s rather narrow, with doorways to the bedrooms on either side that need to remain unblocked. But the shallow depth of the HEMNES fit just right. However, for what the cabinet has to offer in practicality, I felt it lacked in style, and I knew it would need a makeover to fit in among the rest of our home.
This was my opportunity to incorporate a particular design trend I’d long been admiring into my home: bobbin details. As it turns out, adding bobbin trim to furniture is an incredibly easy and budget-friendly project. I paid less than $100 for the supplies, and completed the project in just a single day. Changing the color and hardware of the cabinet also helped, but it’s really the added texture and interest from the bobbins that took the piece from plain and boring to charming and playful.
It’s impressive what a big difference those little half-circles made. Now we have the benefit of a little extra storage, plus a furniture piece that complements the rest of our space. Here’s how I made my IKEA HEMNES charming, timeless, and a little bit playful.
How I Upgraded My IKEA Shoe Cabinet
I prepped each piece — separately.
It’s more efficient to prime and paint the cabinet and bobbin trim separately before adhering to your project. (I actually read this tip in an AT article!)
Otherwise, it will be harder to get into those little nooks or crannies between the bobbins, and you may end up needing to go in with a tiny paintbrush to get the spots you missed.
I used leftover paint.
I saved money by using primer and paint I had left over from painting our kitchen cabinets. The paint I used (Benjamin Moore’s Advance) cures to a hard, enamel-like finish that has proven durable for our cabinets, so I knew it would be ideal for painting IKEA furniture, too.
I used miter shears to cut my trim.
I ordered six pieces of trim (under $5 each!), but they were all a bit long for my project. Because I wanted to arrange the trim around the edges of each drawer, I needed to adjust the lengths of a few to later puzzle together in the arrangement I wanted and used miter shears to cut several of them to the sizes I needed before priming and painting them all separately.

I used glue to attach the trim — no power tools required!
Once all the paint was dry, I used construction glue to adhere the trim to the edges of each drawer. For a little extra security, I then placed a small piece of painters tape over each trim piece, just to be sure they stayed in the right position until the glue fully dried.
Hardware added the perfect finishing touch.
I finished off the project by replacing the simpler IKEA hardware with these inexpensive brass knobs that look a little bit patinaed. Now I have the perfect piece for my hallway.
Get all the IKEA UPDATES
Sign up for The IKEA Edit, our twice-weekly newsletter with the latest IKEA finds, deals, and hacks.