
A Camper Van Shower Feels Made for a Spa, Thanks to Peel-and-Stick Tiles
When I was planning my van conversion, I knew I wanted to add a shower. And while it looked pretty nice when I completed the walls with the fiberglass reinforced plastic (FRP) boards, I wanted something more … enter Tic Tac Tiles!

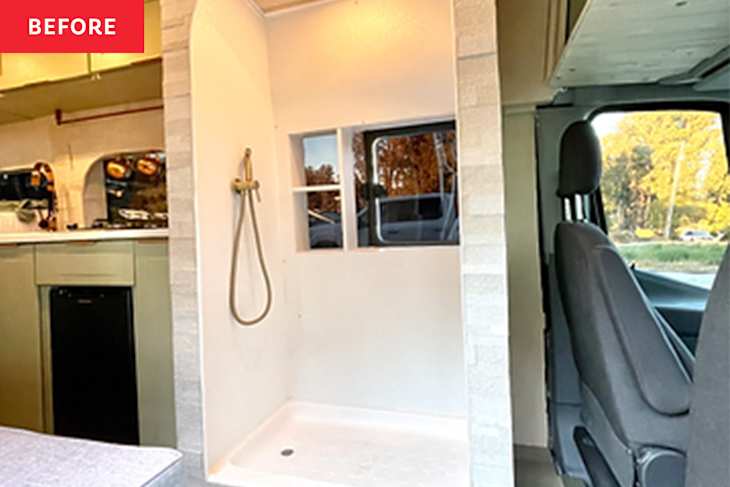
The shower before the upgrade
Now before you go on reading this, just know that peel-and-stick tiles should normally not be placed in a shower. This was a special case because this is a van shower. We will not be taking long showers or even complete showers in this space! It’s more like a “cowboy shower,” where the shower spout is a bidet spout that cannot continually run.
Therefore, I was willing to try this technique in an already waterproofed area. The FRP boards I applied these to are a waterproof surface, and I silicone caulked all the FRP trim as well, so this added tile was to fancy it up!
Supplies
- Tape measure
- Level
- Marker
- Utility scissors or razor blade
- TSP
- Sanding block 220 grit
- Tack cloth
- Caulk gun
- Silicone
- Tic Tac Tiles peel-and-stick tiles
With that said, these tiles are super sticky, and I do think they will last awhile with the application method I used! I teamed up with Tic Tac Tiles to add some beauty to this shower and chose to go with their new “thicker tiles” that are 2.5mm (0.06″) thick and thicker than their original vinyl tiles. They are very durable, yet easy to cut, and are not see-through.
The other amazing quality is that they are water-repellent and suitable for the shower. The material is made out of PVC with Gel Top + EVA Subtract. I chose to go with these faux marble tiles!


Prep
The prep when doing any peel-and-stick project (or any project for that matter) is so important for the application to adhere properly.
- Scuff the surface with a 220-grit sanding block
- Clean entire surface well with TSP
- Let dry completely and then wipe down with a tack cloth

Draw level guideline
You want to start at the bottom and work your way up the walls. Before applying your first row of tiles, you want to draw a level line that will be your guideline for your first row.
I started by measuring up 12″ from the bottom (height of tile sheet) and making a mark and drawing a level line across.

Start adhering tiles!
Using a ruler, cut the left edges off of your first tile so that it is a straight edge. This will be your first piece. Attach the top portion of this tile even with your level line and smooth down toward the bottom.
Peel back the top 2 inches without touching the back and place on the level line and lightly press down as you pull down the remainder of the backing. Firmly press all grout lines once backing is completely off.
From here you need to continue placing your tiles to the left matching up the grout lines while keeping the top of the tile sheet along your level line for each of the remainder of the bottom row of tiles. Once the bottom row is done, just continue stacking them up and matching grout lines! Lining up the grout lines is so important to get a realistic look!

Seal
This is an added step because I placed these in the shower. In any other application, you would be done once the tiles are applied, but because of the potential for water, I placed a small bead of clear silicone along the overlapping edges of the tile sheets. I used DAP Dynaflex Ultra. This will help prevent the edges from pulling up over time with any humidity from the shower (or at least I hope it will). Using baby wipes to clean the excess off makes it very easy. I also did this to all of the corners and the bottom and top of the shower seams.


Let dry and add fixtures!
I let the silicone dry for 48 hours and then added trim to my window and installed my faucet fixture (which is really a bidet attachment!).

I absolutely love the way these tiles upgraded the look of this space, and I cannot wait to give an update on how they hold up in our little camper van!

This article was originally published on Nailgun Nelly and has been republished here with permission. Nailgun Nelly is a member of The Co-Op at Apartment Therapy Media, a collection of partner publishers.