
The 4-Step Guide to Renewing Grout (In Order of Increasing Grossness)
Stick a light-colored, porous material between tiles—where spills are likely to settle and mildew is undoubtedly going to grow—and you can bet it’s not going to be a pretty situation. And once stains set in, scrubbing them clean is no one’s idea of a fun afternoon. But the promise of fresh, gleaming grout? It keeps us fighting the good fight. The secret to making grout cleaning as pain-free as possible is to only get as serious as you need to: Start with a natural spray and work your way up to a complete overhaul. Use our guide to form your plan of attack.
The 4-Step Guide to Cleaning Grout
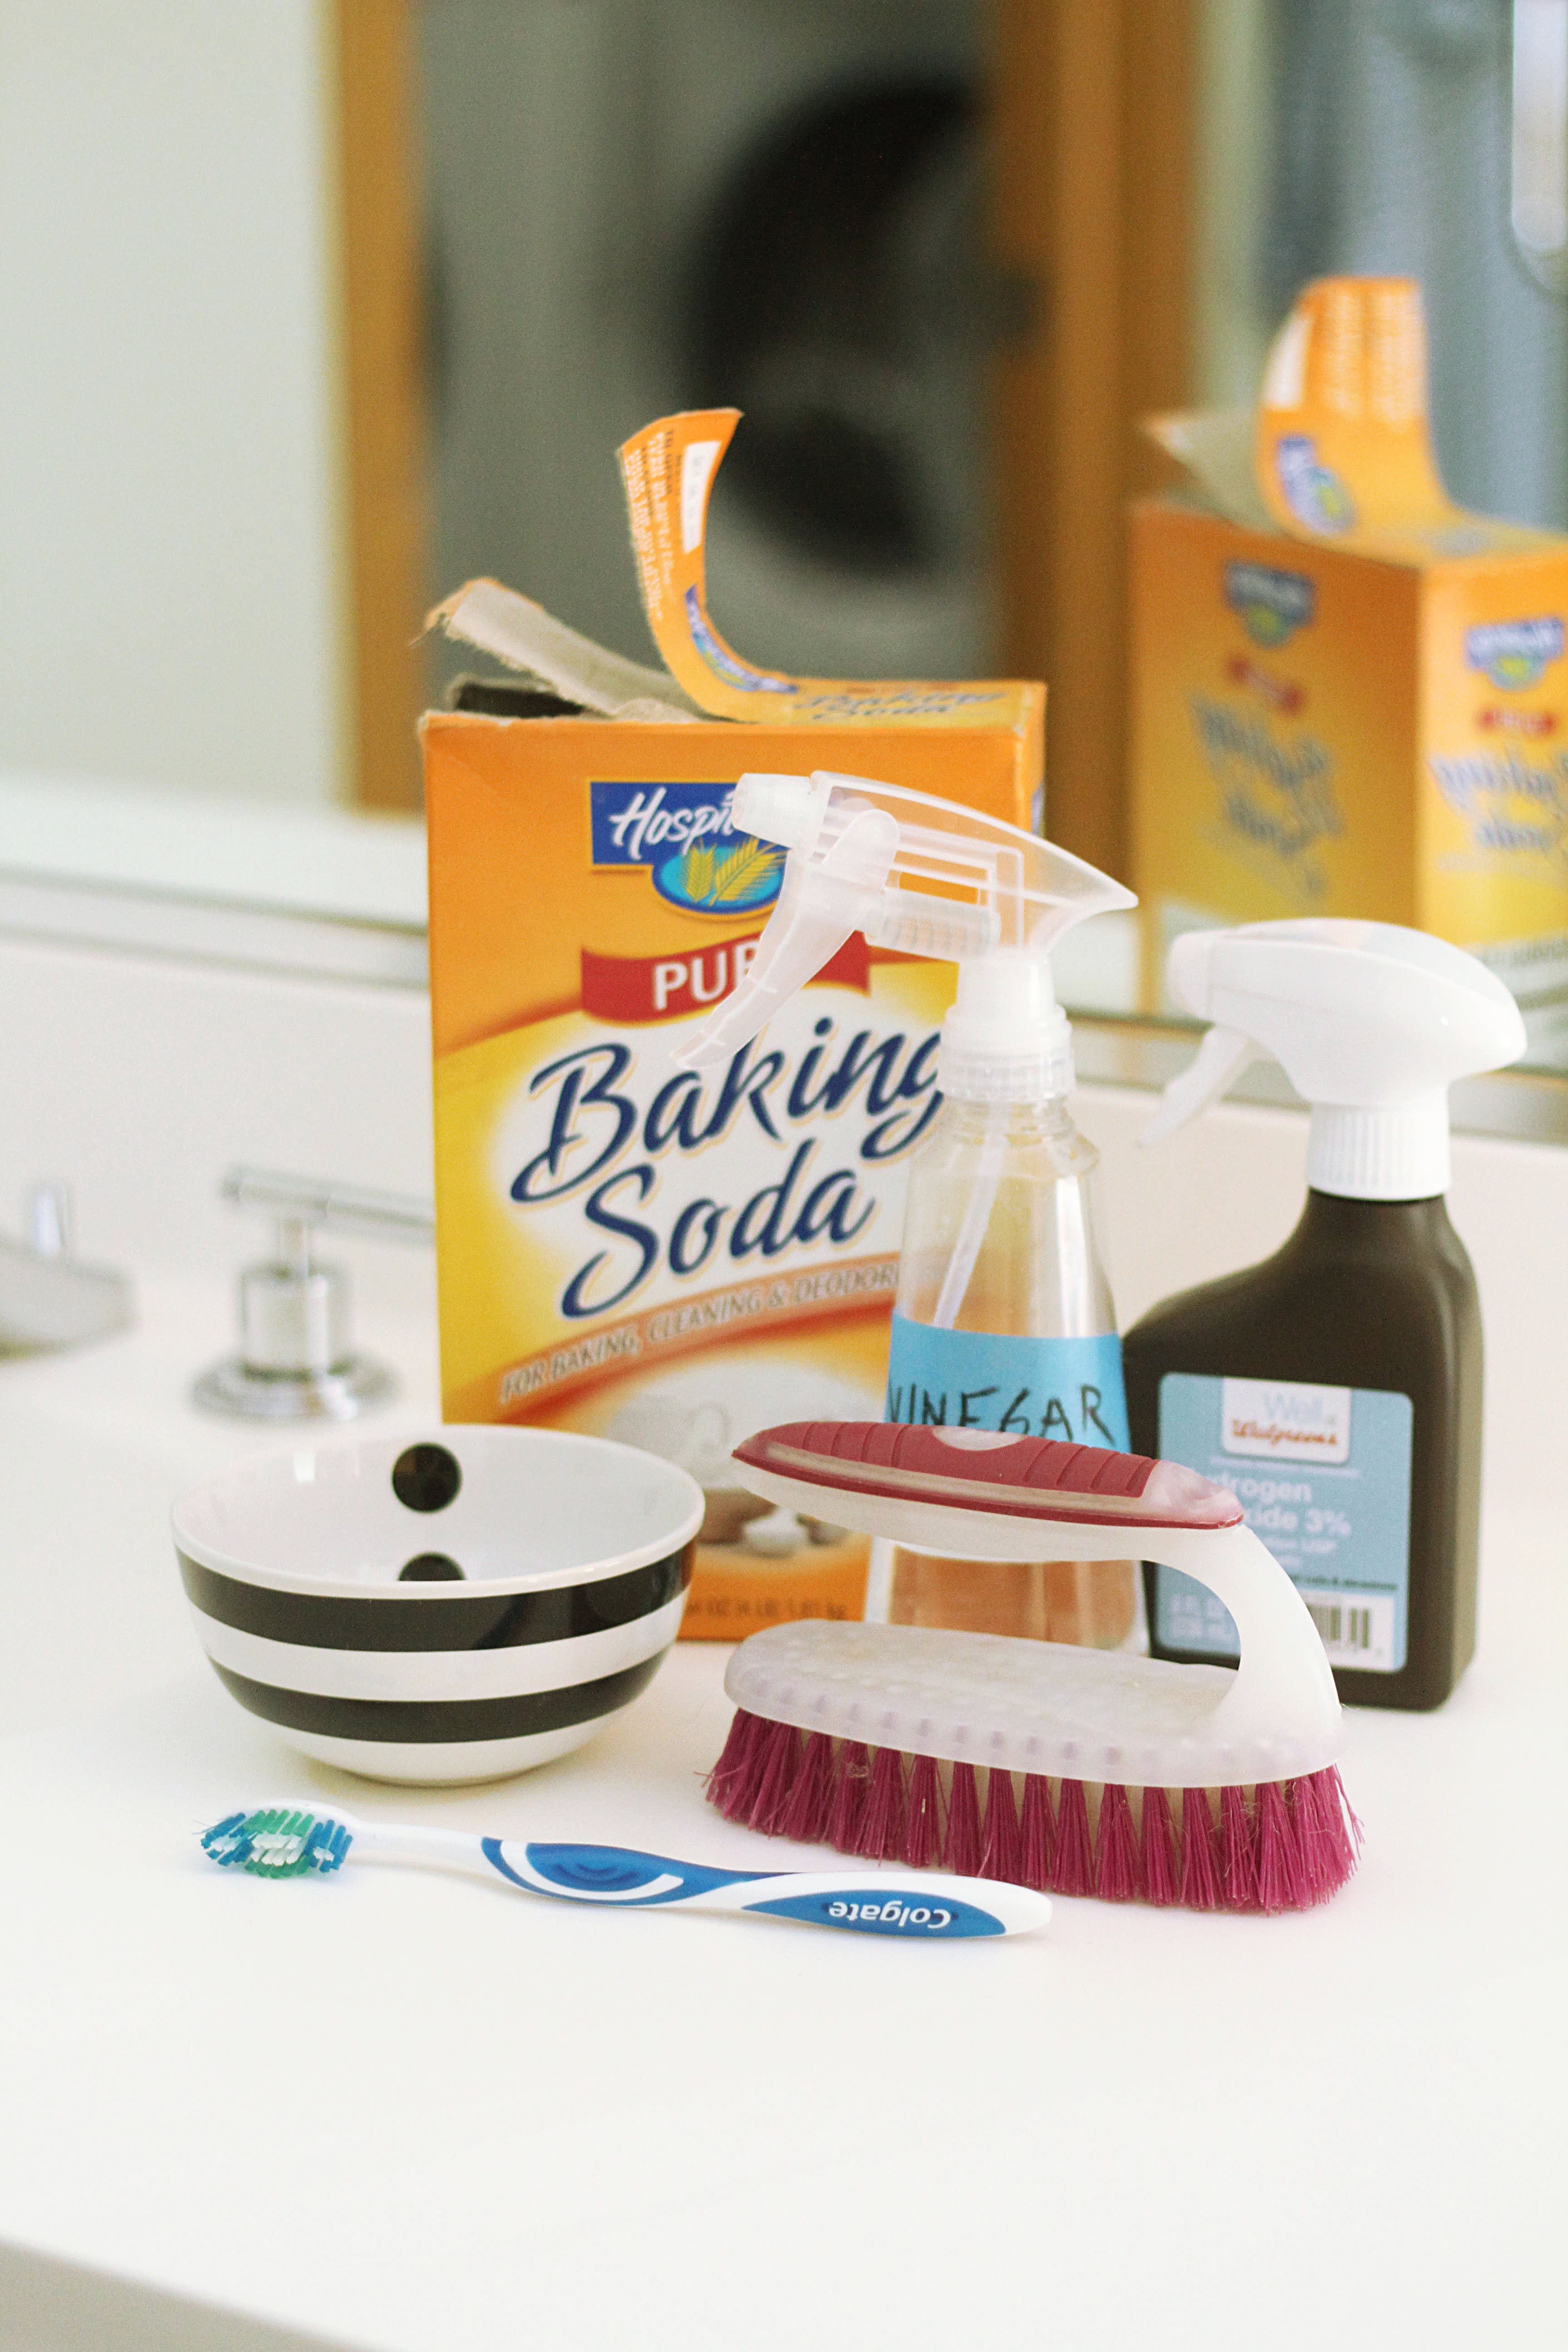
Start by decanting a 1:1 solution of water and vinegar into a spray bottle. Spritz all over the area, aiming for the grout and any problem spots. Let it sit for 5 minutes before scrubbing in a circular motion with a grout brush or an old toothbrush. Is your grout clean now? If yes—phew, that was easy! Not there yet? Move on to the next step.
Make a paste of baking soda and water; scrub it along the grout line using a toothbrush (or an old battery-powered toothbrush if you have one to devote to the cause). Amp up the paste’s power by replacing the water with hydrogen peroxide. (Note: Never mix vinegar from the step above and hydrogen peroxide—it’s a dangerous combo.) When you’re done scrubbing, rinse with clean water.
Using Chlorine Bleach
Chlorine bleach sprays should only be applied to white grout. If you’re worried that the bleach might harm your tile, test in a small spot first. Using a bleach pen can help concentrate the product into crevices, minimizing contact with the tiles.
Powdered oxygenated bleach is gentler on most surfaces than the chlorine variety. To use it, mix the powder with water, following the manufacturer’s instructions and working in a well-ventilated area (seriously, open a window!). Apply the solution to the grout with a brush, let it soak for 10 to 15 minutes, then rinse with clean water.
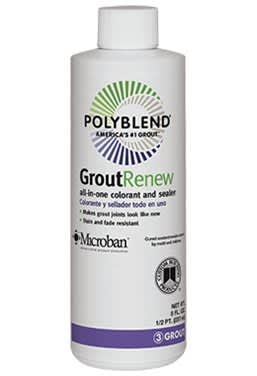
Polyblend Grout Renew (found at the hardware store) is a product that seals and colors cement grout. Rather than removing stains, it simply glosses over them and protects against future discoloration. To apply it, paint the sealant along the grout lines with a brush, wiping away any excess that gets on the tile. For a truly inspirational (no, really) story documenting this transformation, check out Sherry Petersik’s post on Young House Love.
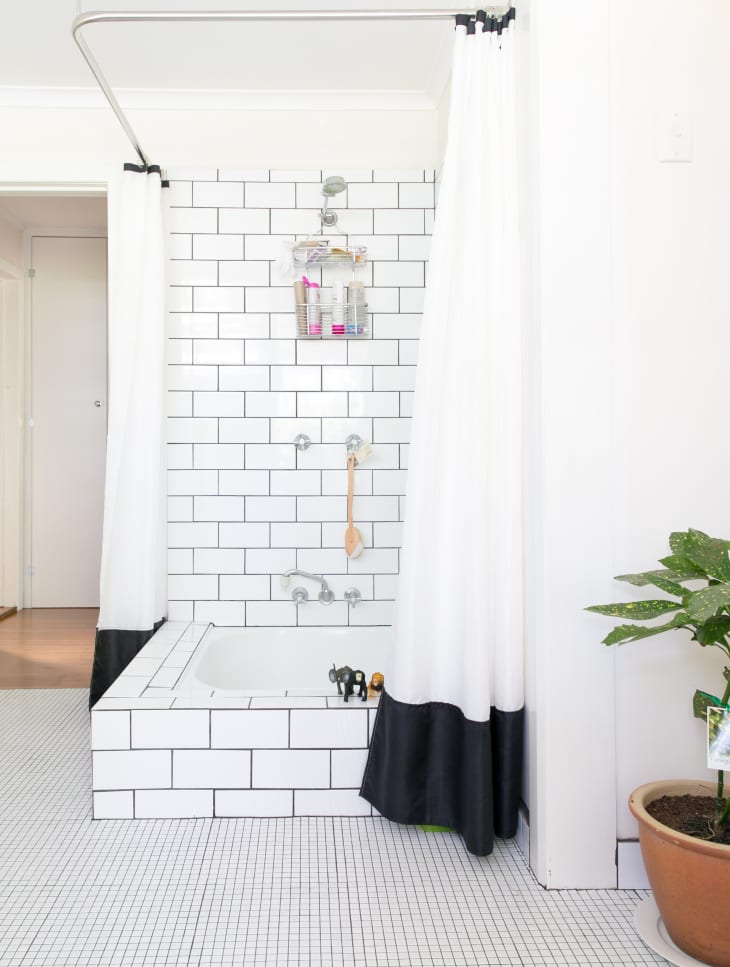
On a side note: Polyblend is also a good way to just refresh the look of a tiled room. You can see how this bathroom takes on a more vintage vibe after the grout color darkens —not to mention also looks a lot cleaner!
When To Renew Old Gross Grout
When your grout reaches the point of falling out of the wall, it’s time to embrace the challenge of a full-on regrout. More than just an aesthetic issue, disintegrating grout can lead to water damage if water seeps behind the tile. If you’re a renter, alert your landlord. If you own your place, you can either call a contractor or be brave and do it yourself. The process is easier than you might think, but like any good DIY, it takes some time and technique. Stay tuned—I’ll tackle that chore in another post.