
This Bathroom Redo Cost Just $160 — You’d Never Guess What They DIYed
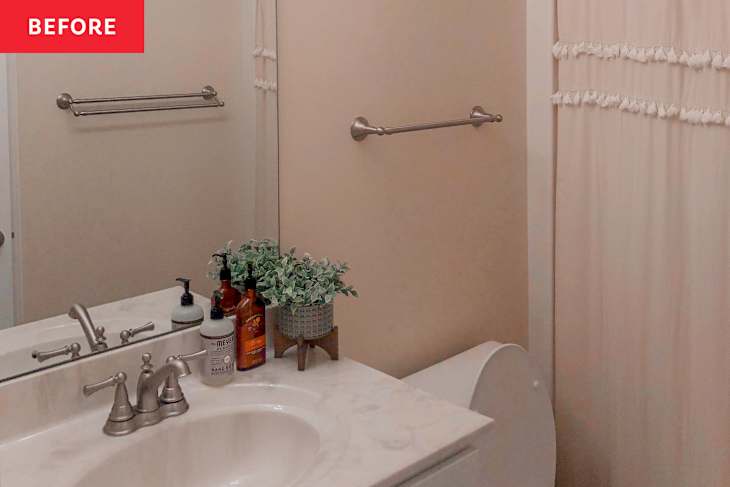
When one room in a home gets a colorful redo, it’s hard to look at other neutral rooms and not think about making a change. After Jessie Estes (@jessiegirlhome) redid her daughter’s bedroom in a bright, colorful style, the nearby bathroom started to look a little lackluster.
“There are only two words that can describe the before: plain Jane!” Jessie says. “Shortly after I added some serious color to my little girl’s room, I knew I wanted to add color and spunk to this space as well.”
The Bathroom Lacked Color and Character
The before wasn’t bad, just… boring. “It had a white vanity, white sink, cream walls, cream floor, and a cream shower curtain,” Jessie says. “Not only did it lack color, [but] it lacked character!” So Jessie set out to give this bathroom a jolt of color and personality without having to drop a lot of money.

She Made a Huge Impact with Peel-And-Stick Wallpaper
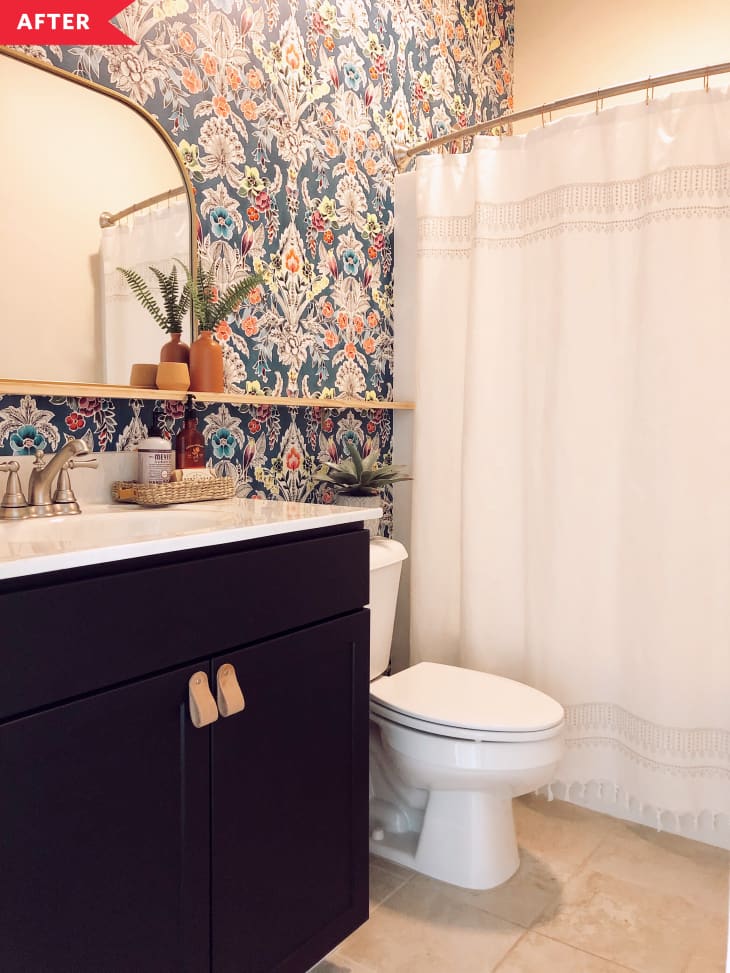
Jessie started with an intricate, color-infused wallpaper that she found on Amazon for just $80. Using it on just one wall makes a big impact while saving money on materials. For the vanity, Jessie chose an inky black (Sherwin-Williams’ “Tricorn Black”).
“I knew that it would complement the black lines in my wallpaper,” Jessie says. Plus, she already had the paint, brushes, sanding block, and primer, so this meant she didn’t have to spend a dollar on that part of the project.
She Made Cabinet Pulls and a Vanity Shelf for Only $20
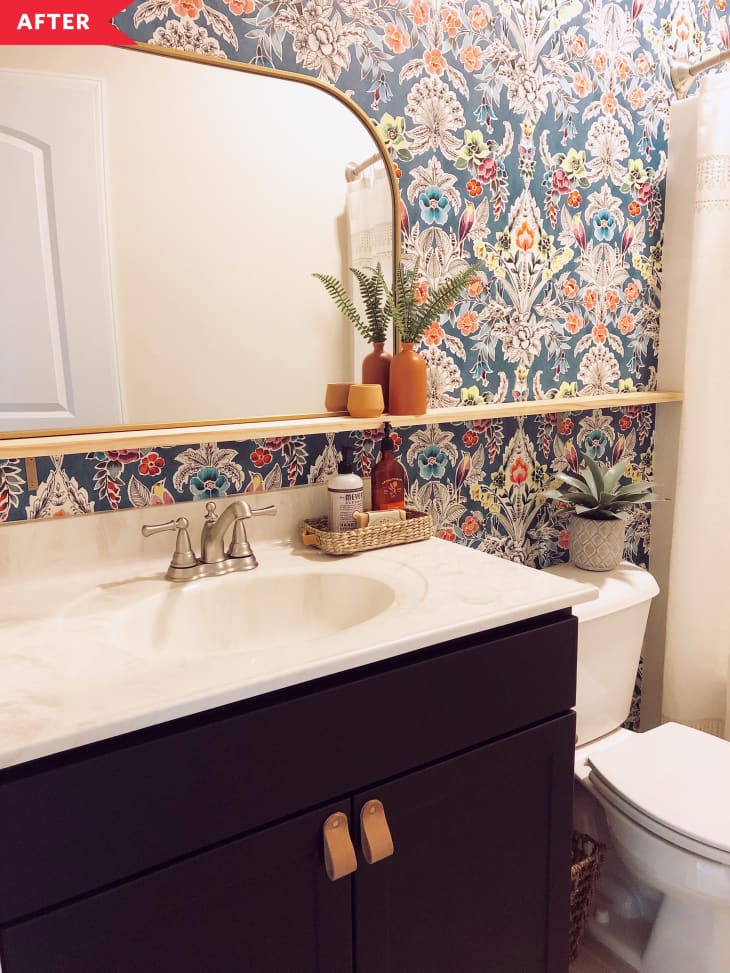
Originally, Jessie had purchased gold pulls for the vanity, but once it was complete, they didn’t have the exact look she was going for. Instead, she made her own leather pulls using just $5 in materials.
To create a slim shelf above the vanity, Jessie hit up her hardware store for a 4×8 board, which she cut to size and attached to the wall with brackets (total cost: $15). A new mirror from Target finished the look.
She Wanted to Create a Space That Her Daughter and Guests Would Love
“I love everything about this space!” Jessie says. “I wanted it to be a fun space for her but also a space that adults would appreciate as well.”
And for anyone who’s so far been intimidated from taking on a similar project, Jessie offers some advice: “Don’t let fear of failing stop you from any project. There are so many projects I did not start because I was afraid I couldn’t—but let me tell you, you can! Stop dreaming of that cozy space, that space that makes your house feel like home, and start making your visions come to life.” Hear, hear!
Inspired? Submit your own project here.