
How to Update Your Walls with Limewash, Paint’s Easygoing Cousin

Want more DIY tips, tricks, and inspiration? Check out more stories featuring the 2023 Apartment Therapy DIY Collective. This content is presented in partnership with The Home Depot; it was created independently by our editorial team.
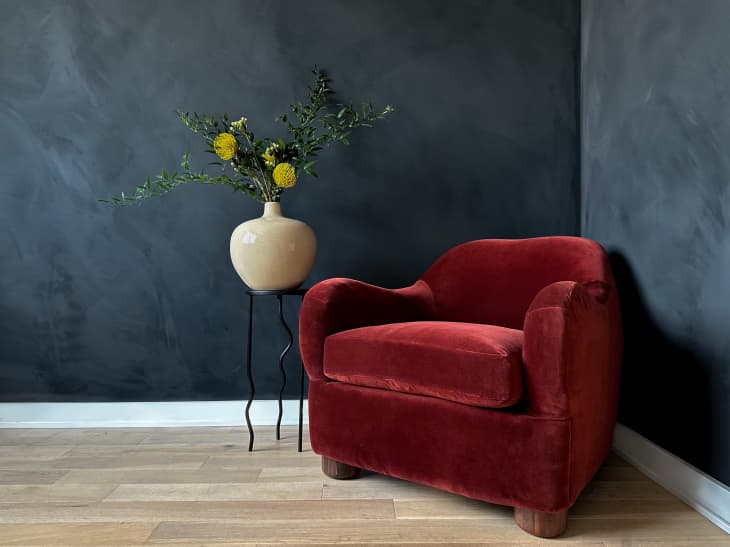
I moved relatively recently into a new home that features a lot of plain walls. And while there was nothing wrong with that, I wanted to break up the monotony of all that white with some color and texture. So for the small space in my home that I wanted to turn into an office and reading nook, I decided to add some visual interest by doing a limewash treatment on the walls.
You already know that paint is one of the easiest fixes for changing up a space, and limewash is paint’s easygoing cousin. It doesn’t require a big financial investment, and the imperfect quality is very forgiving for beginner DIYers. And even better: Limewash is a versatile finish that can be used by everyone in some capacity. If the textured look on walls is not your thing, you can dilute limewash and use it over a brick fireplace or even on the exterior of your home. Here’s how I created my own limewash walls.
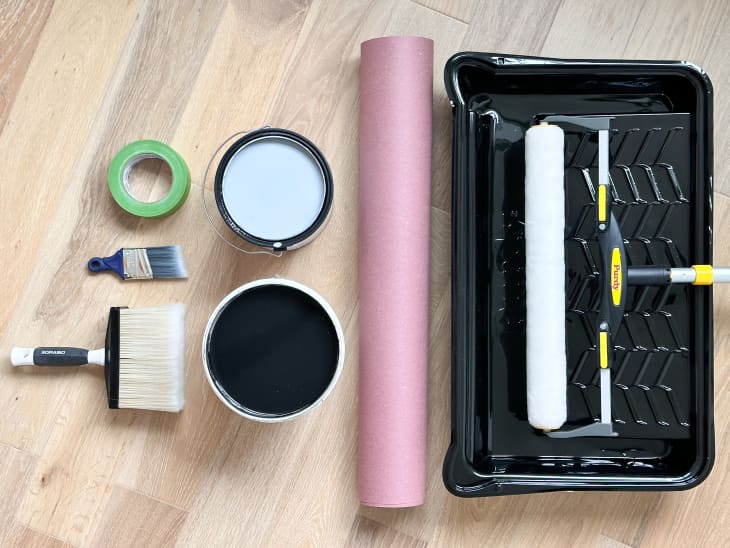
What You’ll Need to Limewash Your Walls
- Painter’s tape
- Paper or a drop cloth to protect your floor
- Water-based acrylic primer (I used this one from Zinsser)
- Nylon brush for primer
- Paint roller
- Paint tray
- Limewash or lime paint (I used this one in the shade Carbon Black)
- Large masonry brush
How to Limewash Your Walls
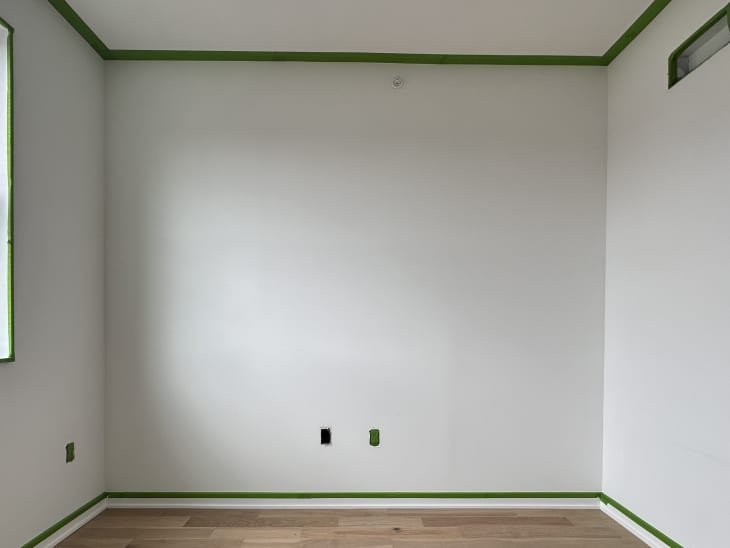
1. Prep your room for painting.
Use your painter’s tape to tape off the edges where your walls meet the baseboards and the ceiling, plus any other features you don’t want to accidentally paint.
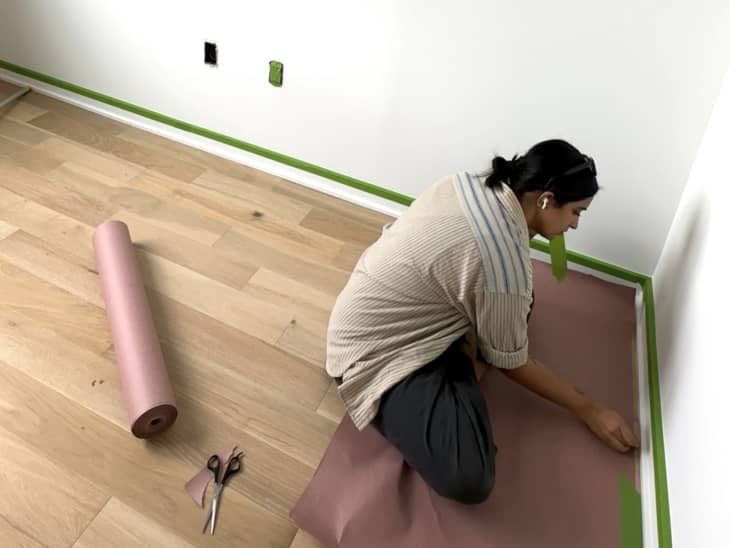
You should also take this time to cover the floors with a drop cloth (or paper, in my case).
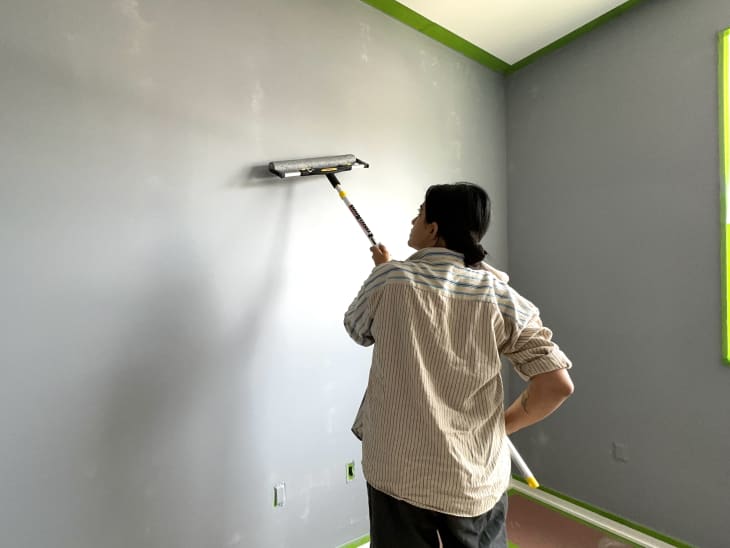
2. Prime the walls.
If you have walls that have been previously painted, it is recommended that you use either a primer sold by a specialty limewash brand or a water-based acrylic primer, like I did. I had the hardware store tint my normally white primer gray, as my walls are white and I was afraid I wouldn’t be able to see if I missed any spots if I used a white primer. The contrasting color makes the process foolproof.
The primer dries quickly, so I recommend cutting in each wall only as you get to it, not before. Make sure that you blend any roller lines. Another tip: I saved time by using an extension pole with an 18” roller cover and tray instead of the standard 9” roller. It also helped me use the ladder less.
3. Paint the first coat of lime wash.
Allow your primer to dry for the amount of time recommended on the can before moving on to your painting. The first thing you want to do is mix your paint thoroughly. The lime in the limewash paint tends to separate and settle at the bottom so it’s good to stir the paint often. I sacrificed a whisk I had at home and attached it to my drill to mix my limewash. There are special drill attachments for this task, but I wanted to use what I had at home (and you definitely can, too).
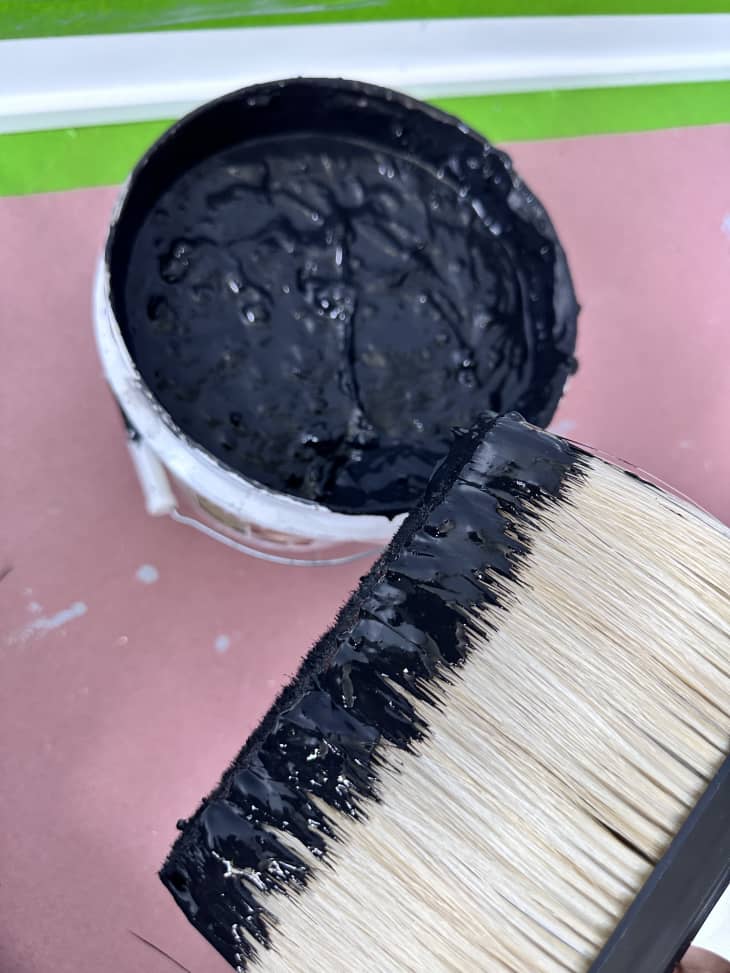
Now that your paint is mixed, you’re ready to limewash. First, load your brush up with paint about 1/4 of the way up the bristles, as shown above. Then, apply the limewash starting from one end of the wall. Deposit most of the paint away from the corner and then work your way to cutting in the edges.
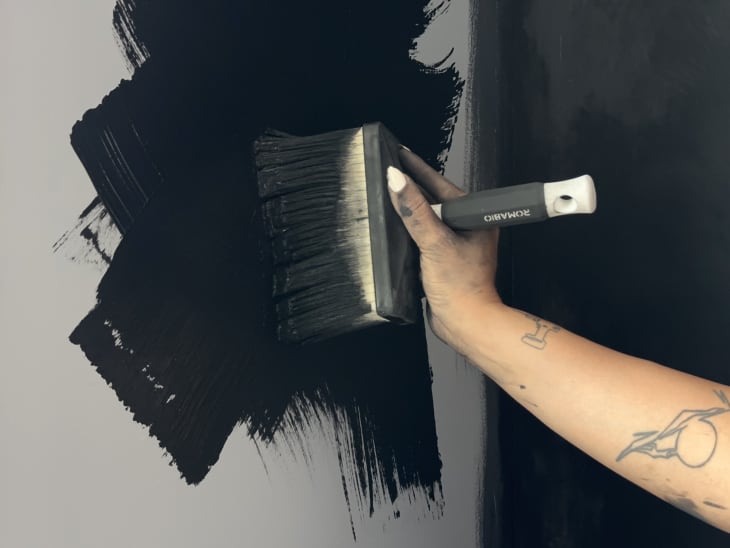
Using a cross-hatch motion, move the paint around as far as it will go. You want to apply a thin coat, making sure you have soft edges. Once you can’t spread the paint any more, reload your paintbrush and start on a new area that’s close to your previous one. Make sure you again deposit the majority of the paint at the center of your new section and then feather it out to blend with the edges of the previous section, using the same cross-hatch technique.
Don’t try to get full coverage on the first coat — thin coats work best for this technique. If you start noticing that you have dark seams between each spot that you paint, you might want to make sure you’re not taking too long to blend sections.
4. Go for a second coat.
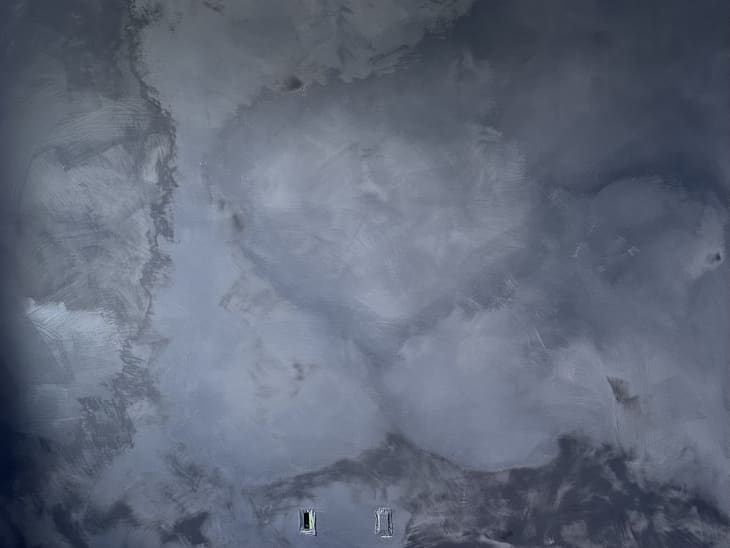
After the first coat, you should start seeing the hints of the characteristic limewash clouds on your wall. Wait two hours for that coat to dry, then use the same technique to go over your walls a second time. Don’t be alarmed if your walls are looking darker than you expected! Limewash will dry to a lighter color. This finish is meant to be imperfect, so don’t spend too long finessing your sections.
You can usually stop after two coats. The more limewash you apply, the more opaque your color will be — but your walls will also lose texture and dimension as you apply additional coats.
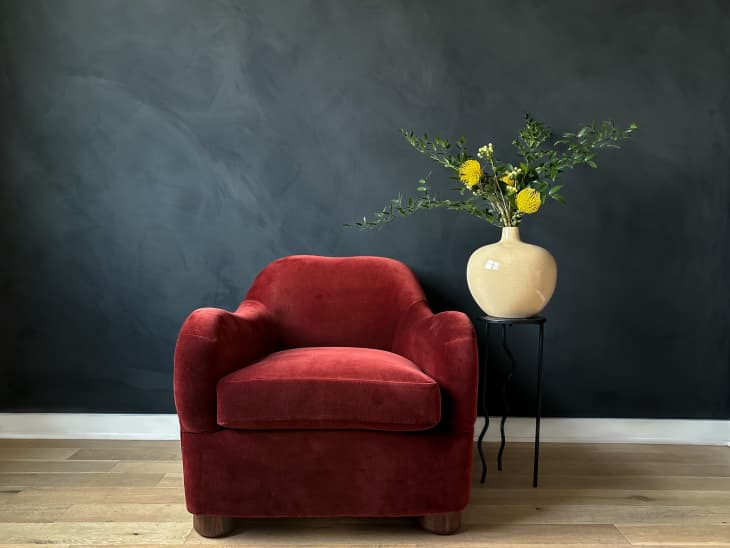
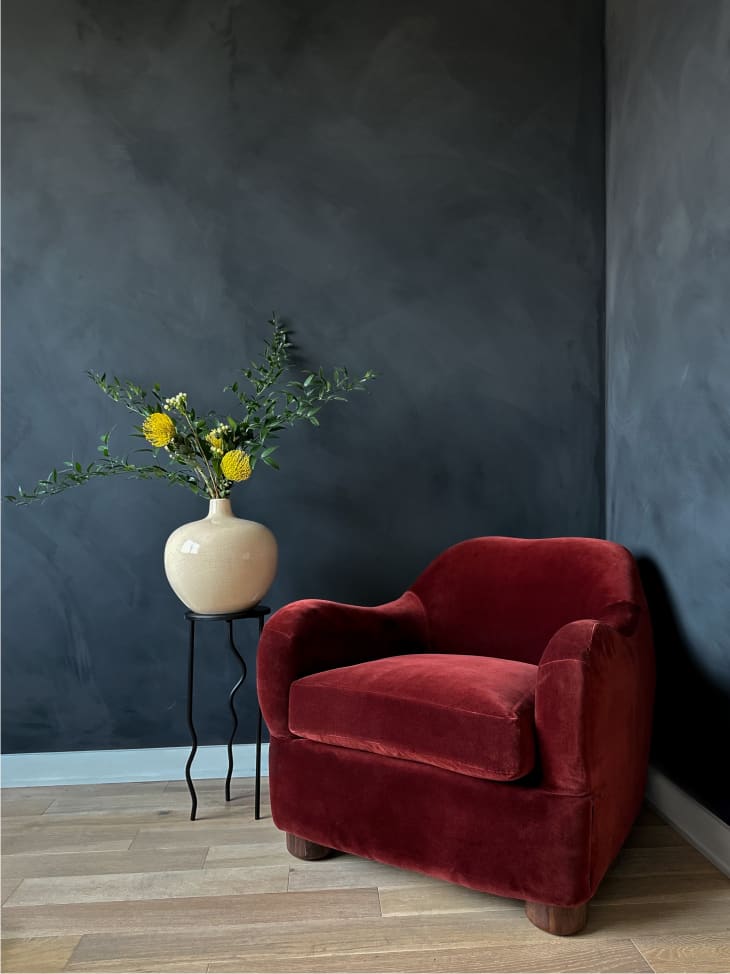
When you’re done limewashing your wall, it should look like you have nice, fluffy cloud patterns in a range of shades. Trust the process. It’ll look scary until it dries and the colors get less intense.
I chose not to seal my walls to keep that natural matte finish, but if you’re painting in a high-traffic area or a bathroom I would recommend using a sealer. If your wall needs touching up, use a very thin coat of lime paint diluted with water.
A Few Things to Know About Limewashing
- I learned that trying to fix your mistakes by painting over them only makes it look worse when the lime wash dries. Let them go (and maybe add a little water to your paint if it’s feeling too thick to effectively feather out on the wall).
- You want to maintain a wet edge to your sections for a more seamless finish. If you try to blend a dry area with fresh limewash, it will have an evident seam.
- Don’t start and stop while working on the same wall — you can’t come back to blend a new section in without leaving behind an obvious line.
The end product is a cool, textured surface with a contemporary feel and a lot more character than my plain white walls! If you try this technique in your own home, let us know how it goes by tagging @apartmenttherapy on Instagram.