
This Trendy Squiggle Mirror DIY Requires Zero Power Tools
The curvy, wavy, squiggly decor you’ve been seeing for the past couple of years isn’t going anywhere — in fact, it’s only getting bigger. Where the squiggles and scallops of years past might have trended toward the whimsical, there are now plenty of high-end brands releasing their own versions of wavy mirrors with a more traditional style. Whatever your personal preferences, you can find a wavy mirror to complement them. And if you can’t? Well, then it’s time to DIY.
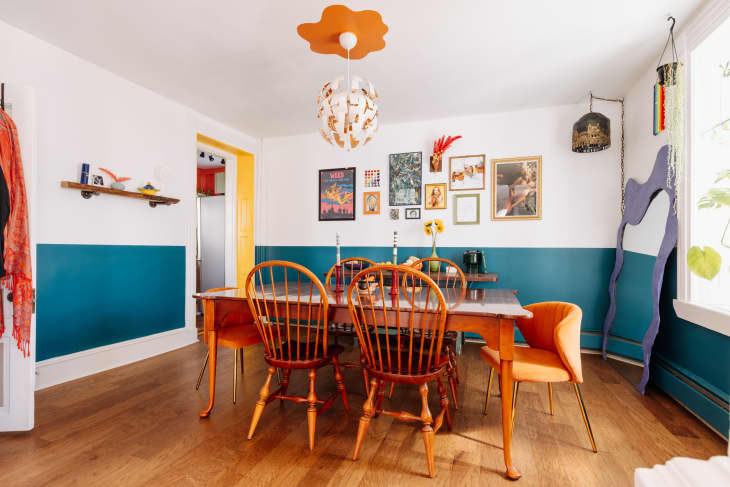
Making a mirror with an offbeat shape might not seem like a doable DIY — cutting glass isn’t exactly a beginner’s game — but there are ways to work this project that make it practically foolproof. You won’t even need a single power tool! The secret to how to pull it off comes straight from color-lover Emma Chasen, who recently shared her completely unique, mural-packed Philadelphia home with Apartment Therapy.
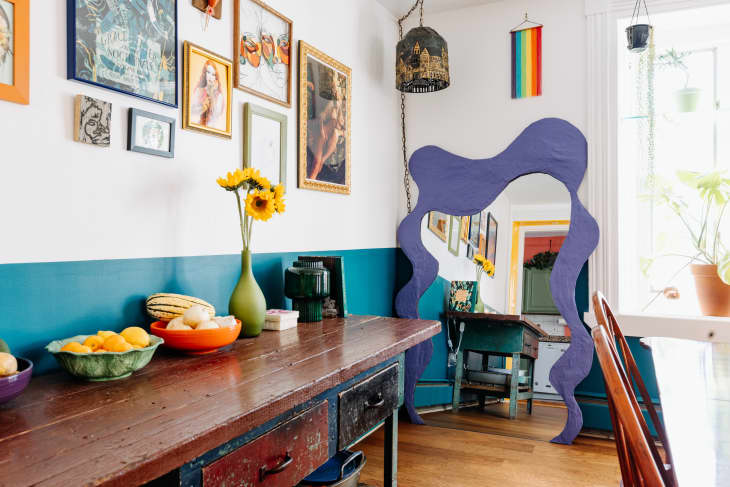
Inspired by a wavy mirror she spotted online but was way out of budget, Chasen decided to DIY her own version. She started with a large plain mirror she got from Lowe’s and, in an ingenious move, used the cardboard box it came in to form the base of her new wavy frame. From there, she needed just a few easy-to-find materials.
- Newspaper
- Flour and water in equal parts (to make papier-mâché mix)
- Plaster
- Paint
Chasen cut her cardboard to fit the shape she wanted — a utility knife is your best bet for this — then glued it to her mirror. From there, she used papier-mâché to help smooth out the frame, as she ended up joining multiple pieces on top of each other to get the shape she wanted. For this, you’ll just need to mix flour and water together to form a thick liquid, which you’ll then dip strips of newspaper in before applying them to the frame.
Once the papier-mâché layer was dry, Chasen went over top with a layer of plaster. She used a plastic spoon to get a textured finish, but you could also apply this with a larger spatula to get a smoother finish. (Sanding it once dry will also help create a smoother effect, if that’s what you’re after.)
Chasen doesn’t show how she protects the surface of the mirror during this process, but an easy way to make sure that none of the adhesive, plaster, or papier-mâché paste gets stuck to the wrong spot is to cover exposed surfaces with liquid masking tape. It goes on as a thick fluid, like glue, and dries to a flexible, peel-away surface. While it’s on, it will shield the mirror from stray drips; once you’re finished with the project, you can easily peel it off.
Finally, Chasen finished with her paint color of choice: a bold purple that fits right in with the rest of her groovy decor. Your own color choice is totally up to you — this mirror would look just as wonderful with a bright and dramatic color for the frame as it would with a subdued neutral. But no matter what you pick, you won’t need a single power tool to pull off this DIY, which makes it a great pick for beginners, apartment dwellers, and more.